White nails? Oh, they’re the easiest way to look fresh and festive during the holidays.
No matter your style or outfit, they just work—seriously, you can’t go wrong.
Thinking about how to make your white nails feel special this Christmas? I’ve got 15 ideas you’re going to want to try.
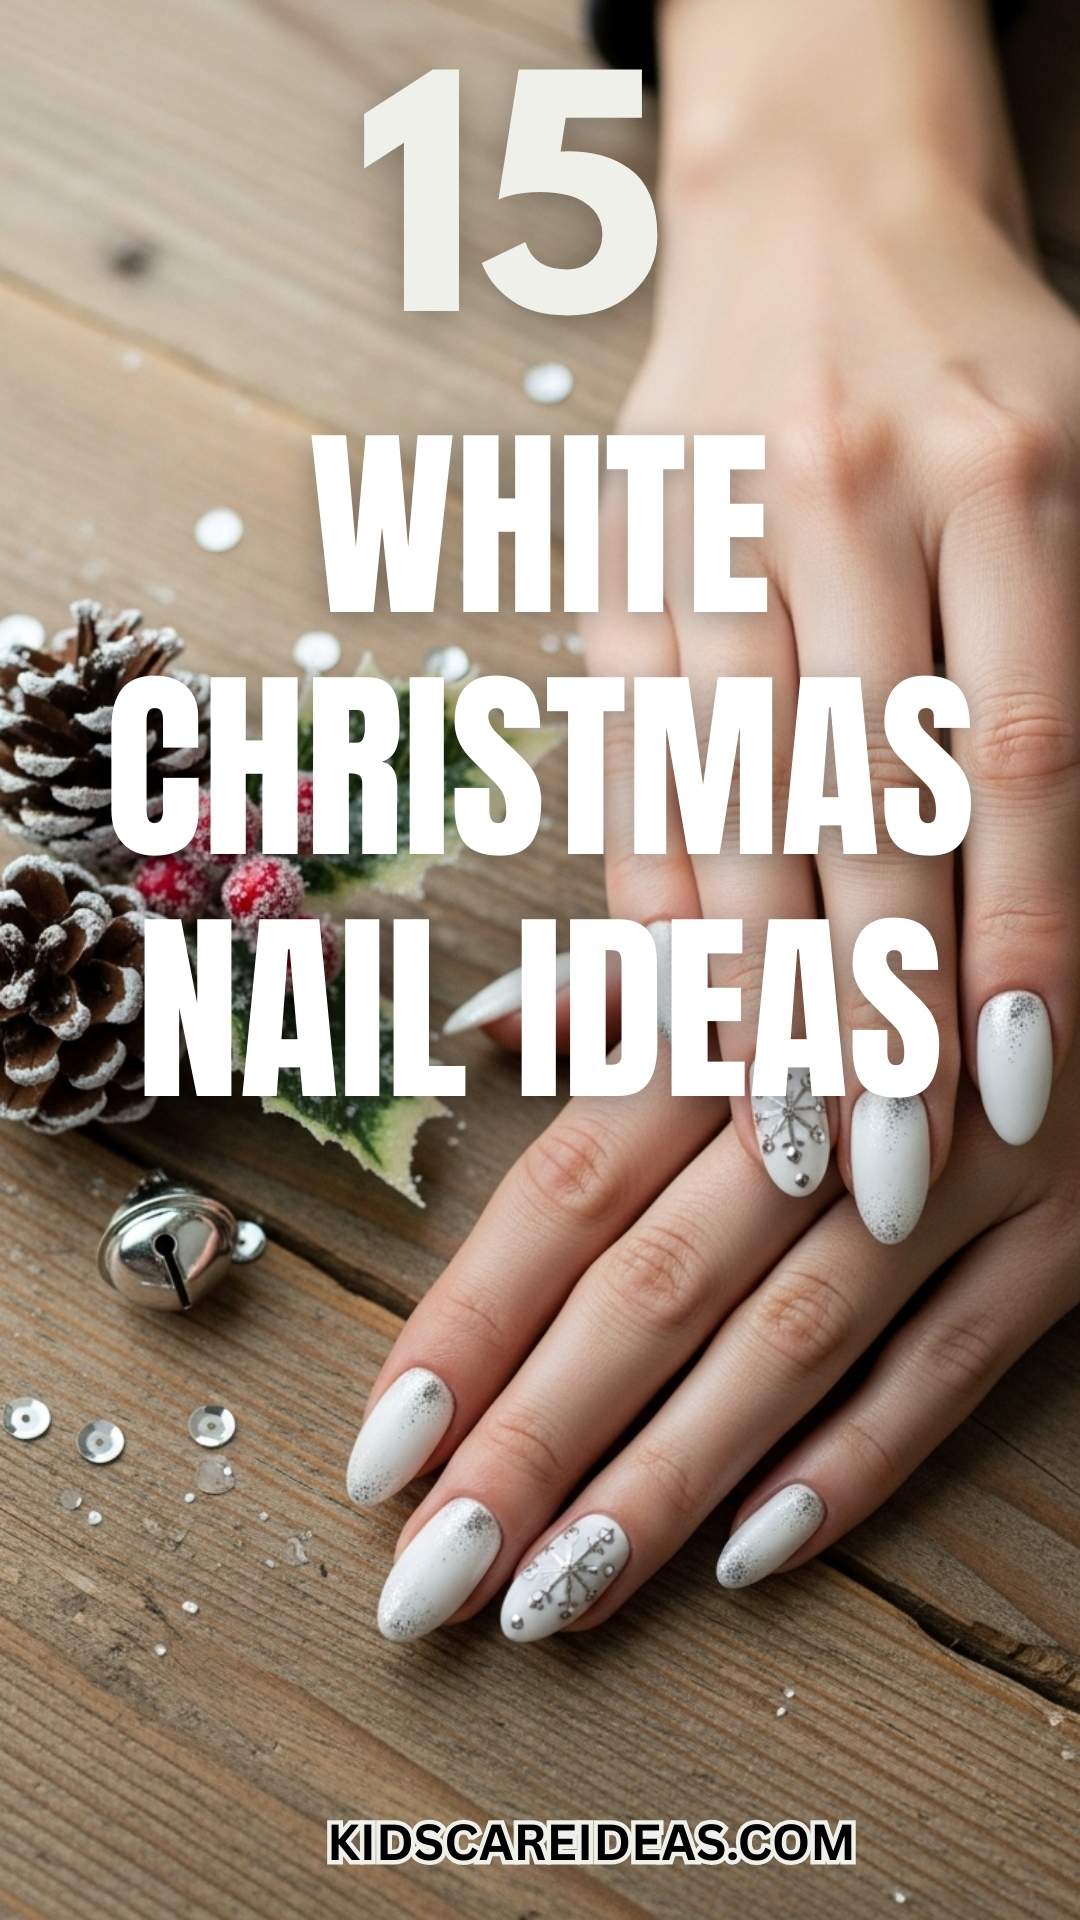
From snowflakes to sparkles, there’s something here for everyone, whether you’re feeling bold or want to keep it chill.
1. Classic Snowflake Art on White Base
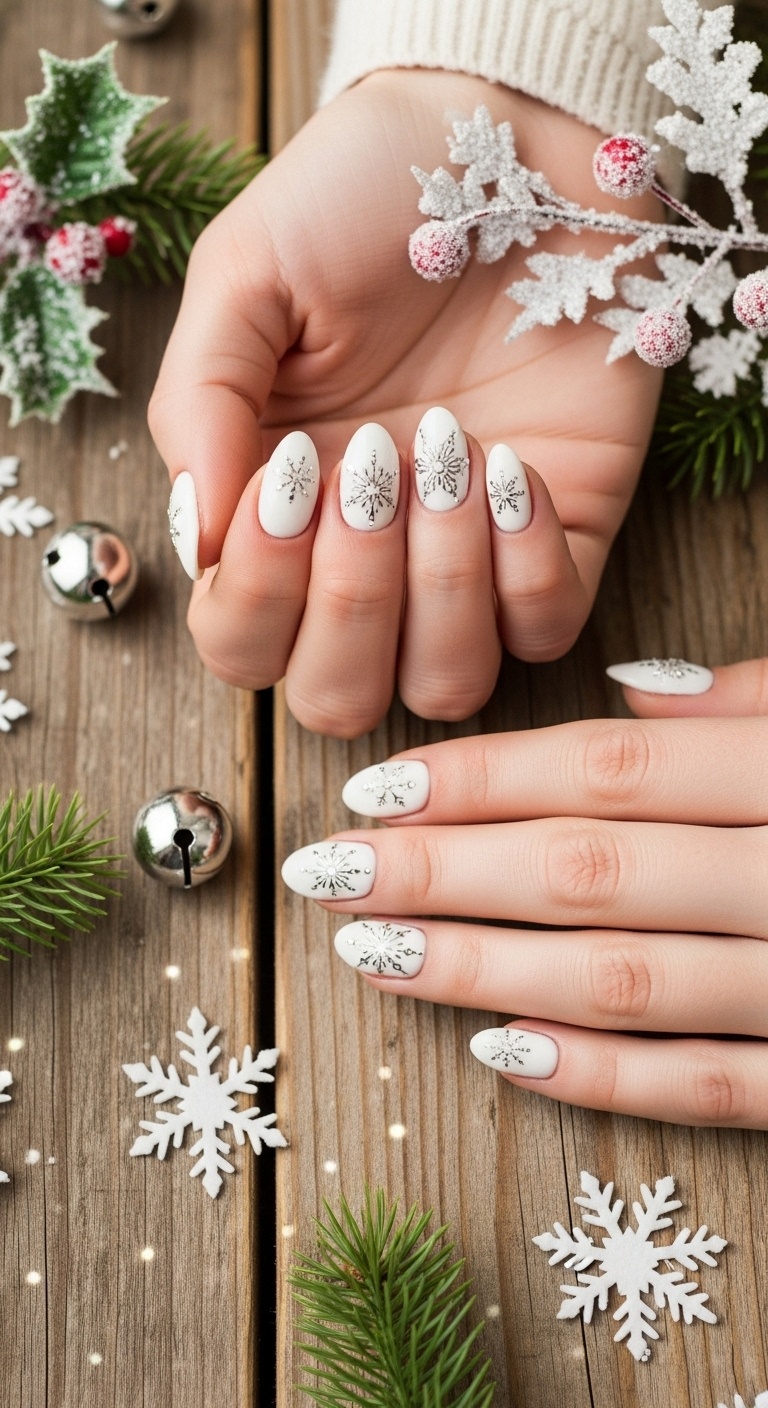
Start with a crisp white base coat. It gives off that snowy, wintery vibe right away.
Grab a thin brush or nail art pen and draw a few simple snowflakes. Just cross a few lines in the middle—nothing fancy needed.
Snowflake art on white nails looks elegant and matches any holiday outfit. Want extra winter magic? Dot some “snow” around your flakes.
You can totally do this yourself or have a pro help out. Either way, you’ll have winter wonderland nails.
Expert Tip from KidsCareIdeas: “Use a quick-dry topcoat to save your snowflakes from smudges. Try sketching your snowflake on paper first—it helps, trust me.”
2. Matte White with Glitter Accent
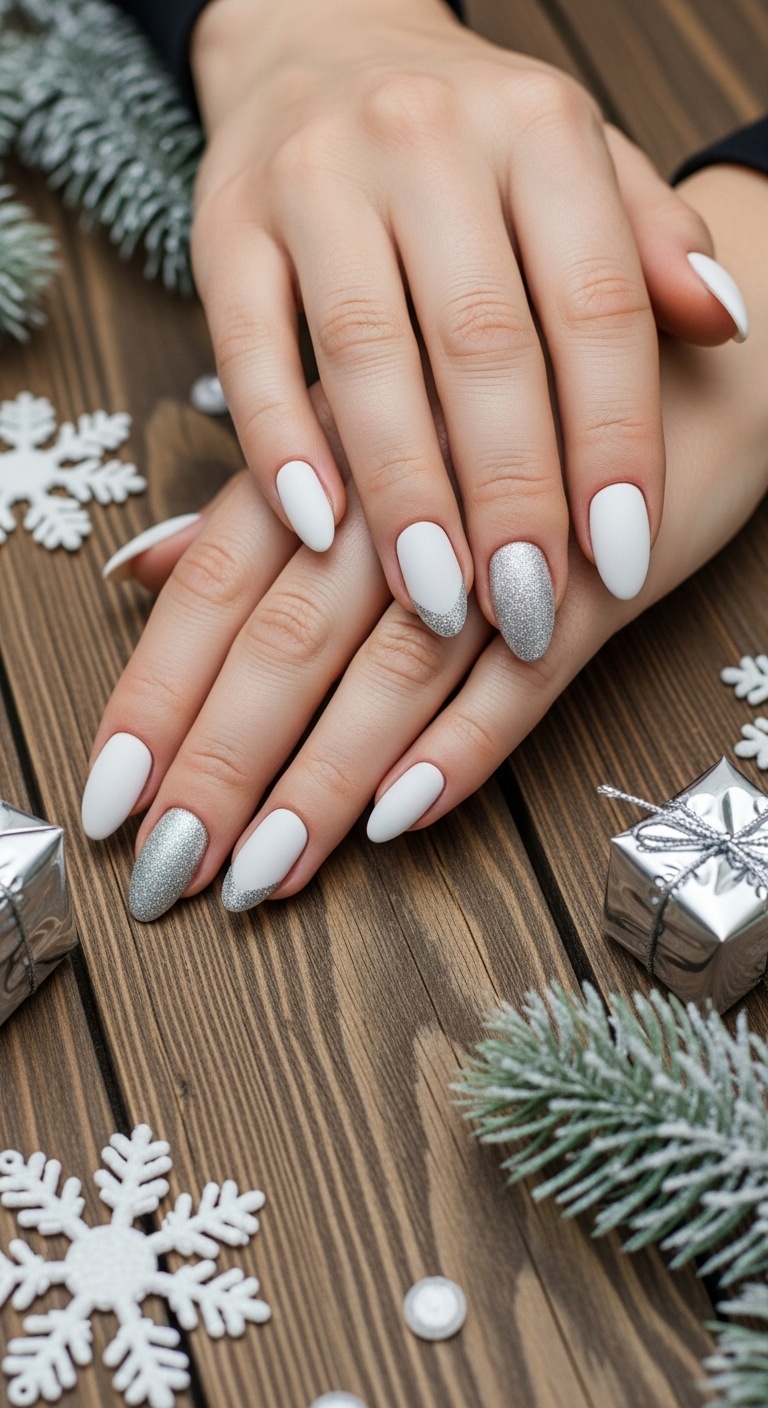
Matte white nails feel cozy and soft—like warm mittens for your fingers. The flat finish looks modern, but not too flashy.
Add a glitter accent nail for some sparkle. Silver or gold glitter works best for that festive pop.
Keep most nails matte white, then pick one or two to glitter up. It’s simple, but it stands out.
Use loose glitter or glitter polish—just seal it with a topcoat so you don’t leave a trail of sparkle everywhere.
Expert Tip from KidsCareIdeas: “Dab glitter polish on with a sponge for better coverage. Topcoat it to keep those glitter bits in place.”
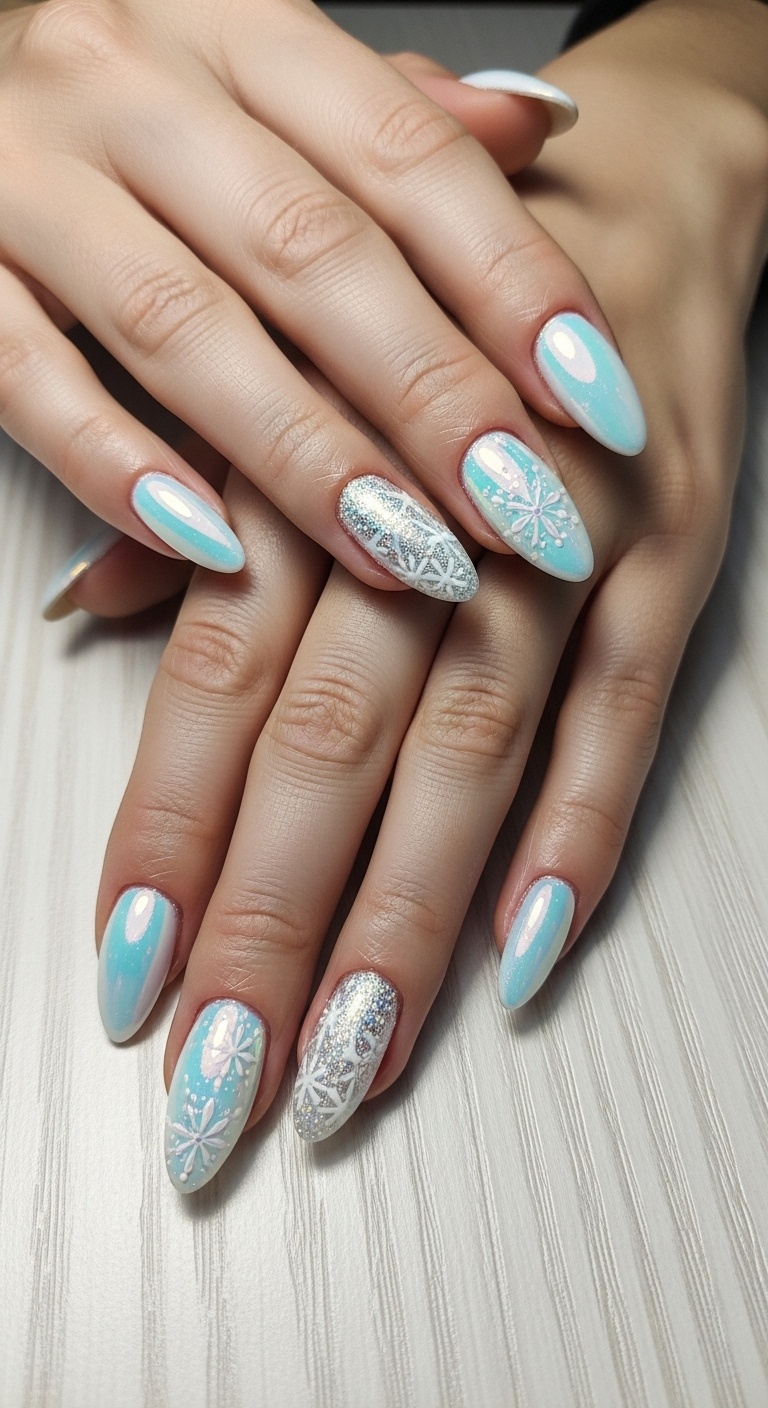
3. White Ombre with Silver Tips
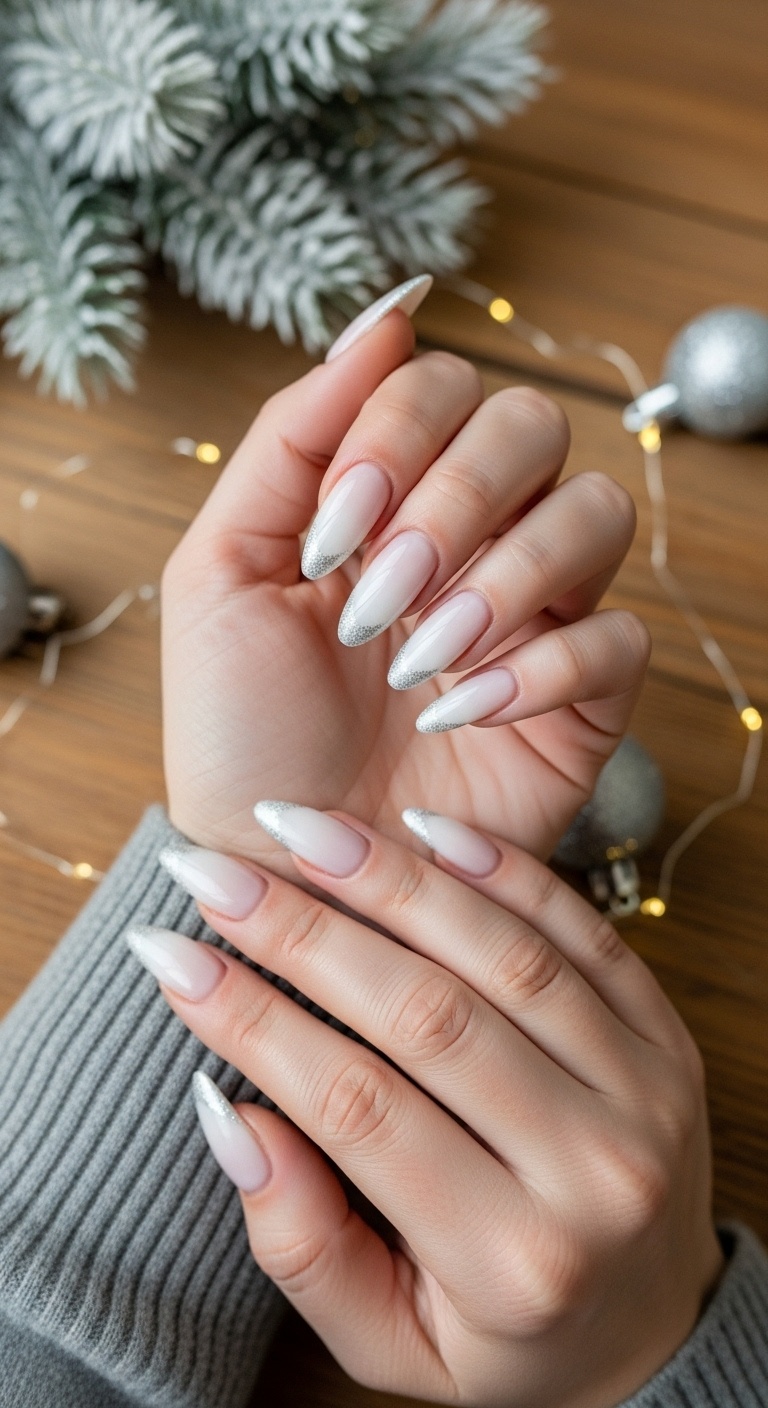
Start with a soft white ombre base that fades from your cuticle to the tip. It looks like fresh snow melting into your nails.
Add silver tips for some sparkle. The silver isn’t over-the-top, but it sure feels festive.
This look is simple and works for both short and long nails.
Try glitter or metallic polish for the tips. Either way, your nails will catch the light.
Pair this with a cozy sweater and a mug of cocoa, and you’re set.
Expert Tip from KidsCareIdeas: “A sponge blends the ombre best. Finish with a clear topcoat to keep those silver tips shiny.”
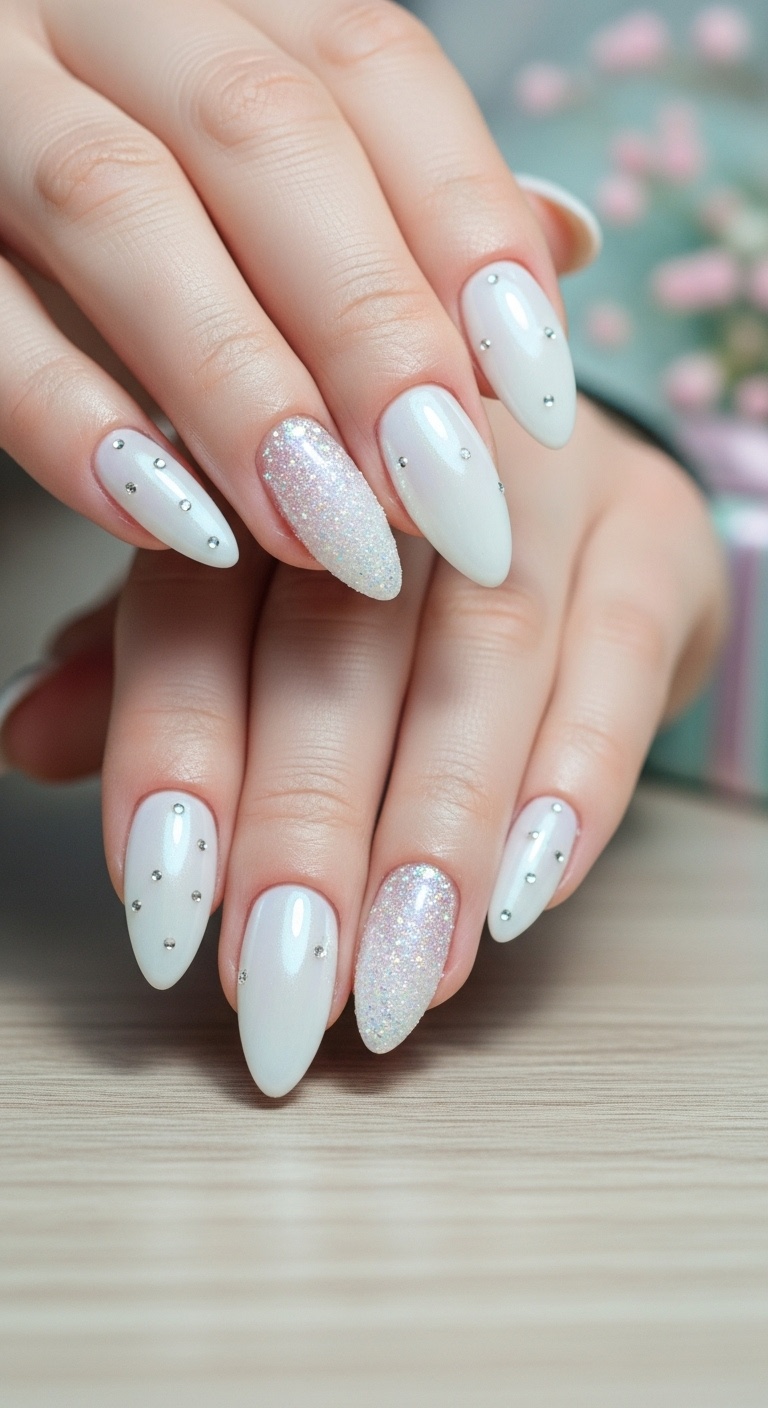
4. Creamy White with Pearl Studs
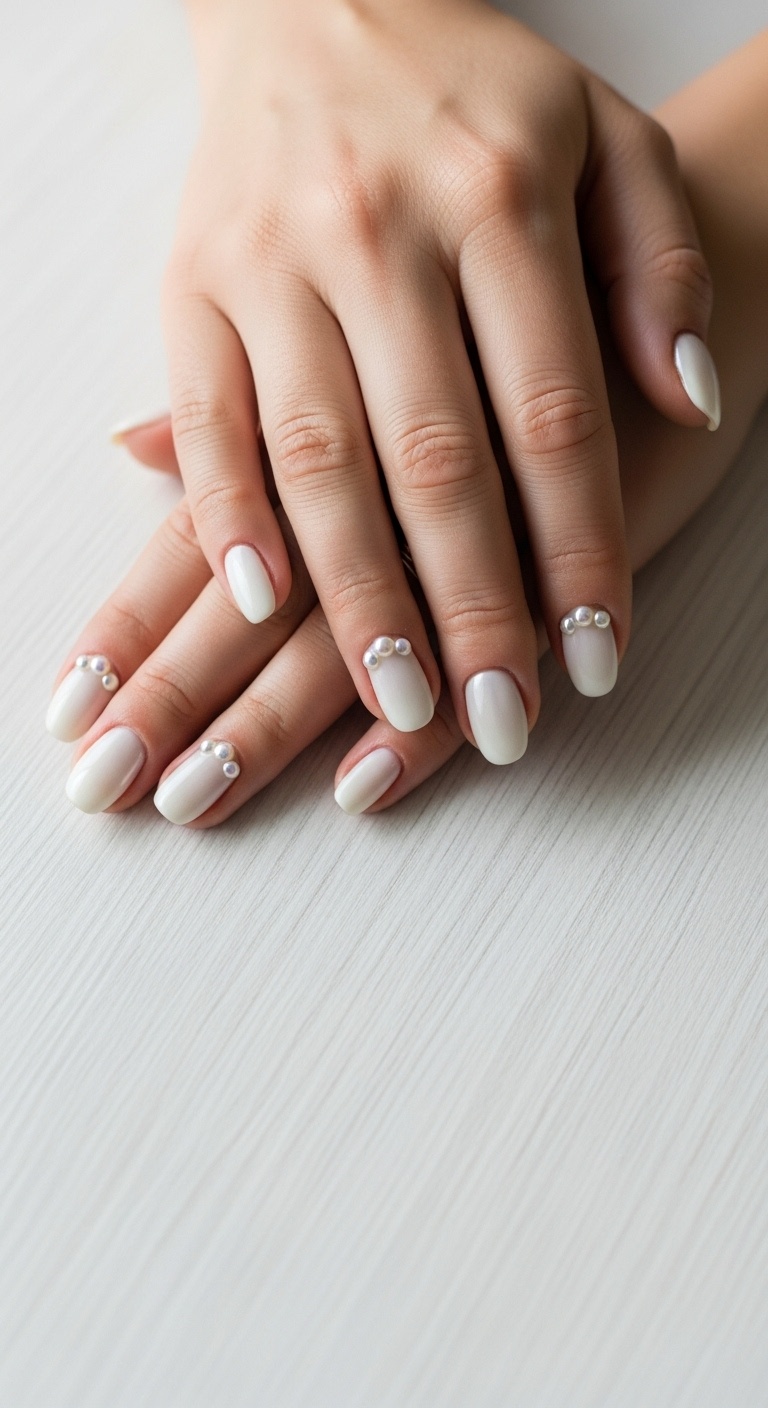
Creamy white polish makes your nails look soft and elegant. It’s a smooth, clean look that just feels right for winter.
Pop a tiny pearl stud near the cuticle for a classic touch. You don’t need a lot—one on each nail is enough.
This style is easy to wear every day, but it also fits right in at a fancy holiday party.
Try mixing up pearl sizes for a little extra fun.
Expert Tip from KidsCareIdeas: “Seal the pearls with a clear topcoat so they stay put through all your holiday plans.”
5. White French Tips with Tiny Snowflakes
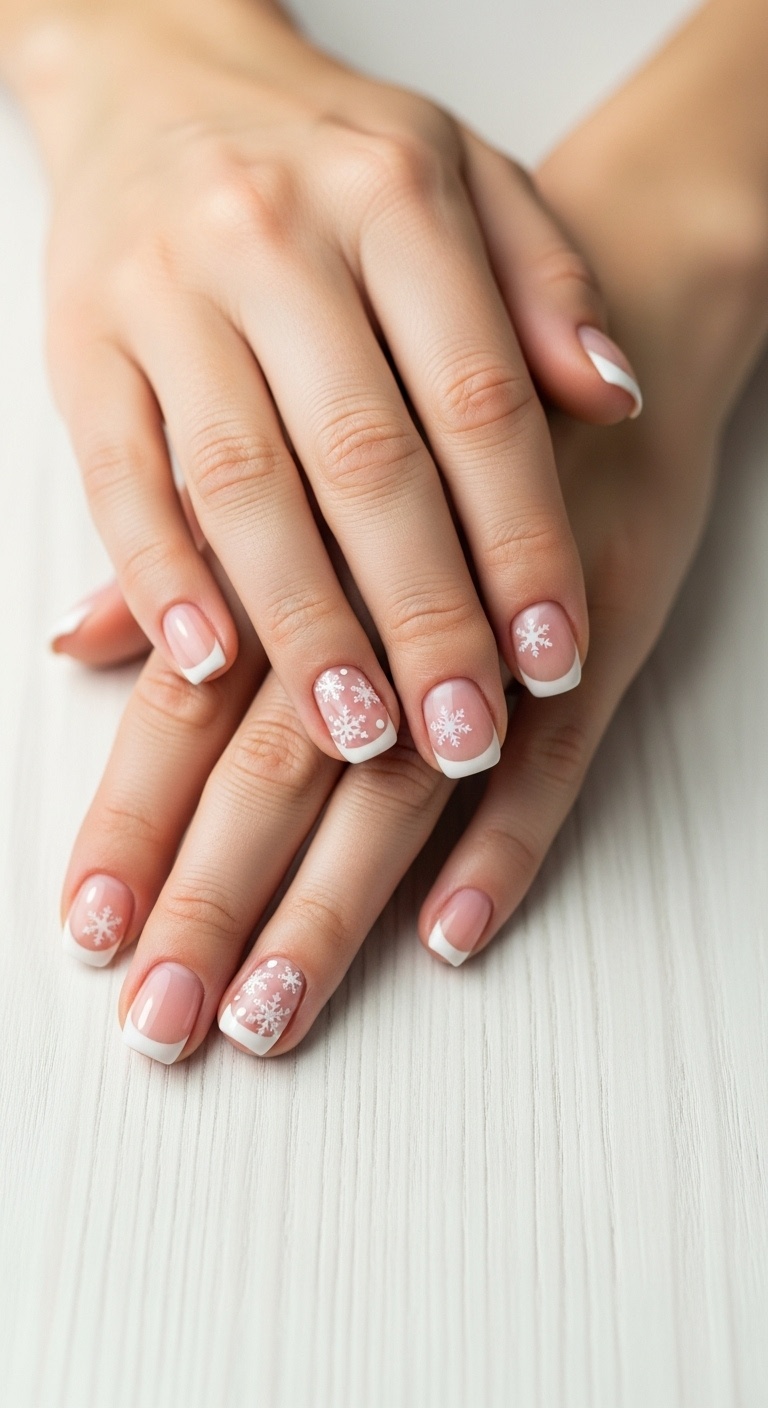
French tips never go out of style, but you can make them festive with tiny snowflakes. Use a thin brush or a nail stamp to add the snowflakes—no need to go overboard.
Try a matte topcoat to make the snowflakes stand out, or stick with shiny if you like that classic look. This style goes with every outfit and works for both parties and workdays.
If you love neat nails but want a holiday twist, this is your go-to. Dotting tools make snowflakes quick and easy.
Expert Tip from KidsCareIdeas: “A small brush gives you better snowflake control. Topcoat it so your art lasts.”
6. Chunky White Glitter Bomb
Want your nails to shine like a snowstorm? Go for chunky white glitter. Big glitter pieces on a clear or pale base catch every bit of light.
This one’s great for parties or when you just want to feel extra. All you need is clear polish and some chunky white glitter. Dab it on wet polish and seal with a topcoat.
Chunky glitter feels a little rough, but a thick topcoat smooths things out. You’ll sparkle with barely any effort.
Expert Tip from KidsCareIdeas: “A thick topcoat keeps things smooth and glittery. Use a toothpick to place glitter exactly where you want it.”
7. White Matte with Metallic Chevron
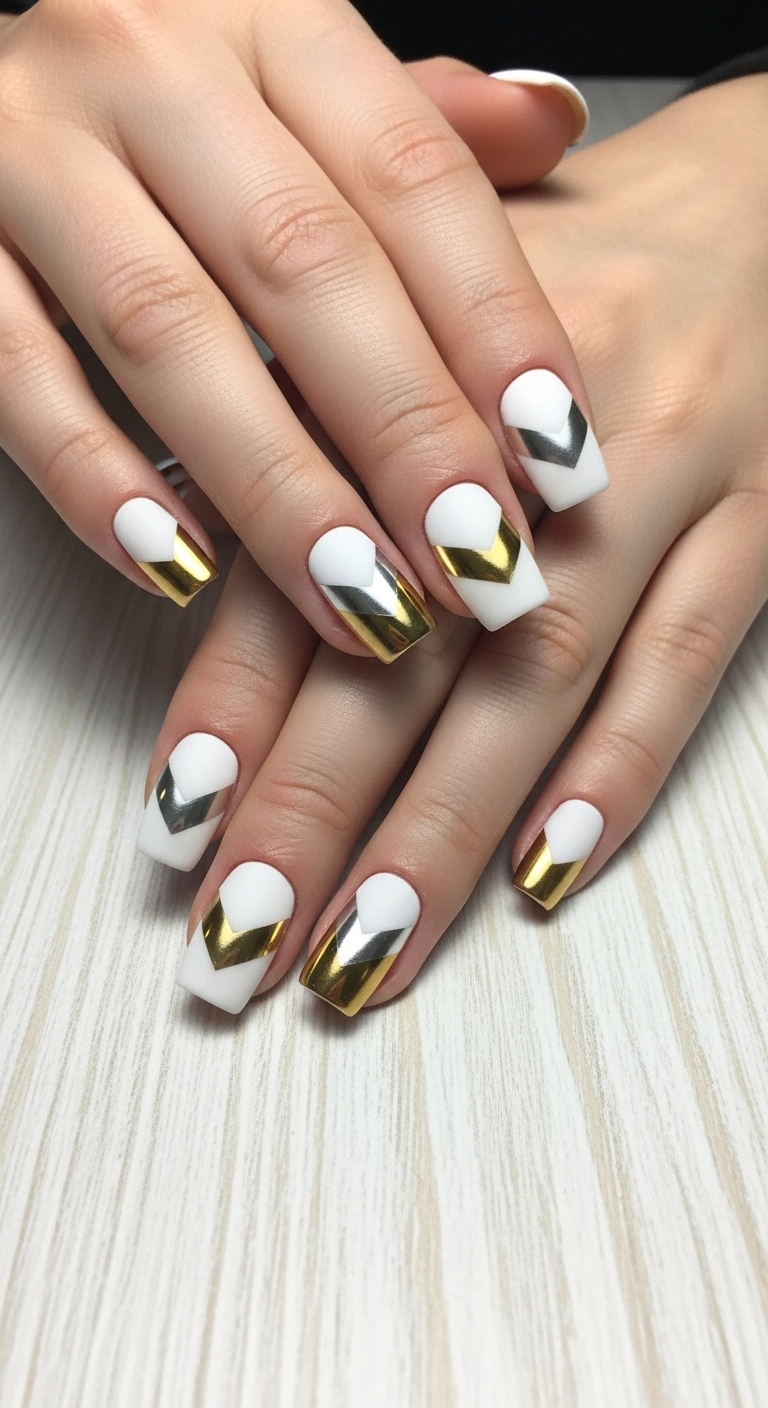
A matte white base gives your nails a soft, trendy feel. It’s simple, but somehow looks super put-together.
Add metallic chevrons for a pop. The shiny lines stand out against the matte, making your nails look sharp.
This look fits right in at a holiday party or just running errands. It’s easy to do but looks like you spent hours.
Use a fine brush or nail stickers for the chevrons. Gold or silver metallic polish is perfect for the holidays.
Expert Tip from KidsCareIdeas: “Let your matte polish dry all the way before adding the metallic. It keeps your lines neat.”
8. Icy White Holographic Shine
Sparkle like fresh snow with an icy white base and a holographic topcoat. It catches the light and shifts colors—pretty magical, right?
This style works on any nail length and gives classic white nails a fun twist.
Layer on a holographic topcoat for that shimmer. It keeps your nails looking bright for days.
Expert Tip from KidsCareIdeas: “Thin coats help you avoid bubbles. Let each layer dry before adding the next.”
9. White Base with Blue Snowflake Decals

Paint your nails white for a crisp, wintery base. Blue snowflake decals pop against the white and look super cool.
Decals are easy to use—just stick them on! Put one snowflake per nail or cluster a few if you’re feeling fancy.
This look feels calm and a bit frosty, like a snowy day.
Expert Tip from KidsCareIdeas: “Wait for your white base to dry before adding decals. They’ll stick better and last longer.”
10. Pearly White with Subtle Snow Dust
If you want shine without going overboard, pearly white polish is your friend. It gives your nails a soft glow.
Add tiny bits of glitter to mimic fresh snow. It’s simple but still feels special for the season.
This look works for pretty much any occasion.
Put on a pearly white base, then dust on fine glitter or a shimmer topcoat. Finish with clear topcoat for a smooth finish.
Expert Tip from KidsCareIdeas: “A makeup sponge helps you dab glitter on gently and evenly.”
11. White Marble Effect with Grey Veins

Go for a classy vibe with a white marble effect. White is your base, and you use thin grey lines for the marble pattern.
Use a fine brush or nail tool for the veins. Keep the lines light and a bit random so it looks natural.
This style works for both short and long nails. It’s subtle, but still stands out.
Expert Tip from KidsCareIdeas: “Dip a fine brush in grey polish for the veins. Build the pattern slowly for a real marble look.”
12. Snowman Face Accent Nails

Want something cute? Try snowman faces as accent nails. Paint a nail white, then add two black dots for eyes and a tiny orange nose.
Draw a little smile if you’re feeling cheerful. Keep the rest of your nails plain white or add a little glitter to let the snowmen shine.
This design is fun for parties and doesn’t need fancy tools—a toothpick works fine.
Expert Tip from KidsCareIdeas: “Seal your snowmen with a clear topcoat. Let each part dry before adding the next so nothing smudges.”
13. Glossy White with Tiny Red Dots
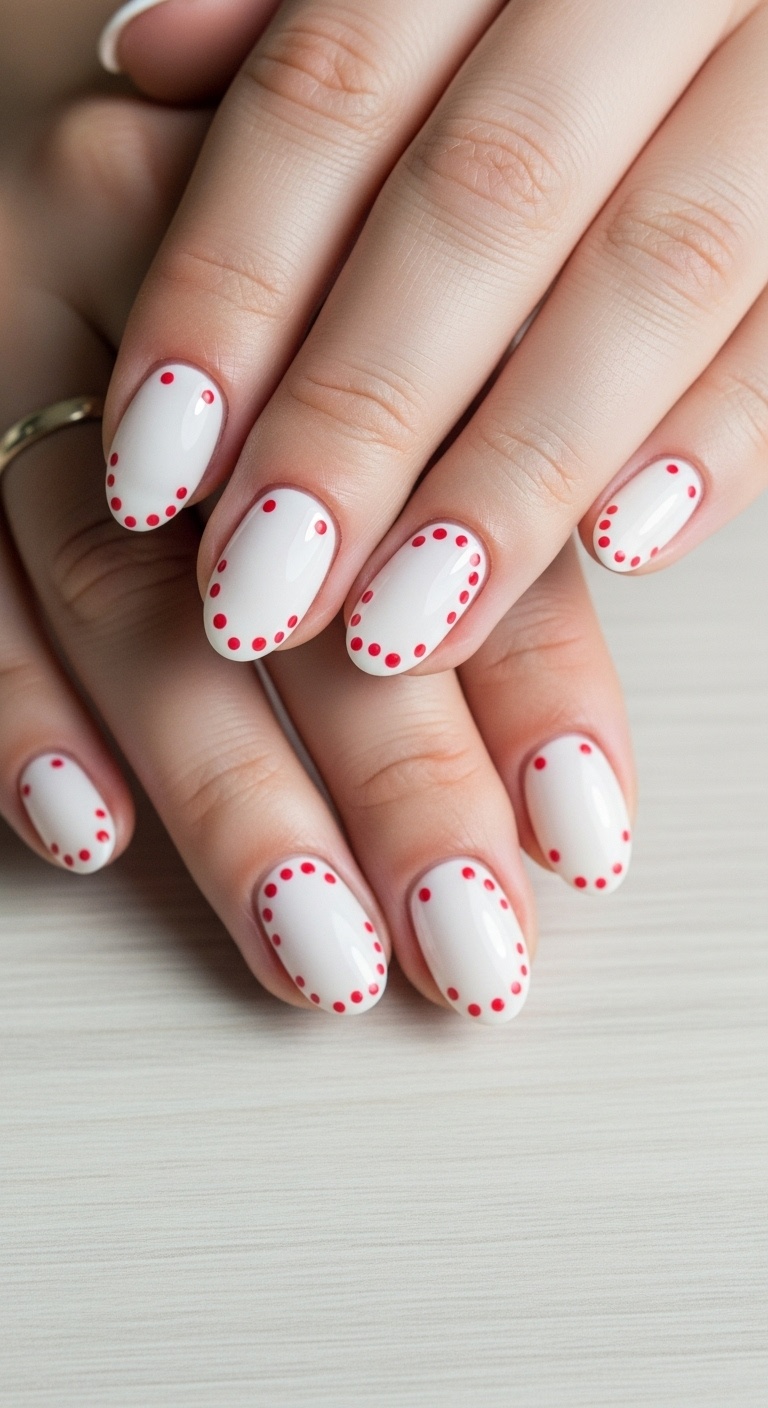
Glossy white nails look fresh and bright.
Add tiny red dots for a festive pop—scatter them randomly or line them up near the tips.
The red against the white really stands out, just like holiday lights.
You don’t need special tools—a toothpick or bobby pin does the trick.
Expert Tip from KidsCareIdeas: “A quick-dry topcoat keeps your dots from smudging. Practice on paper first to get the dot size you want.”
14. Frosted White with Silver Stripes
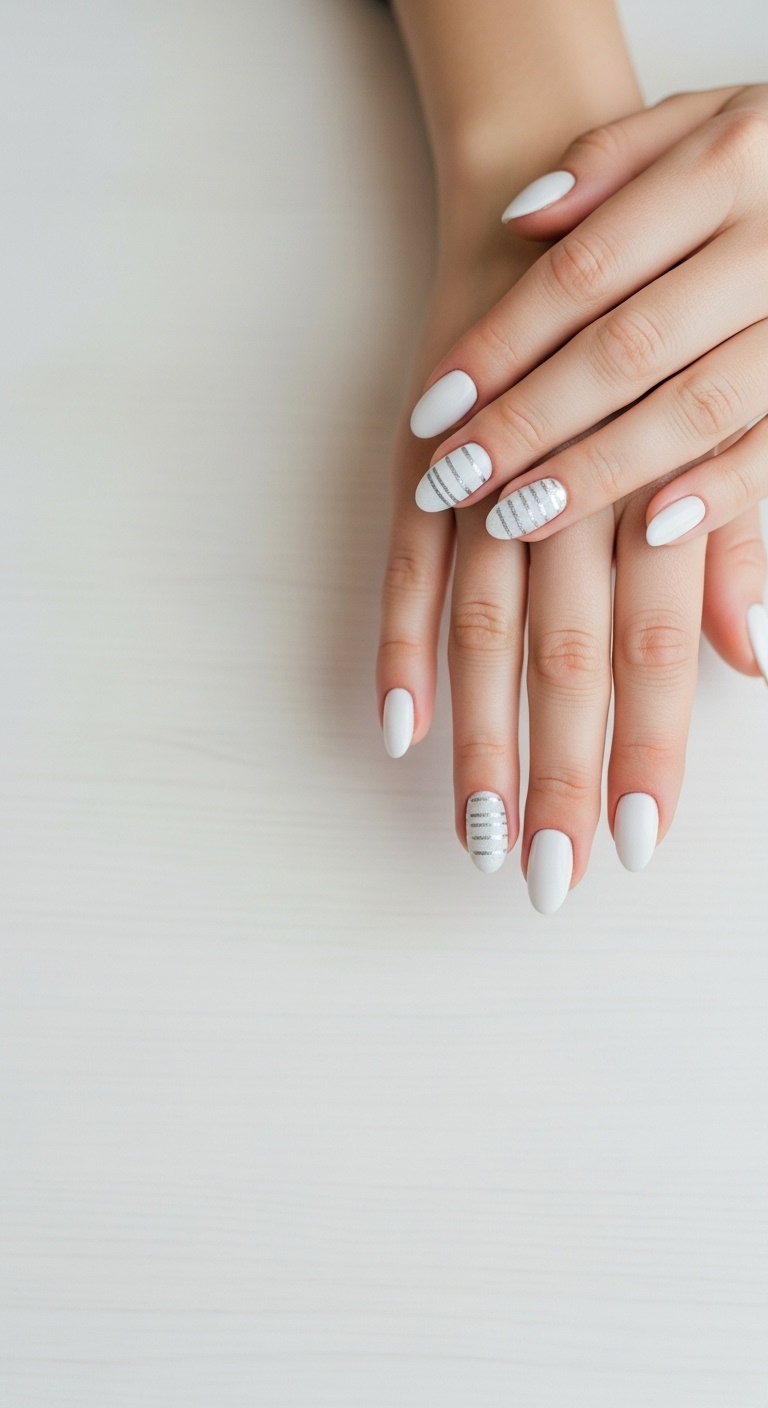
Use a frosted white base for that soft, snowy look. It’s matte and cool, like a winter morning. Add thin silver stripes for contrast—they catch the light and look festive.
Your stripes don’t have to be perfect. In fact, a little wobble gives your nails a handmade, cozy feel.
Nail tape or a thin brush helps with the stripes. Silver glitter polish works too if you want extra sparkle.
Expert Tip from KidsCareIdeas: “A matte topcoat keeps the frosted look. Nail tape makes straight silver lines easy.”
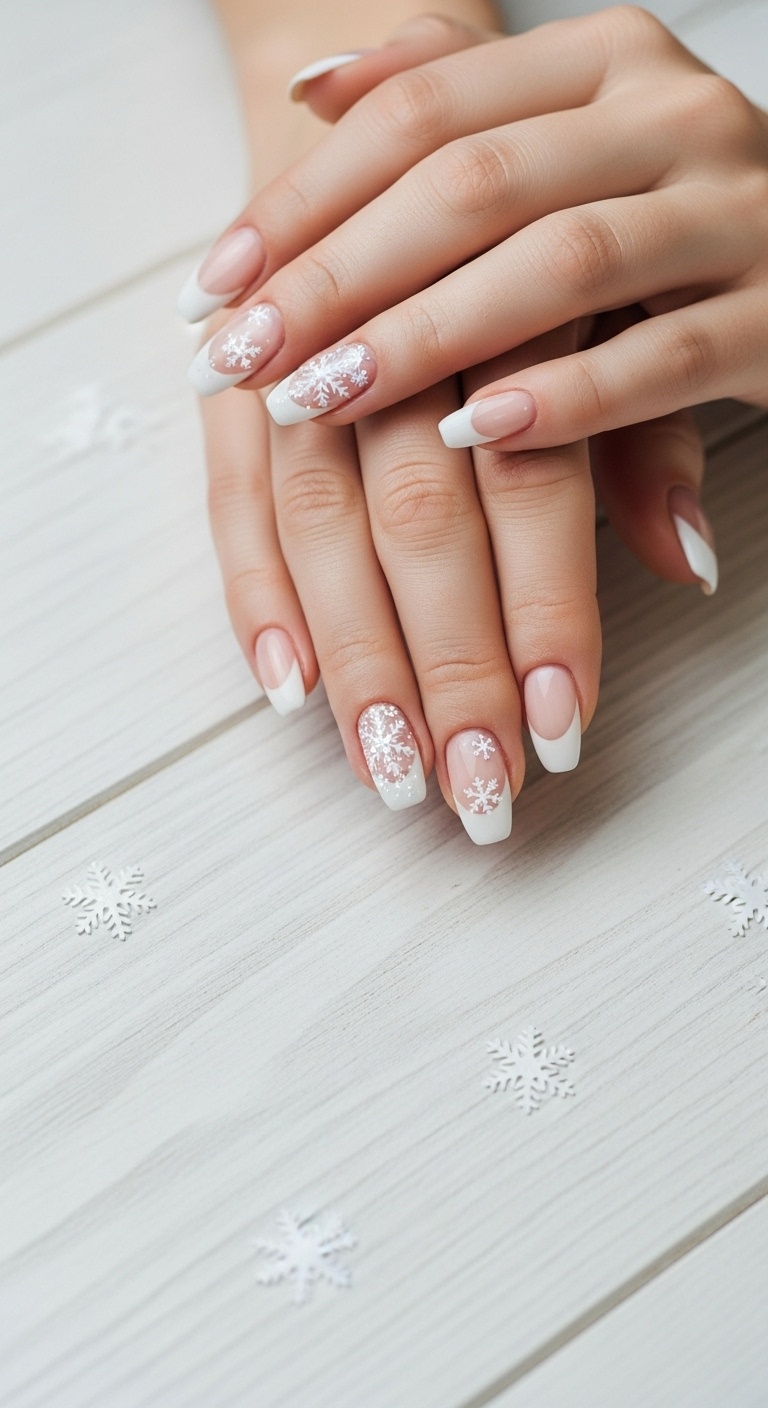
15. White Base with 3D Snowflakes
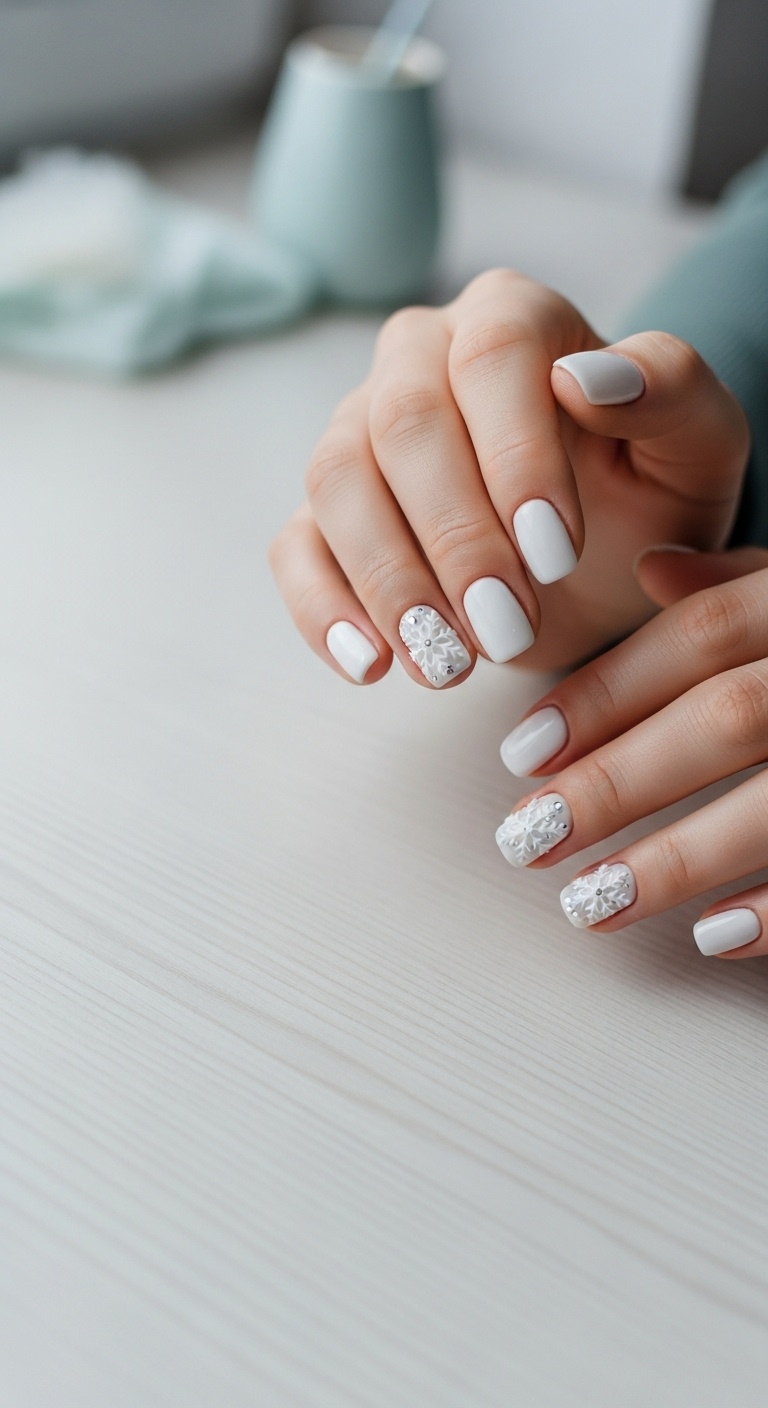
Start by painting your nails with a clean white polish. It looks super fresh and honestly, nothing says winter quite like crisp white nails.
Pick one or two nails and add some 3D snowflakes. These little raised designs really catch the light and give your nails a fun, textured look.
You can use nail art tools to make your own snowflakes, or just grab some ready-made stickers if you’re feeling a bit lazy (no shame).
Either way, those snowy details make your nails look extra cool—literally.
Keep the rest of your nails plain so your snowflakes get all the attention.
Oh, and here’s a tip from KidsCareIdeas: slap on a strong top coat. It helps those 3D snowflakes actually stay put, plus it keeps your nails shiny for days.
