If you’re into festive nails but want something that actually stands out, square-shaped nails might just be your new favorite.
They’ve got this crisp, clean vibe that works really well for Christmas designs—fun, but not too wild.
Here are 14 square Christmas nail ideas to help you celebrate the season with style. These designs use simple shapes and colors that fit perfectly on square nails.
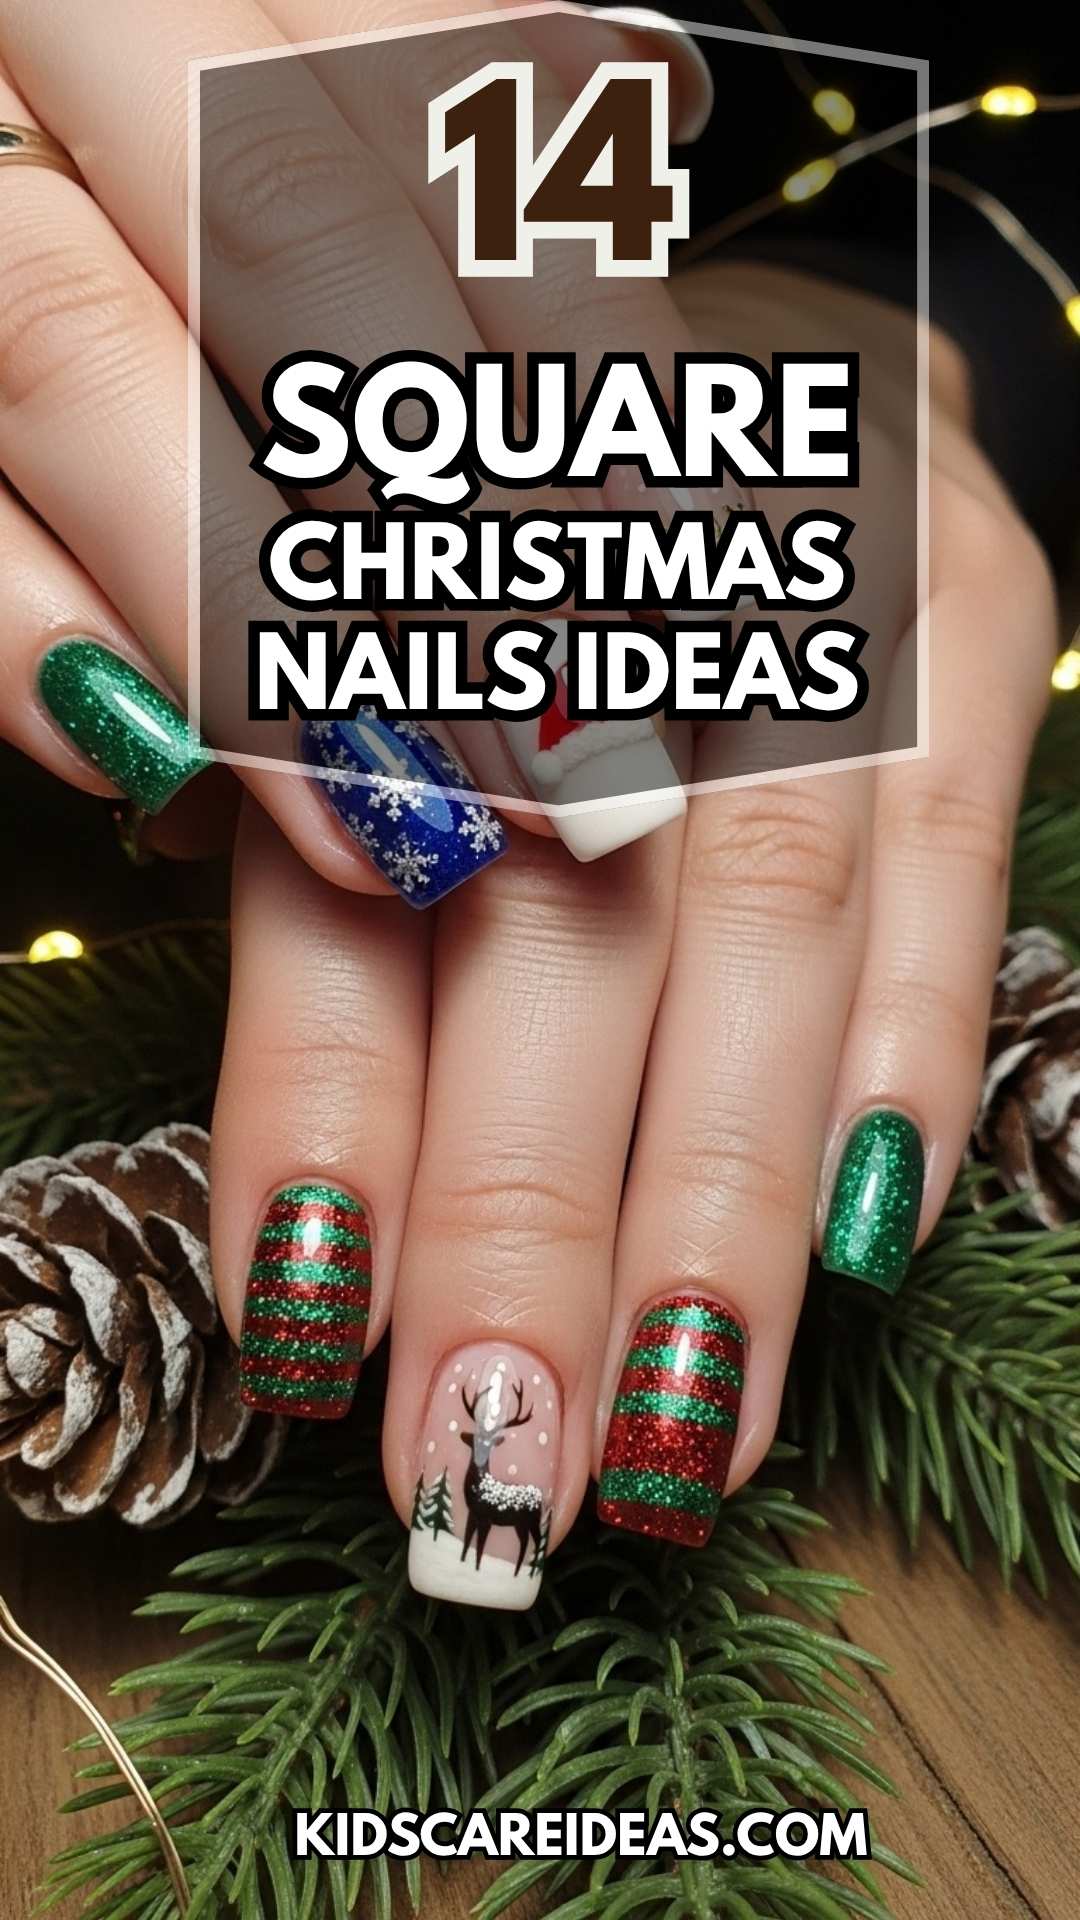
Whether you’re all about bold shades or just a hint of sparkle, you’ll find something to match your holiday mood and make your hands look great at every party.
1. Classic Red with Gold Glitter Tips
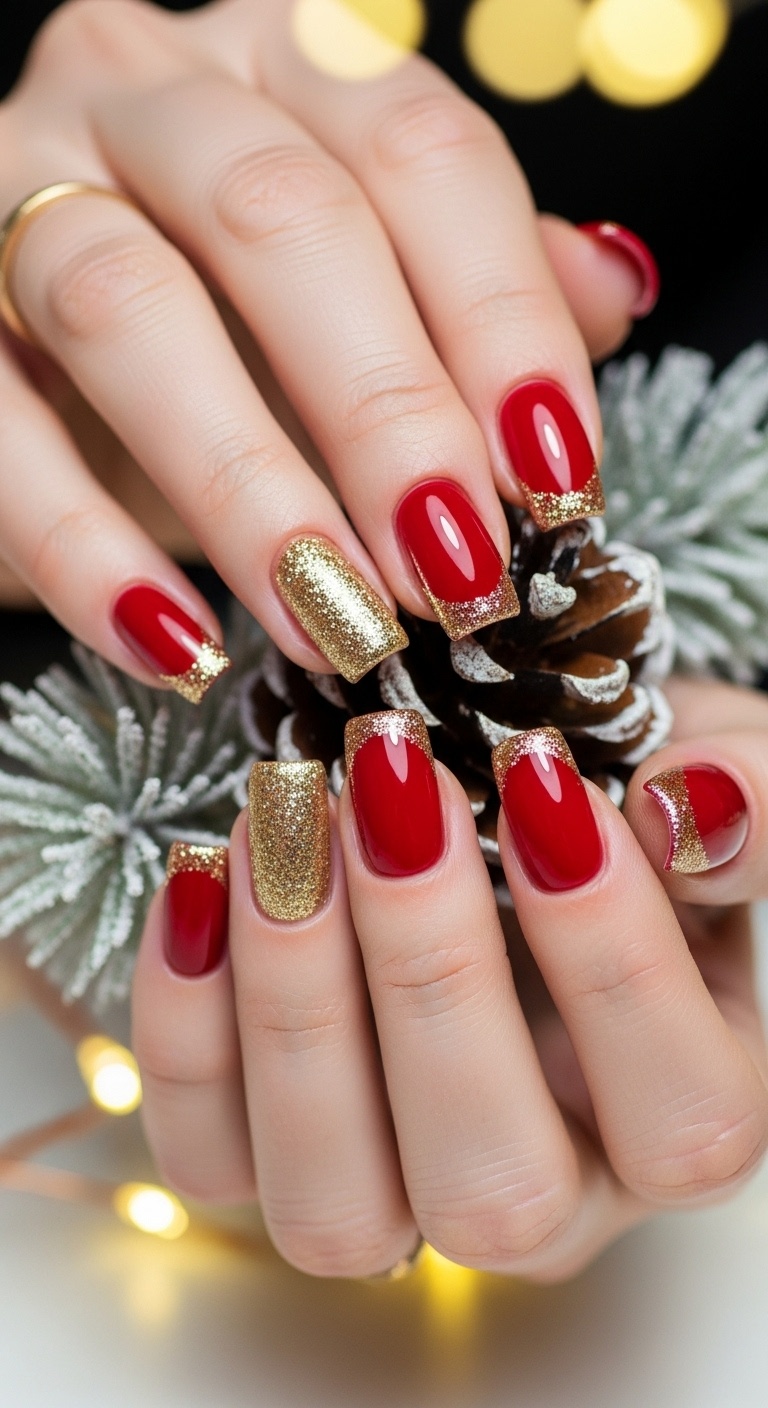
Red nails for Christmas? Always a win. They’re bright, festive, and somehow manage to match every holiday outfit.
Try adding gold glitter just to the tips for a little extra shine. It’s simple, but still catches the eye.
Square nails make the glitter tips pop even more. Plus, this shape keeps everything looking neat and tidy.
If you like to switch up your colors a lot, use a peel-off base coat. Swapping designs gets way easier and your nails won’t take a beating.
Expert Tip from KidsCareIdeas: “Brush on a thin layer of clear top coat over the glitter to lock in those sparkles. It also keeps your nails shiny for longer.”
2. Snowflake Accents on Matte White
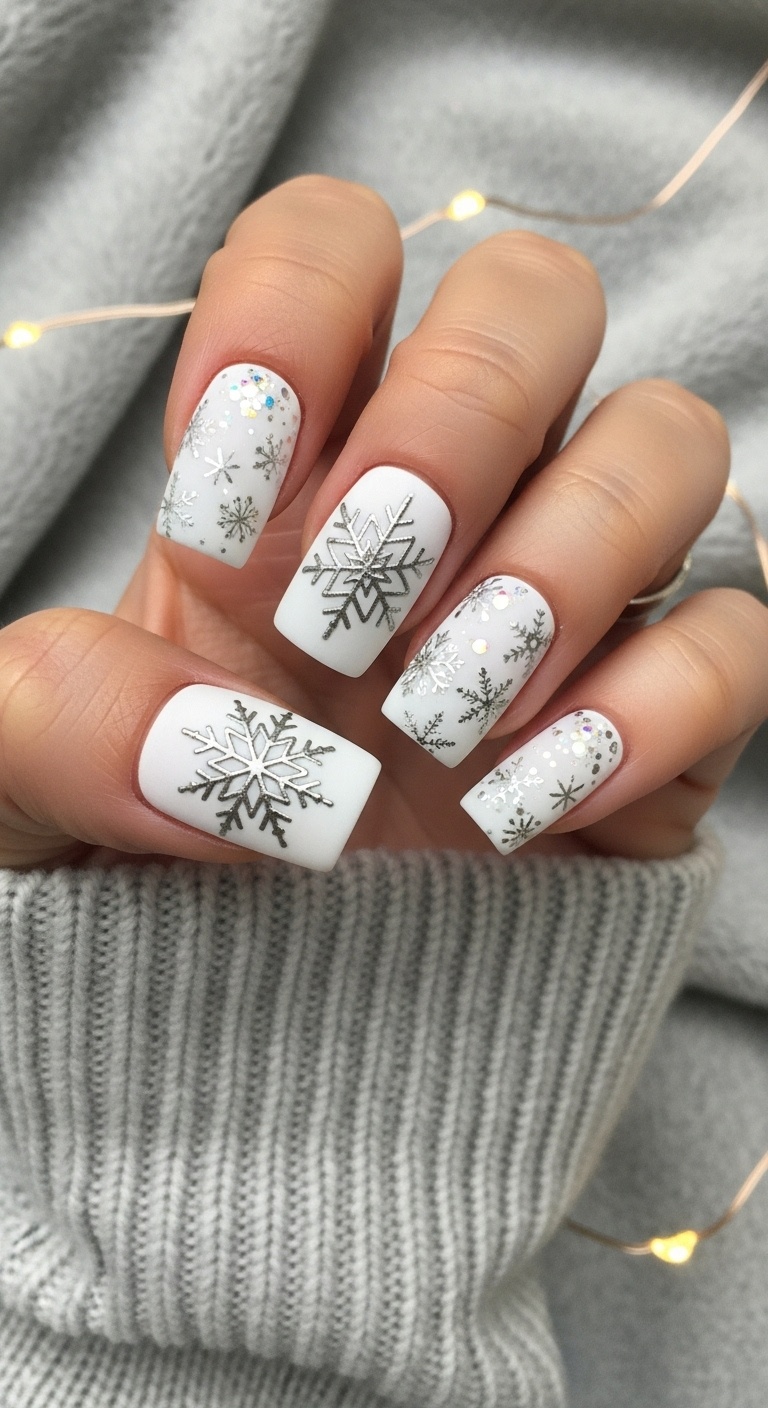
Want a clean, wintery look? Go for snowflake designs on a matte white base. The matte white lets the snowflakes stand out without being too flashy.
You can keep the snowflakes simple or add tiny dots for a falling snow vibe.
This style feels calm and fresh. It’s great for both parties and lazy days at home.
Use a thin brush or a nail pen to draw the snowflakes. If that’s tricky, snowflake stickers save the day.
White matte polish also hides chips better than glossy ones, so your nails stay looking good longer.
Expert Tip from KidsCareIdeas: “Protect your art with a matte top coat. Stickers work great if drawing isn’t your thing.”
3. Candy Cane Stripes with Glossy Finish

Candy cane stripes just scream Christmas. Grab some red and white polish to make thin, neat lines on your square nails.
A glossy finish really makes those stripes shine.
You can play around with direction—go horizontal, diagonal, or vertical. Whatever feels right.
This pattern looks fun but isn’t too tricky, even for beginners.
Let your base coat dry all the way before adding stripes. Finish with a shiny topcoat to keep everything in place.
Expert Tip from KidsCareIdeas: “A fine brush or striping tape helps you get those crisp lines. Don’t skip the glossy topcoat for extra shine and staying power.”
4. Green Glitter Gradient with Silver Stars
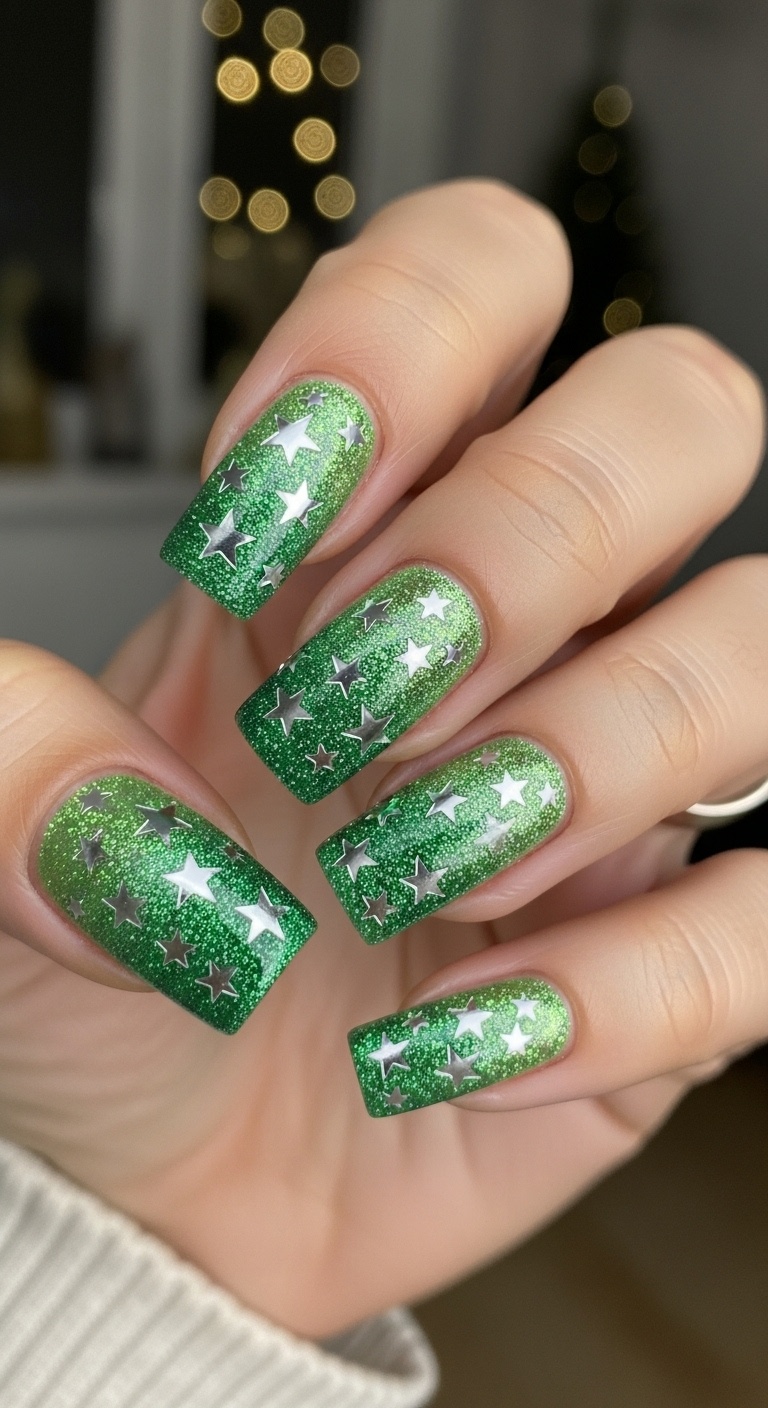
Start with a deep green base on your nails. Add glitter to the tips and fade it toward the middle for a cool gradient effect.
Stick on some silver stars or paint a few for a festive touch. You can scatter them or make a pattern.
This one’s simple but feels super festive.
Top it off with a clear coat to keep the glitter and stars where they belong. Plus, your nails will look extra shiny.
Expert Tip from KidsCareIdeas: “Go for two thin layers of glitter instead of one thick one to dodge clumps. Always finish with a strong top coat so your stars don’t peel off.”
5. Plaid Pattern with Tiny Red Bows
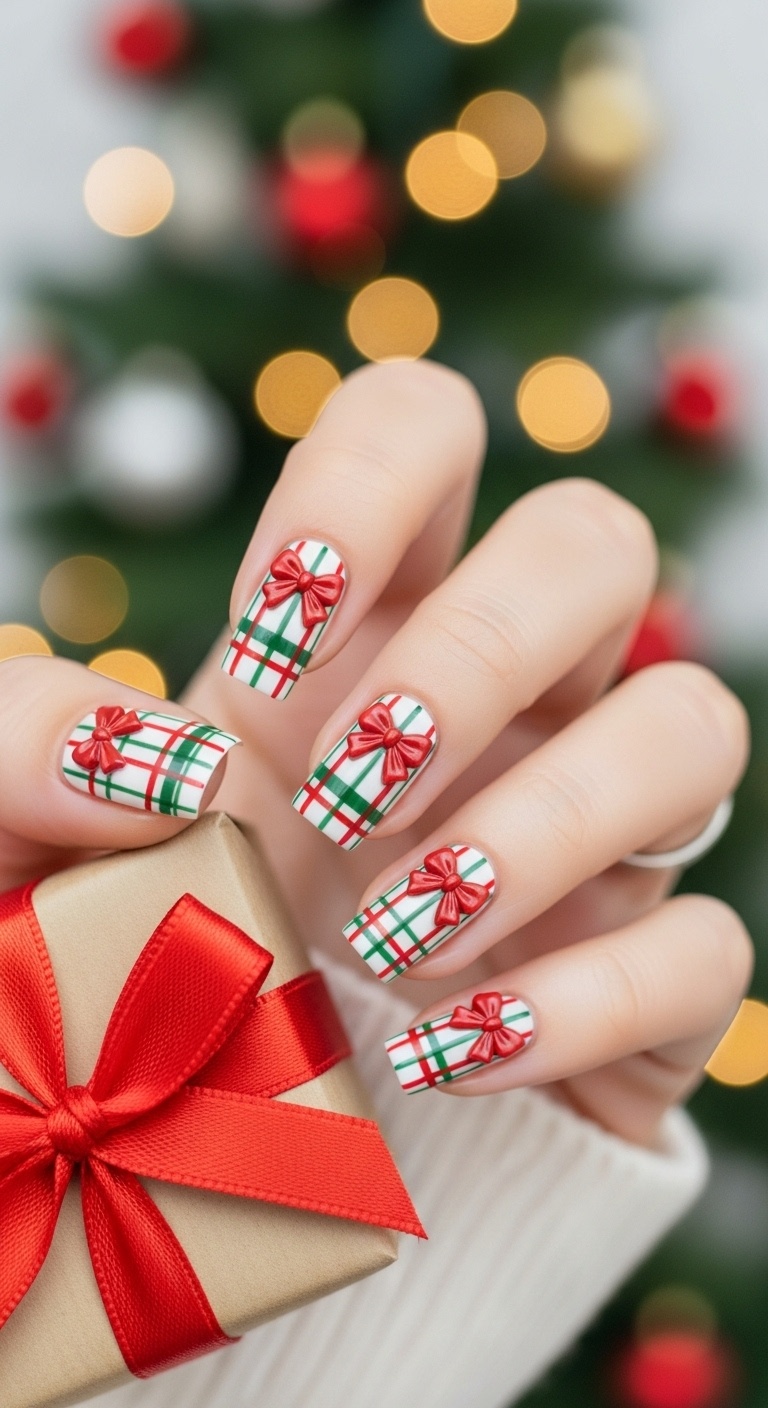
If you want something festive but still neat, try plaid nails with tiny red bows. The plaid brings that classic Christmas look.
Pick red, white, and green lines for a traditional feel.
Add a small red bow or two to make the design pop. You can use stickers or paint them if you’re feeling crafty.
This style is easy to match with your Christmas outfit.
Expert Tip from KidsCareIdeas: “A toothpick works great for painting tiny bows. Finish with a topcoat to keep everything neat all week.”
6. Glossy Deep Red with Tiny Snowmen
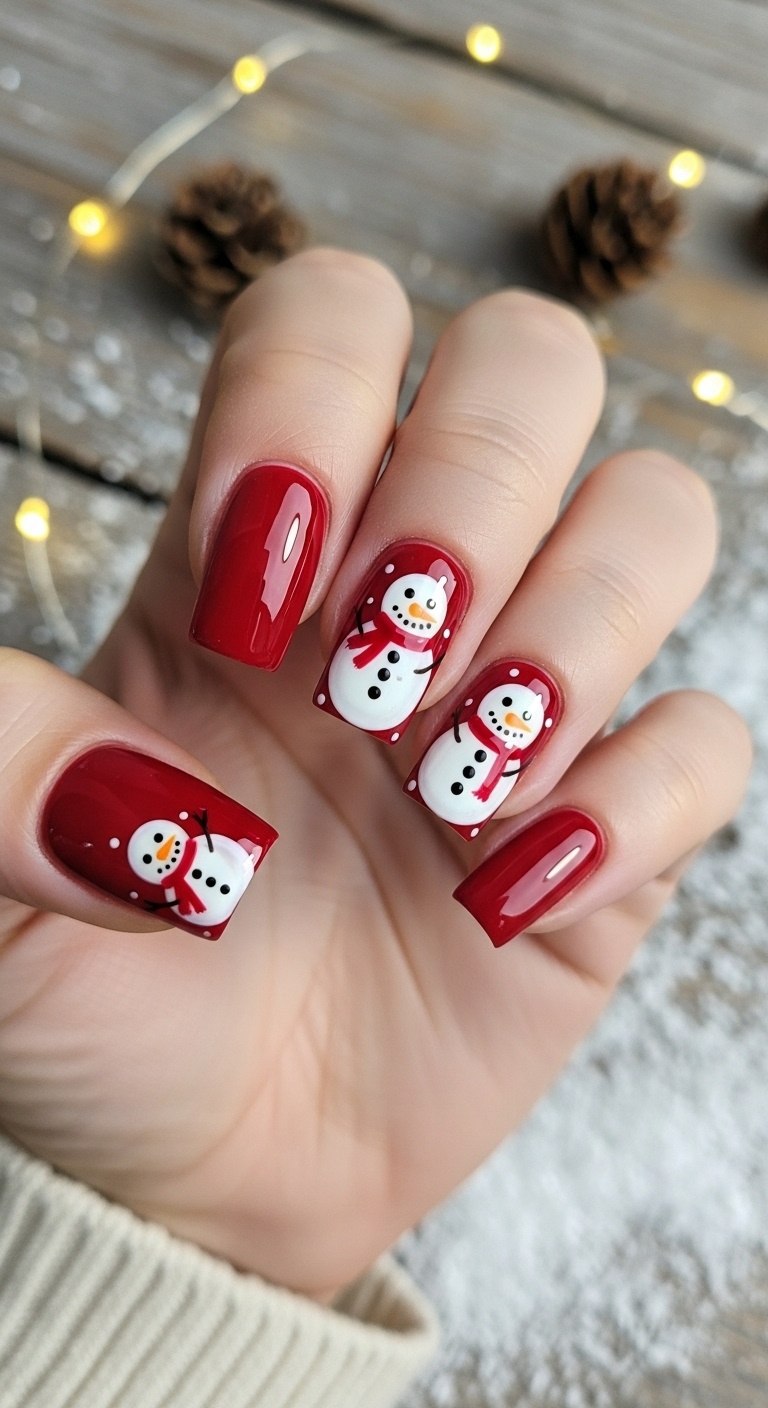
A deep, glossy red makes a bold base for Christmas nails. It’s classic and stands out.
Add tiny snowmen on a few nails for a cute twist. They’re fun and festive without being too much.
Square nails give you plenty of space to show off the details.
Use a fine brush or dotting tool for the snowmen, so they look neat and charming.
Expert Tip from KidsCareIdeas: “Quick-dry topcoat keeps your design safe from smudges. Start with clean nails for the best shine and longer wear.”
7. Frosted Pine Tree Silhouettes

Bring a winter forest to your nails with pine tree silhouettes. Use frosty white or silver polish over a dark green or navy base.
The contrast really makes the trees pop.
Keep the tree shapes simple and sharp. Square nails fit this style perfectly.
Add tiny dots around the trees for a snowy effect. Your nails will look like a peaceful, frosty forest.
Expert Tip from KidsCareIdeas: “A matte top coat makes the frosted trees stand out even more. If you’re new to nail art, practice tree shapes on paper first.”
8. Elegant Gold Foil Tips on Nude Base
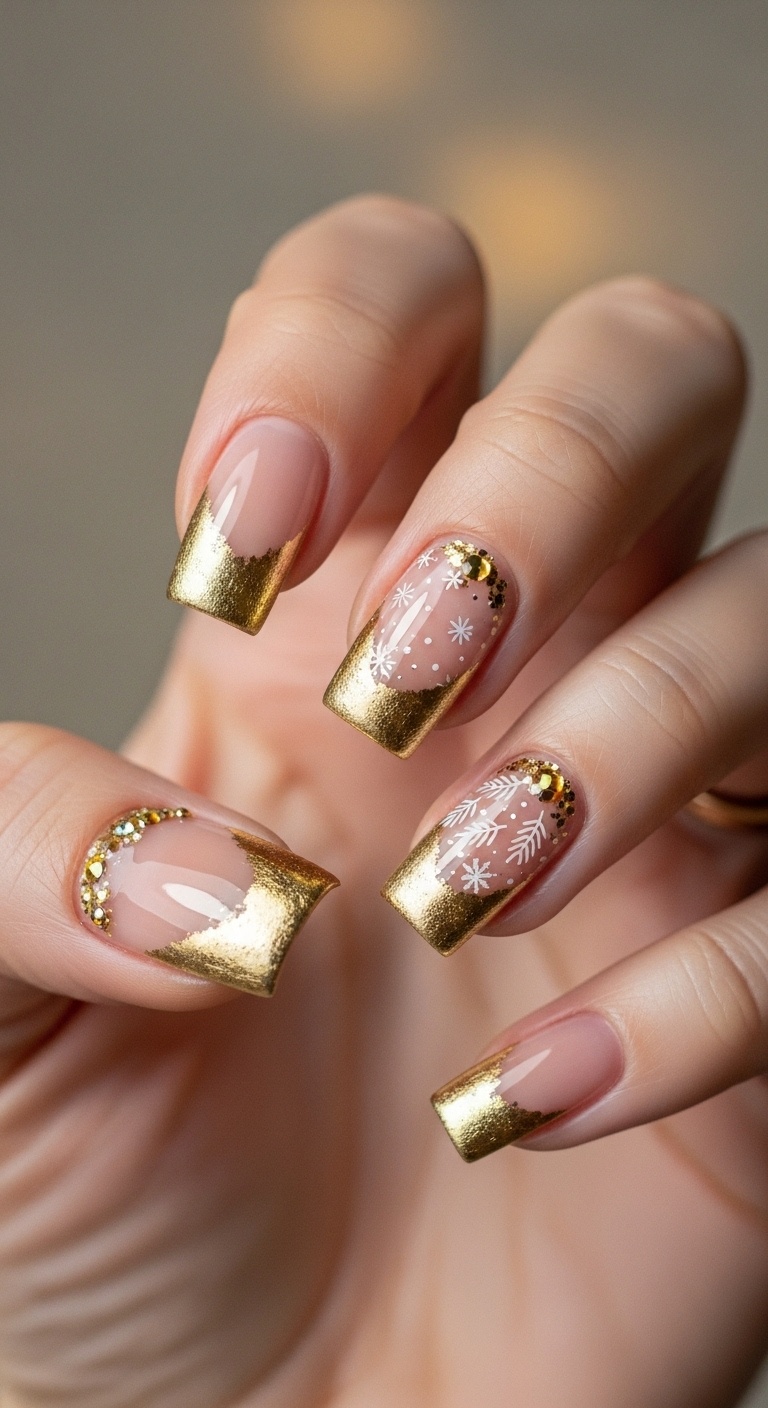
For something classy but still simple, try gold foil tips on a nude base. The nude color keeps your nails looking clean, while the gold foil brings a bit of sparkle.
Just add the foil to the tips for a neat, modern look. This one’s easy to pair with any outfit.
Paint on nude polish first, then carefully place the gold foil on the tips. Seal it all in with a clear coat.
Expert Tip from KidsCareIdeas: “A small brush helps you place the foil exactly where you want it. Seal well with a top coat so your design lasts.”
9. White Matte Base with Red Polka Dots
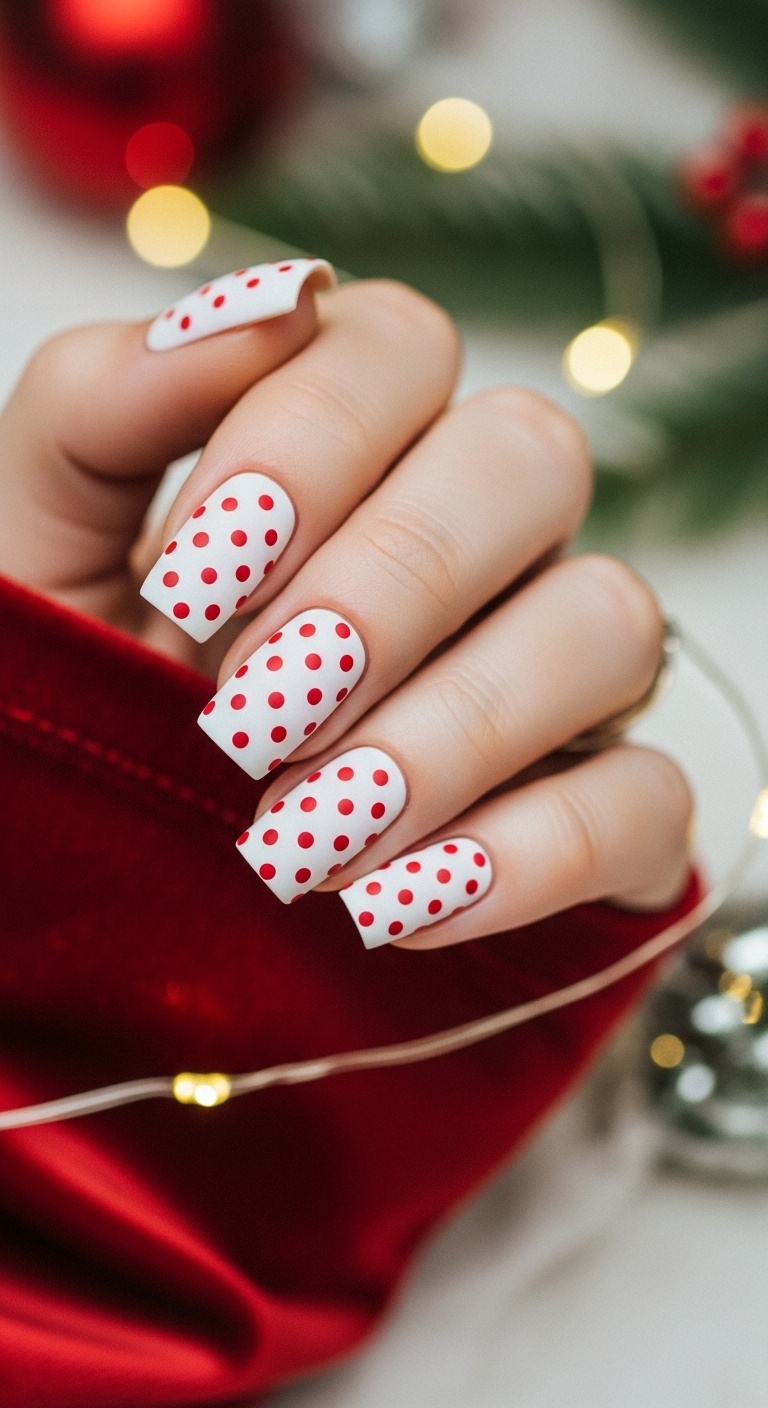
Start with a smooth white matte polish as your base. It looks fresh and perfect for winter.
Add little red polka dots all over. A dotting tool or toothpick gives you even dots.
This design is simple but still festive. The matte finish makes the red dots stand out.
It’s easy to do yourself and looks great on square nails.
Expert Tip from KidsCareIdeas: “Seal your dots with a matte topcoat to keep the look and protect your design.”
10. Sparkling Silver Snowflakes on Clear Base

Go for a classy look with silver snowflakes on a clear base. The clear background keeps your nails looking fresh.
Silver snowflakes add sparkle without going overboard. Use stickers or paint them on by hand.
This style works for both short and long square nails.
Add a shiny top coat to make the silver pop and help it last longer.
Expert Tip from KidsCareIdeas: “A thin brush keeps your snowflakes sharp. Clear base means you can switch up designs easily if you get bored.”
11. Red and White Ombre with Glitter
If you like a softer, sparkly look, try red and white ombre. Start with red at the base and fade into white at the tips.
The blend gives your nails a dreamy effect.
Add glitter on top for some extra shine. This design works for any length of square nails.
You can keep it simple or add tiny snowflake stickers for fun.
Expert Tip from KidsCareIdeas: “A makeup sponge helps blend red and white polish smoothly. Finish with a thin layer of glitter polish so it doesn’t clump.”
12. Glossy Dark Green with Gold Dots
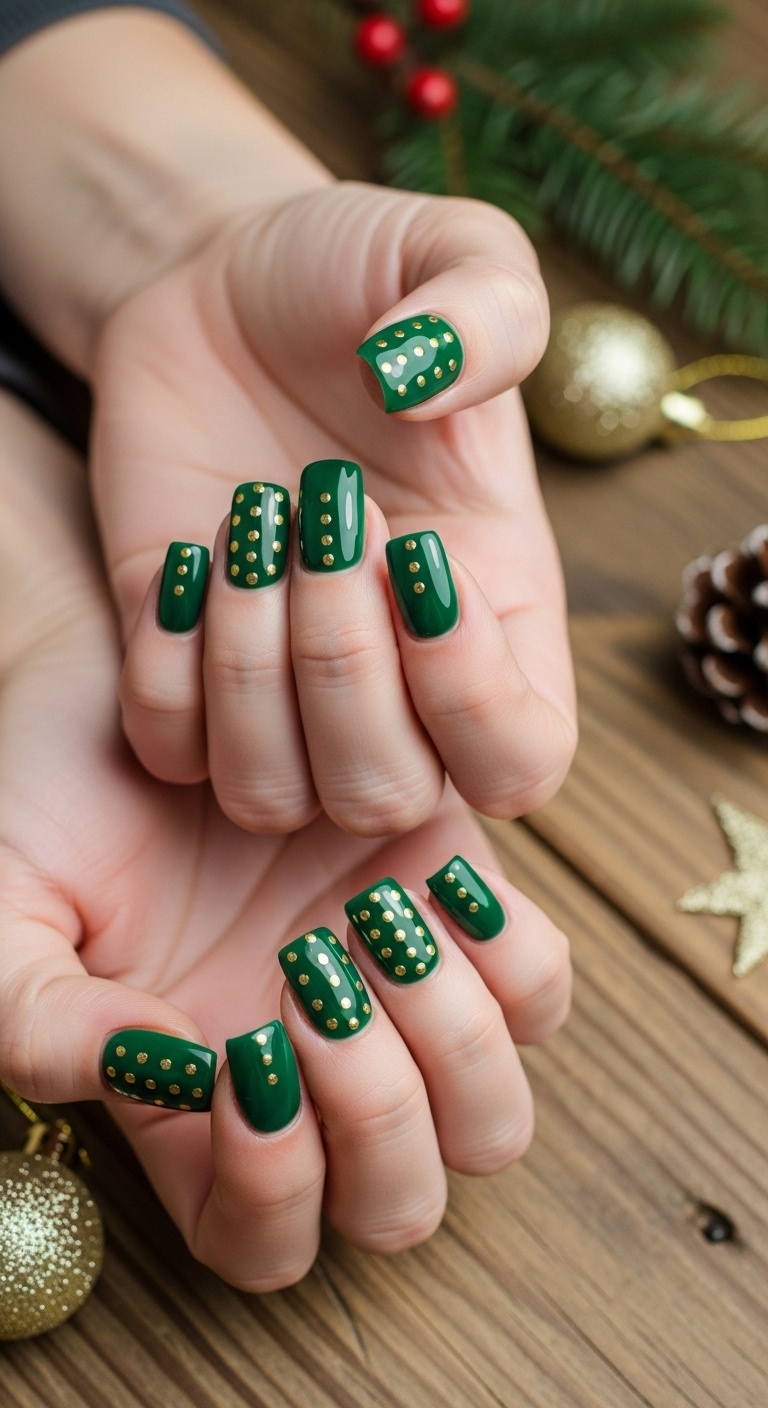
Dark green nails just feel right for Christmas. They’re rich and festive, but not too loud.
A glossy finish makes them shine, kind of like a pine tree after rain.
Add tiny gold dots for a bit of sparkle. They look like little ornaments or Christmas lights.
This style works for both day and night. Plus, it matches most holiday outfits.
Expert Tip from KidsCareIdeas: “Use a dotting tool or bobby pin for perfect gold dots. Top coat keeps your design looking fresh.”
13. Minimalist Red French Tips with Sparkle
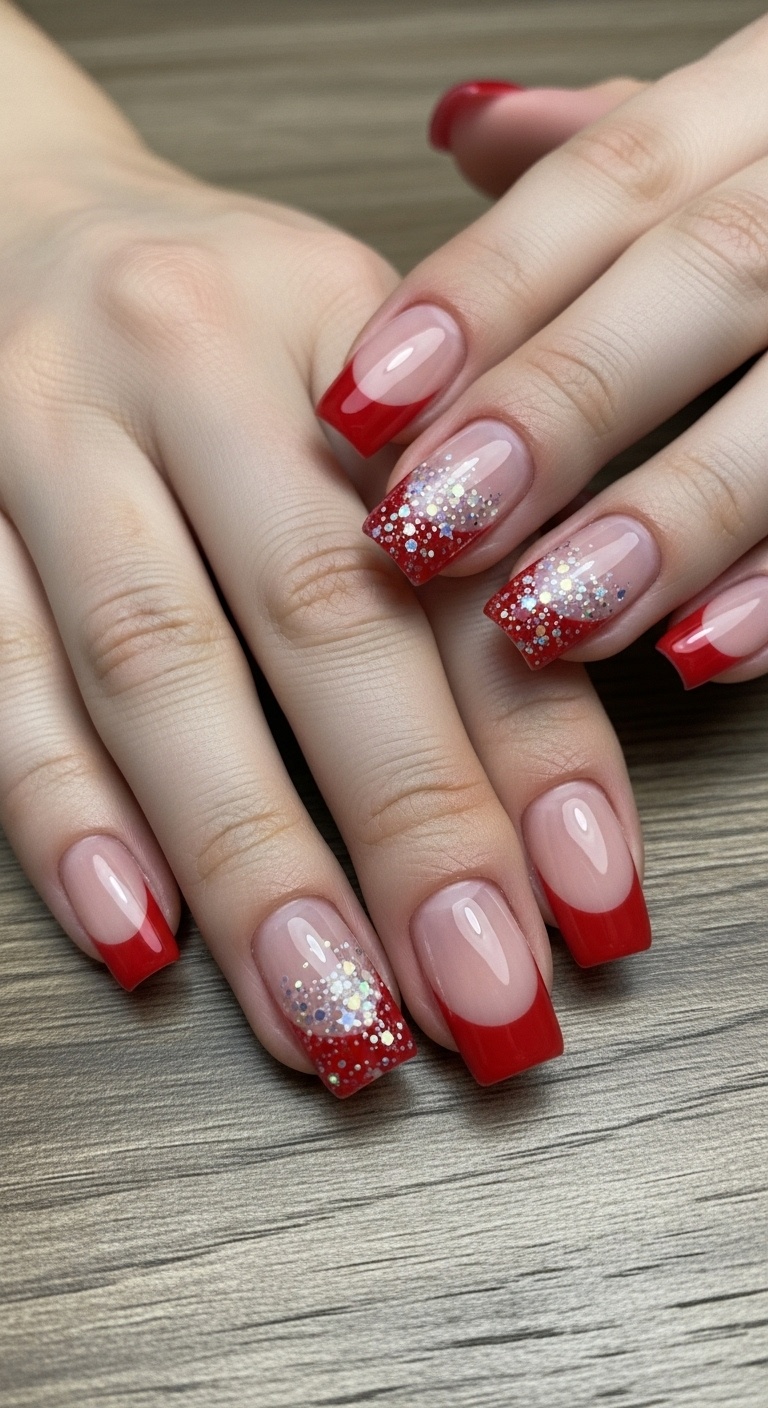
Keep it simple but festive with red French tips. Just paint the tips of your square nails bright red.
It’s easy and still feels special for Christmas.
Add a little sparkle on one or two nails to catch the light. This makes your manicure stand out without being too much.
Minimalist red tips with a touch of shine work for any occasion.
Expert Tip from KidsCareIdeas: “A thin brush helps you get sharp, clean tips. Add sparkle after the red dries to avoid smudges.”
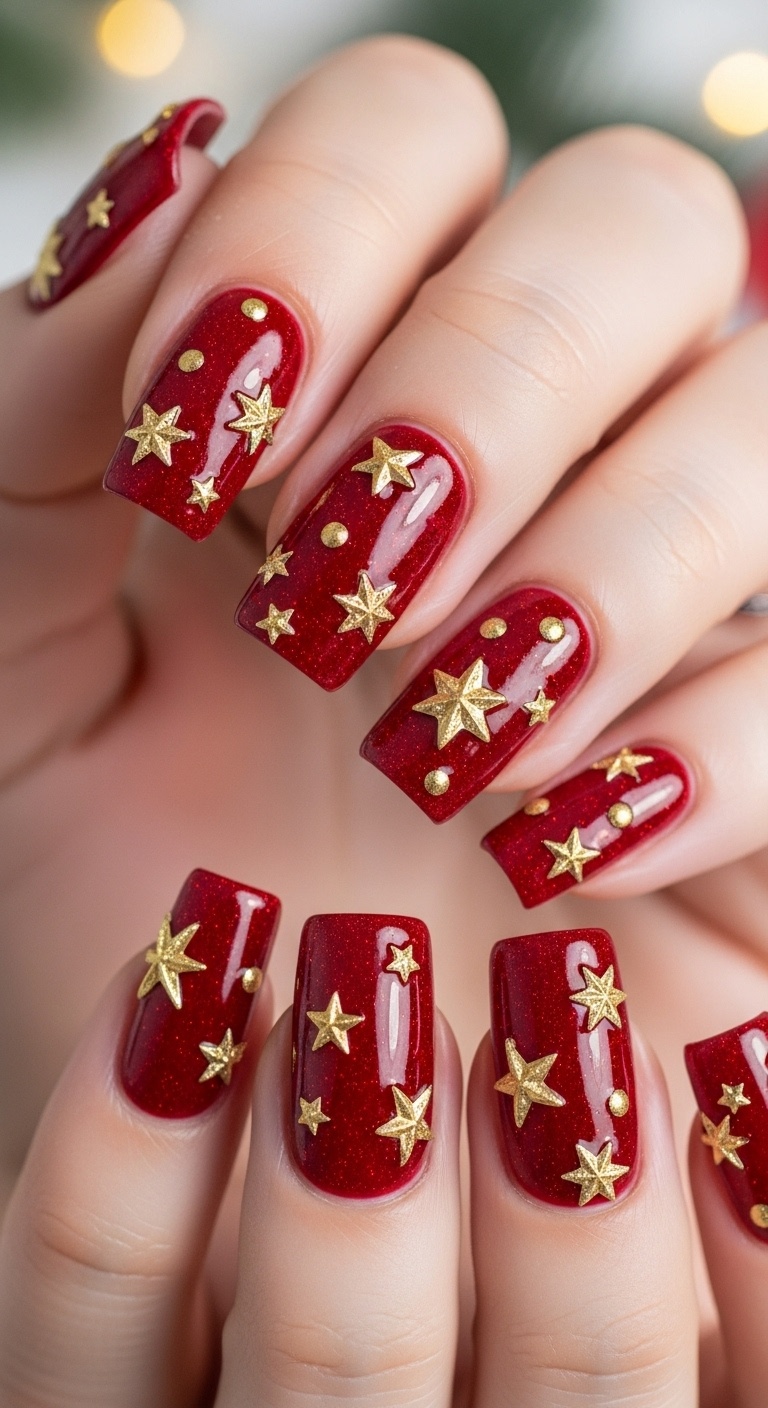
14. Red Velvet Texture with Gold Stars
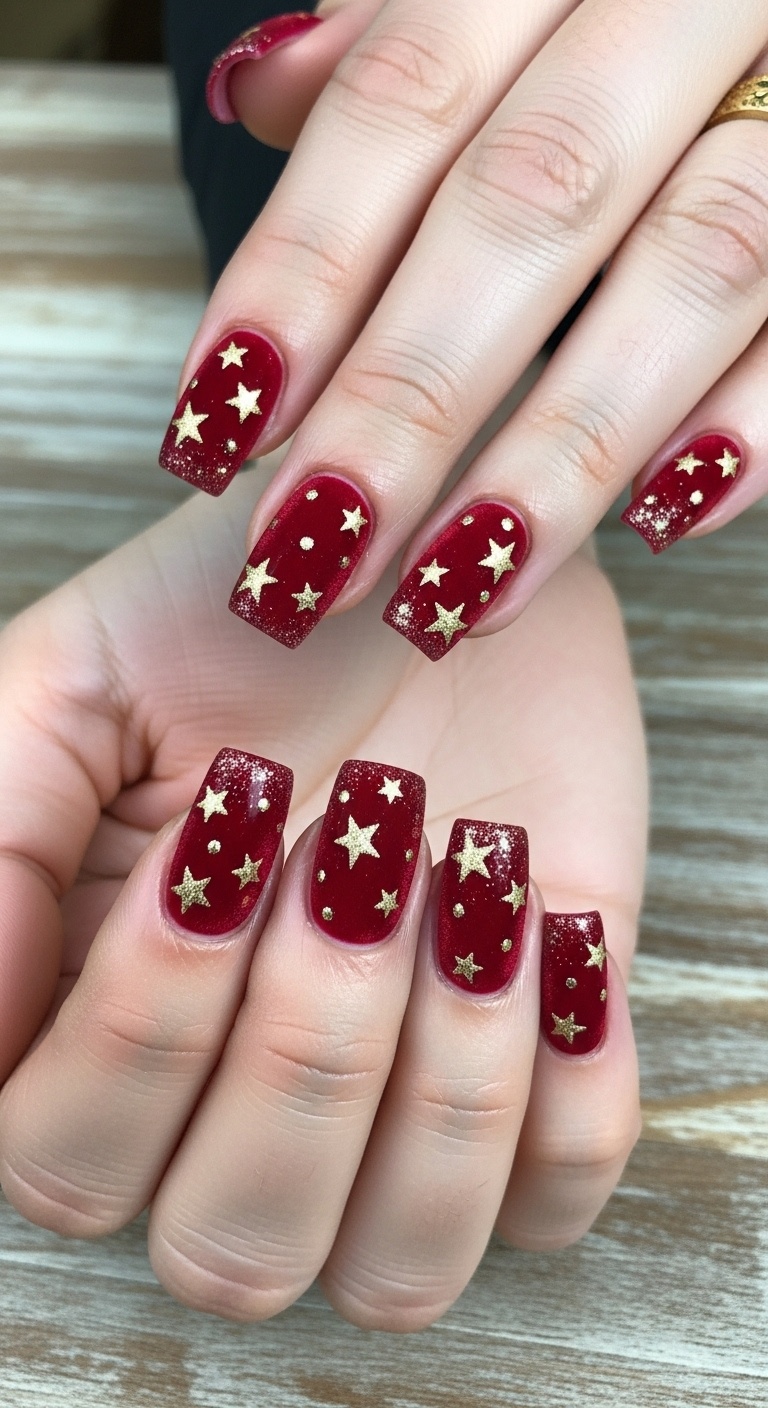
Let’s be honest—red velvet nails just scream cozy. When you give them that soft, fuzzy texture, they almost look like you wrapped your fingertips in a tiny winter sweater.
I love how the deep red feels so warm, almost like you’re holding a mug of hot cocoa. Want to jazz it up? Toss on a few tiny gold stars.
Those stars really shine against the red, don’t they? You can scatter them however you like, or make little constellations if you’re feeling artsy.
I’ve found this style looks best on square nails. The flat top just shows off all those details so nicely.
It’s not a complicated look, but wow, it draws attention at any holiday get-together.
Expert Tip from KidsCareIdeas: “Use a matte velvet polish for the soft look. Finish with a clear top coat around the stars to keep them from falling off.”
