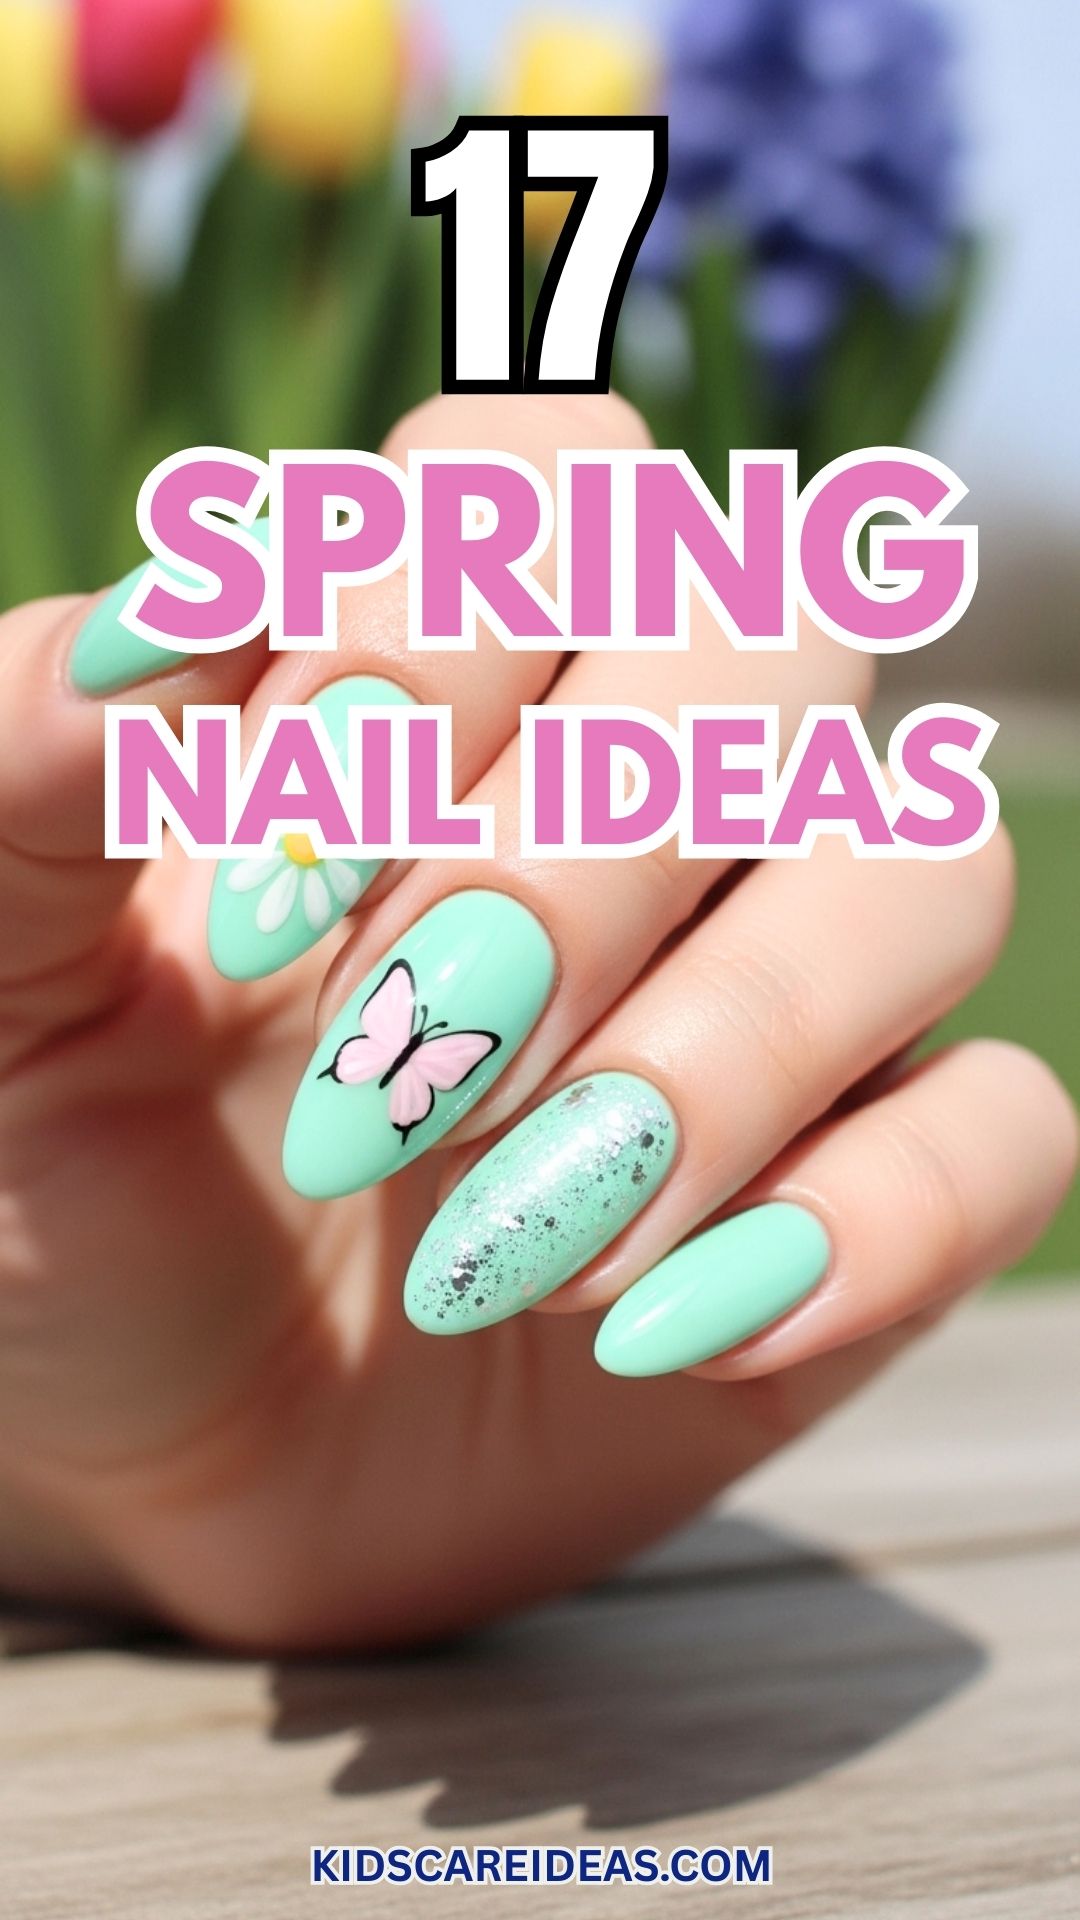
So, you want spring nails that actually feel fresh, fun, and easy to wear, right?
Here are 17 simple ideas you can totally pull off, from soft pastels to bold pops of color, so you can pick a look that fits your mood (and your calendar).
You’ll find stuff that works whether your nails are short or super long, for quiet days or when you’re feeling a bit extra.
I’ve got tips to mix colors, play with textures, and keep things simple if you want.
Flip through these ideas and get ready to make your hands feel like they just spent a weekend in a garden.
1. Pastel tulip tips
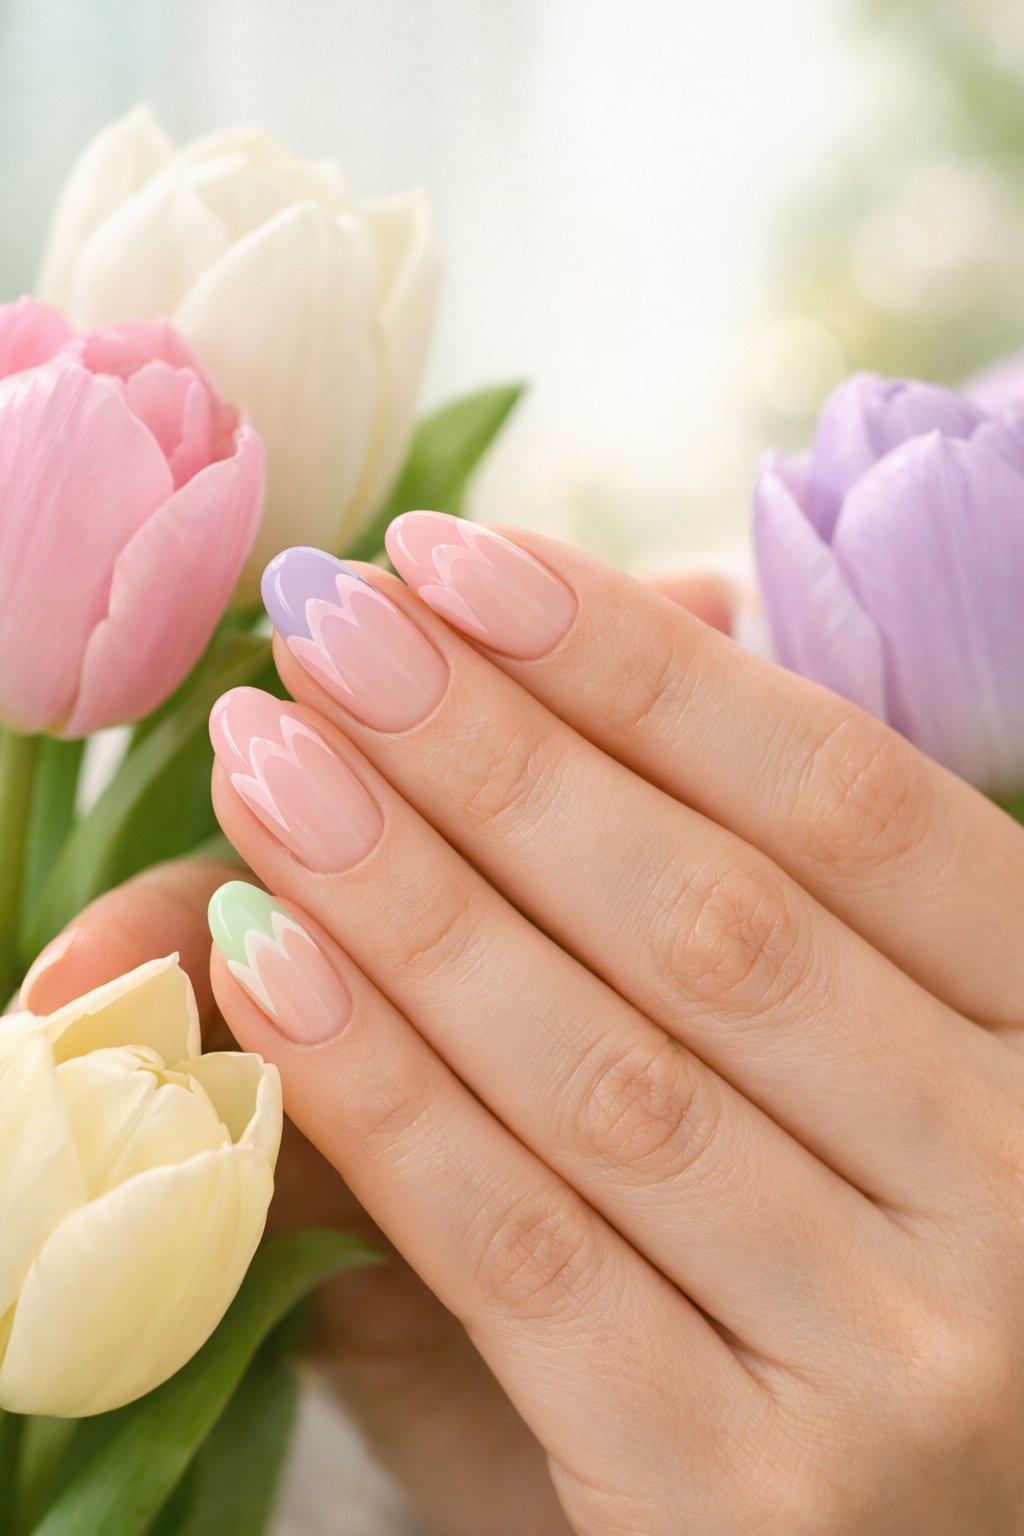
Pick soft pastels like baby pink, mint, or lavender for a spring vibe that never gets old. Paint your tips in a French style, then dab on tiny tulip shapes using a dotter or a skinny brush.
Just two petals and a stem—don’t overthink it! Mix up the colors on each nail if you’re feeling playful.
Swipe on a glossy topcoat to keep your flowers safe and add that fresh shine. This works for both short and long nails, so you’re good either way.
Expert Tip from KidsCareIdeas: “No dotting tool? Grab a toothpick for those tiny tulip details. Thin coats dry quicker and don’t smudge as much.”
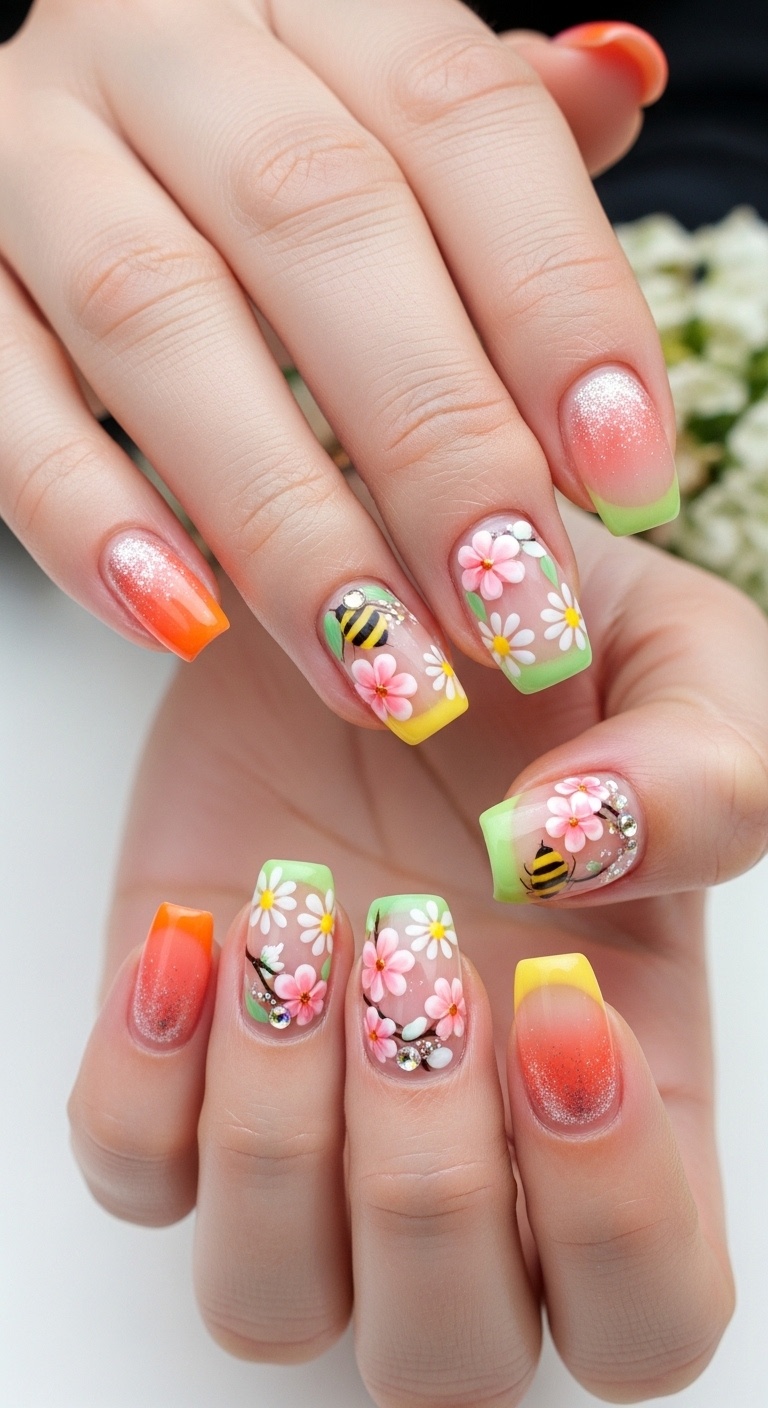
2. Daffodil yellow accent nail
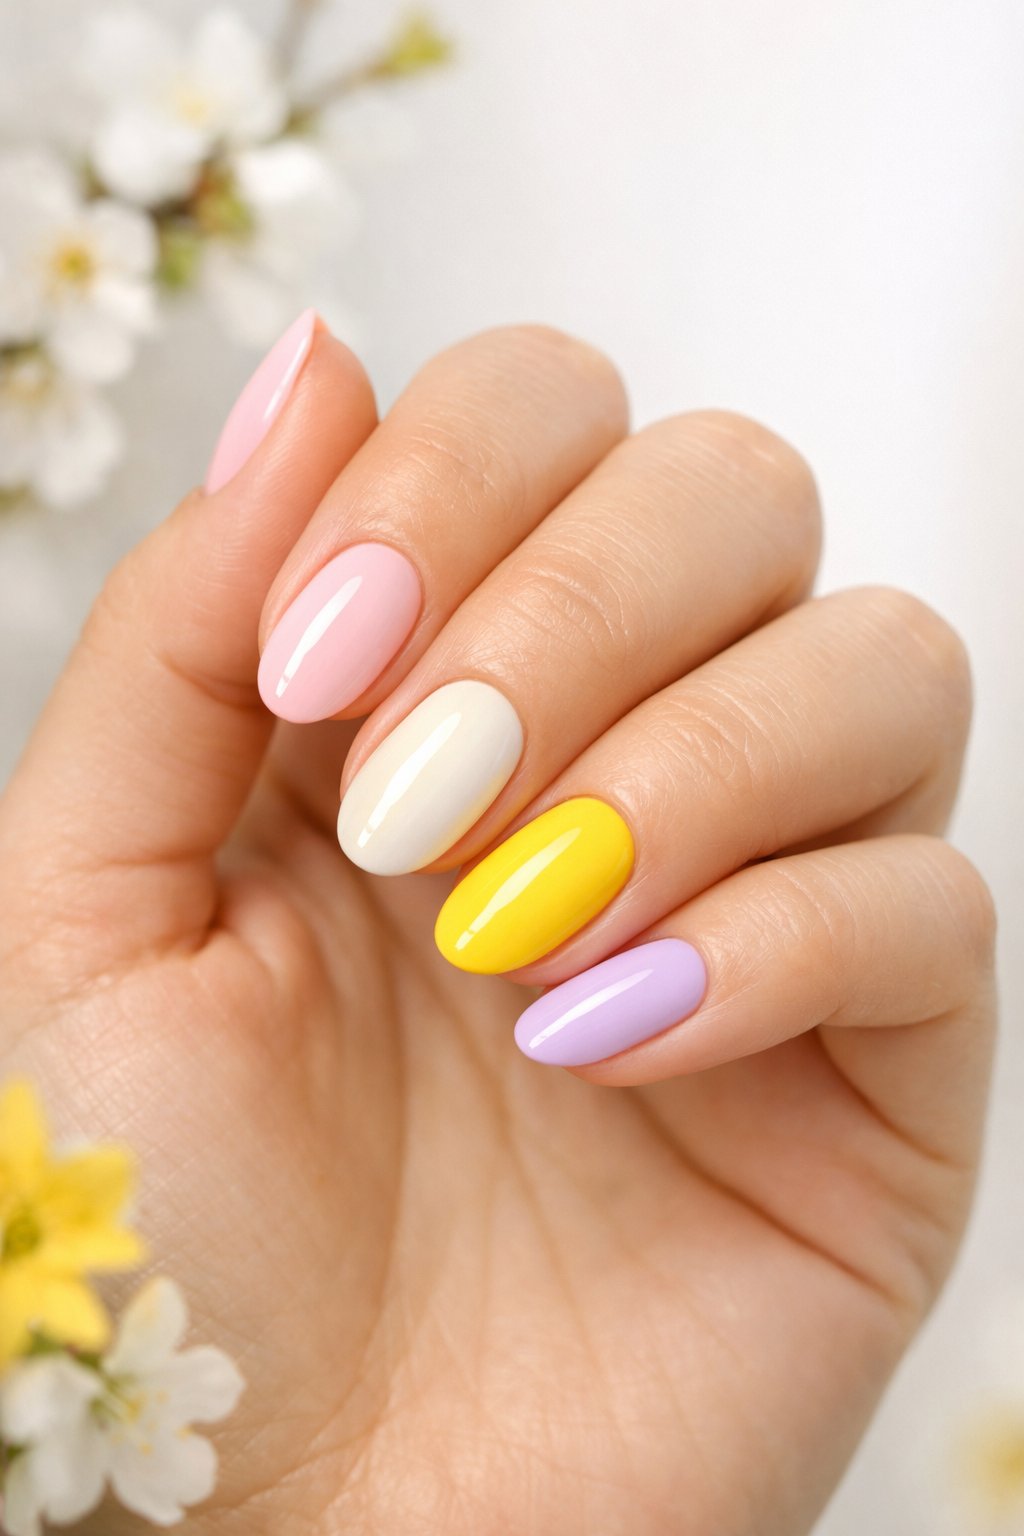
Paint one nail a bright daffodil yellow to make your mani pop, but keep the rest neutral or pastel so it doesn’t scream at you. If you want, add a small white dot or a tiny green leaf for a subtle floral wink.
This trick works on every nail length and brings instant sunshine to your hands.
Paint the accent nail last after your base dries to dodge smudges. Use a thin brush for any detail work so things don’t get messy.
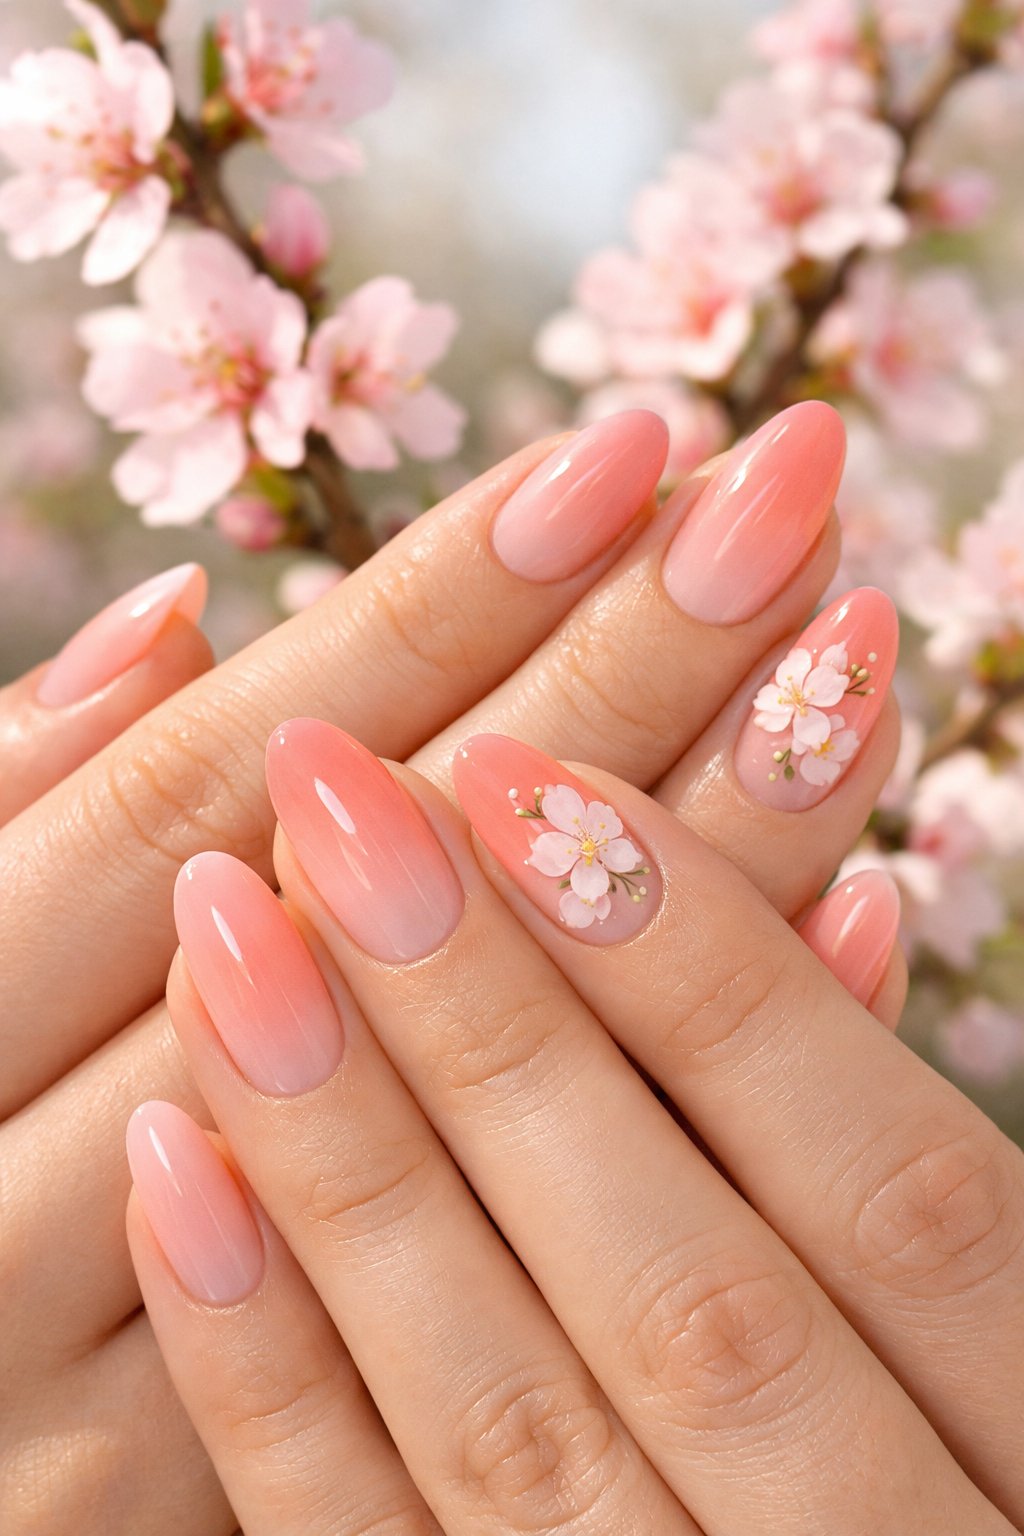
3. Cherry blossom water decals
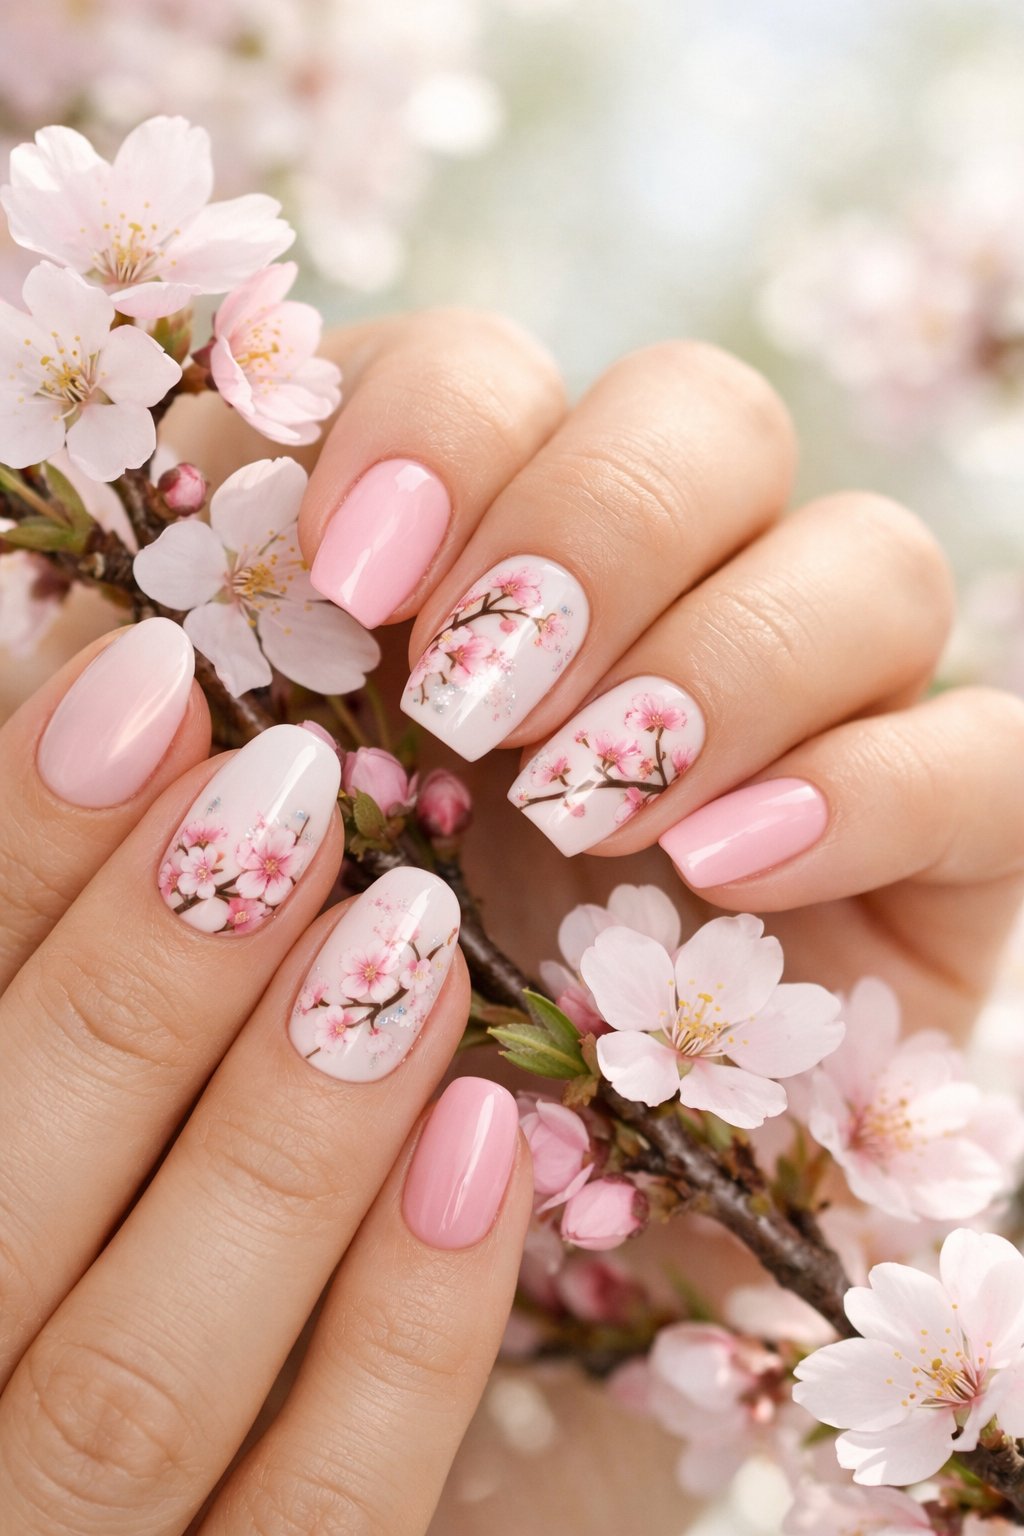
Skip the tiny brushwork—grab cherry blossom water decals for delicate art with way less effort. Just pop them onto wet nails and you’ll get that soft, natural look.
They look awesome over pale pink, nude, or white polish. Seal with a matte or glossy top coat so the edges don’t peel.
Use tweezers to place them and press down gently to keep bubbles away. Trim any extra bits for a neat finish.
Expert Tip from KidsCareIdeas: “Brush on a thin top coat, wait a few seconds, then press down the decal to lock the edges in place.”
4. Mint green matte finish
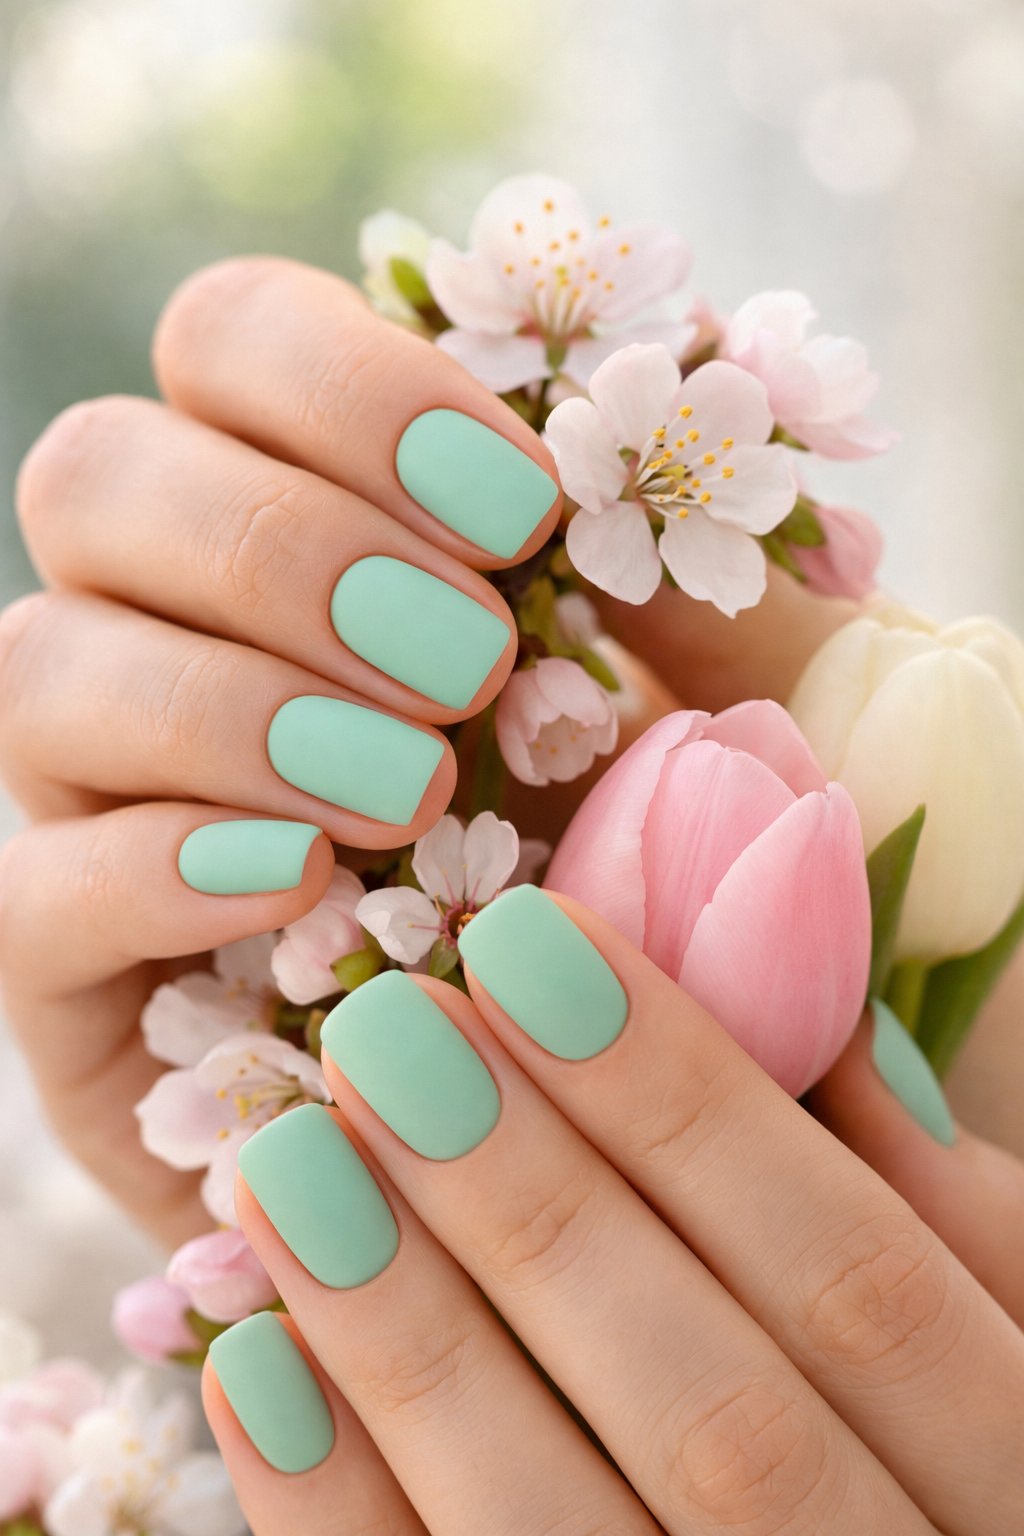
Try mint green matte if you want something fresh but not too flashy. The matte finish keeps it soft and modern, not shiny.
Start with one coat of mint over a base that strengthens your nails. Add a tiny white dot or a skinny line on one nail for a simple accent.
Keep your polish layers thin so you don’t get smudges. Matte topcoats actually hide little chips, so you’ll get more days out of your mani.
Expert Tip from KidsCareIdeas: “If matte polish looks streaky, buff your nails first for a smoother color. Fast-dry spray or drops help stop dents.”
5. Lilac shimmer sparkle
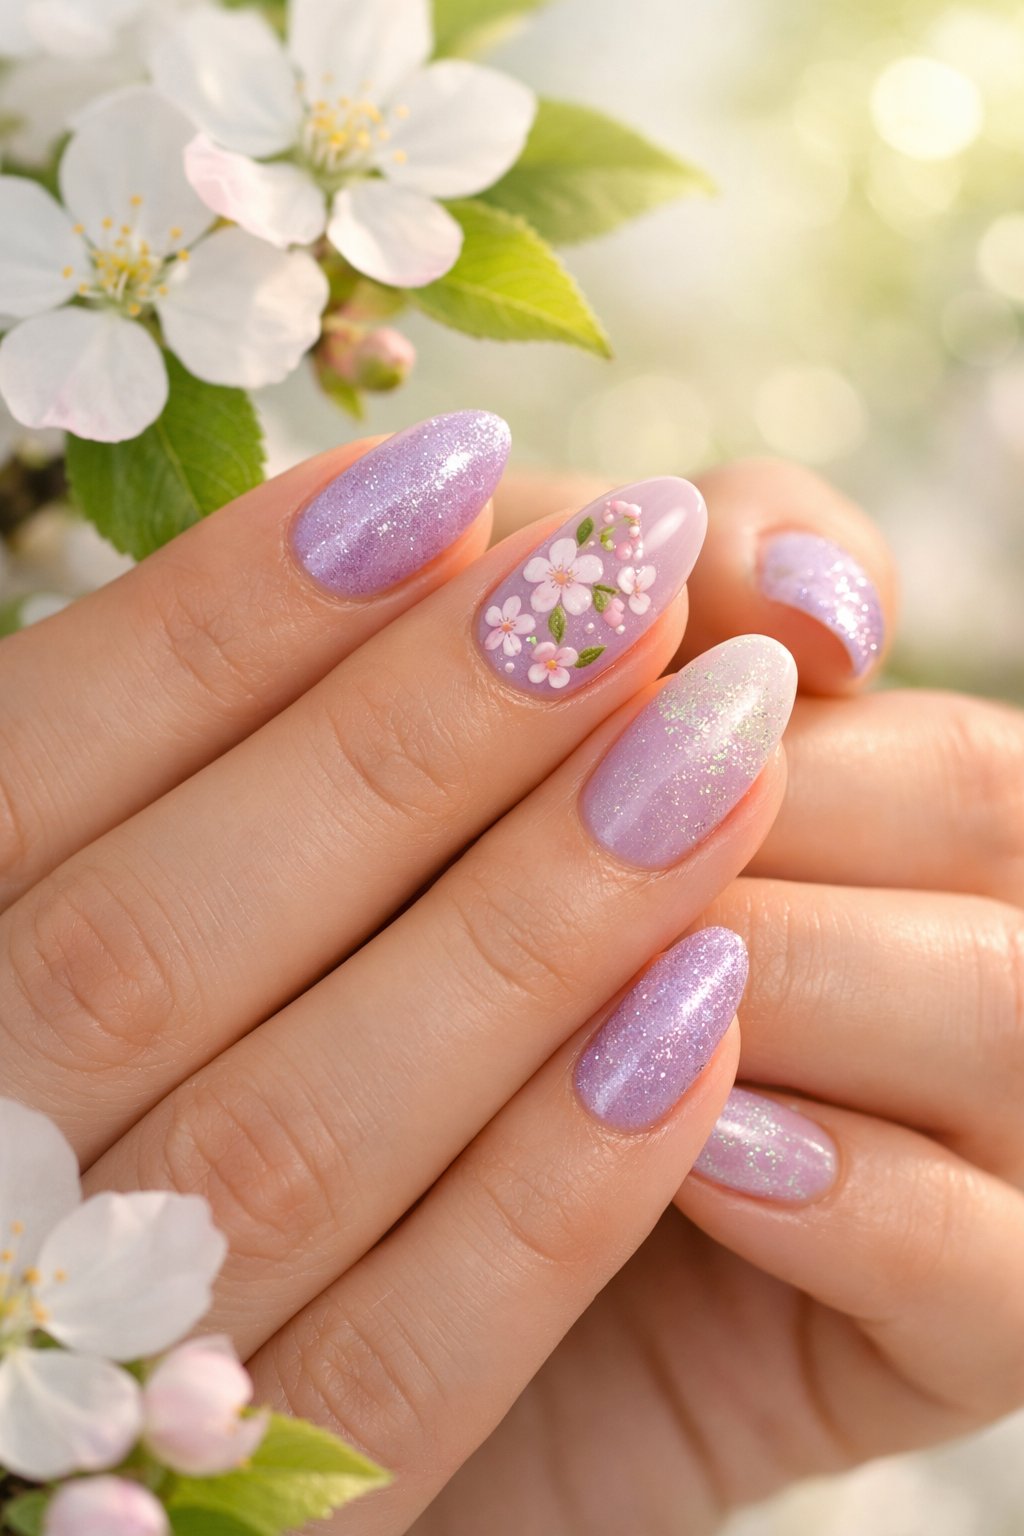
Go for a soft lilac base and top it with a fine shimmer polish. It feels fresh and subtle—perfect for school or a spring get-together.
Paint two thin coats of lilac, let them dry, then swipe on a pearly shimmer. Dab extra shimmer near the tips for a gentle ombre, or just go all over if you’re feeling sparkly.
Finish with a glossy topcoat to keep chips away. This combo looks great on short and medium nails.
Expert Tip from KidsCareIdeas: “Dab shimmer at the tips with a makeup sponge for a smooth gradient. Two thin topcoats lock in shine and help it last.”
6. Soft peach French fade
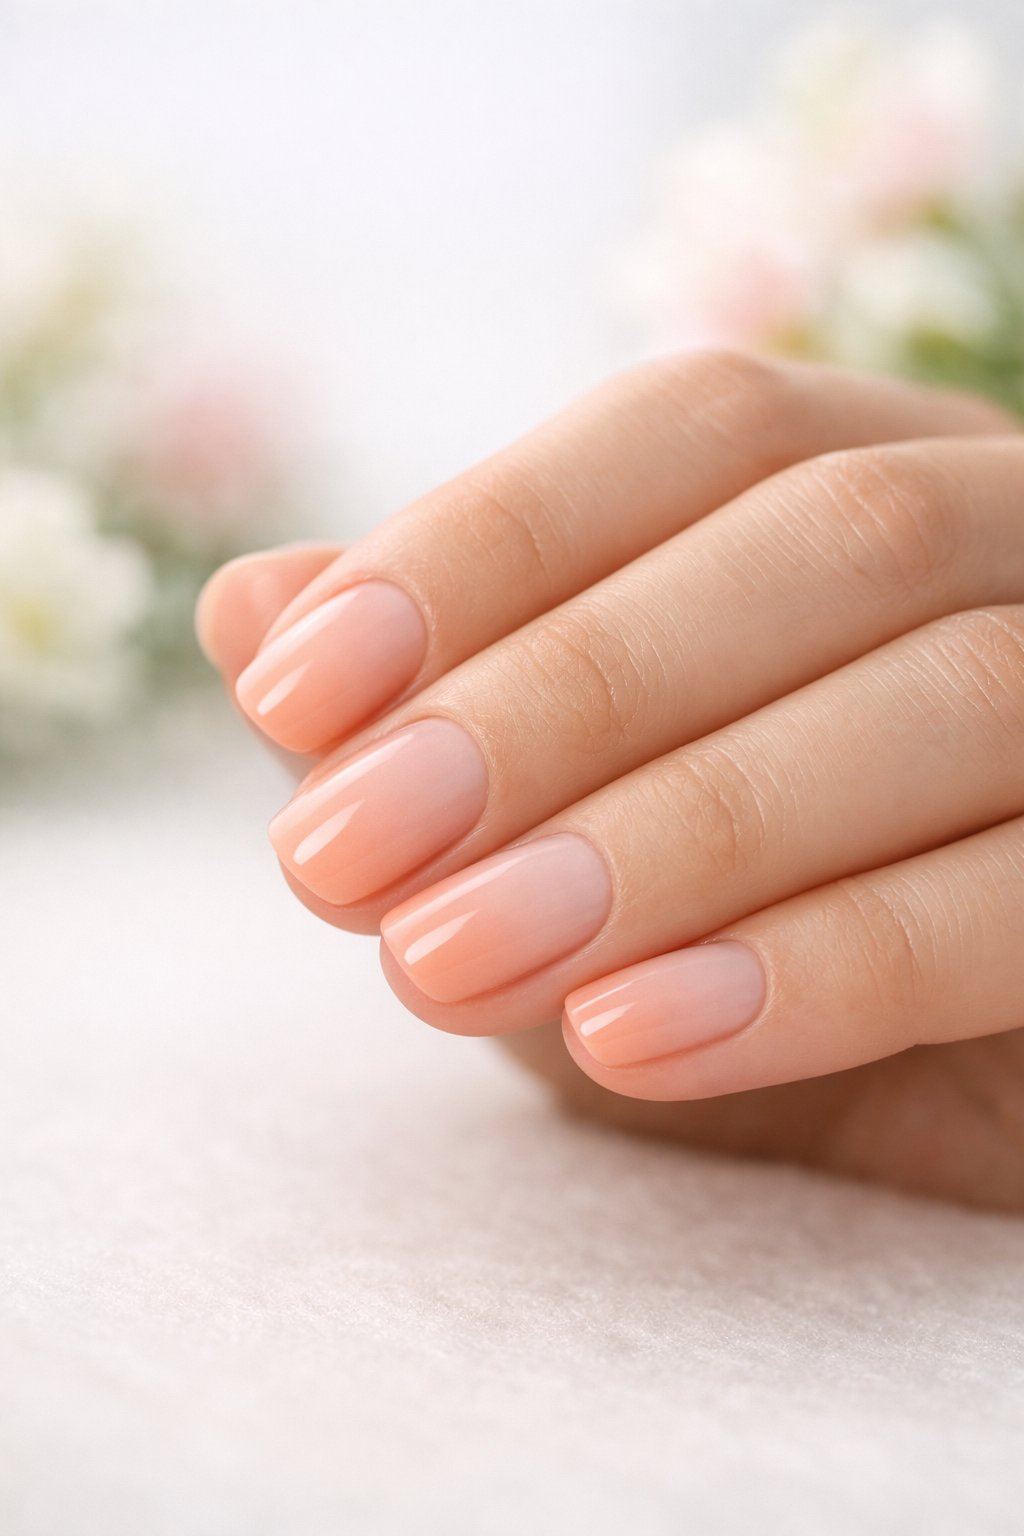
Soft peach French fade nails just scream spring. Blend a pale peach at the tips into your natural base for that “sun just came out” vibe.
This style hides chips and looks good on short or medium nails. Use a sponge for the blended effect, or ask your nail tech for a soft ombré brush.
Thin layers dry faster, so don’t go heavy. Finish with a glossy top coat to make everything shine.
Expert Tip from KidsCareIdeas: “A damp makeup sponge makes the gradient smoother. Dab gently and seal with two top coats for longer wear.”
7. Daisy chain nail art
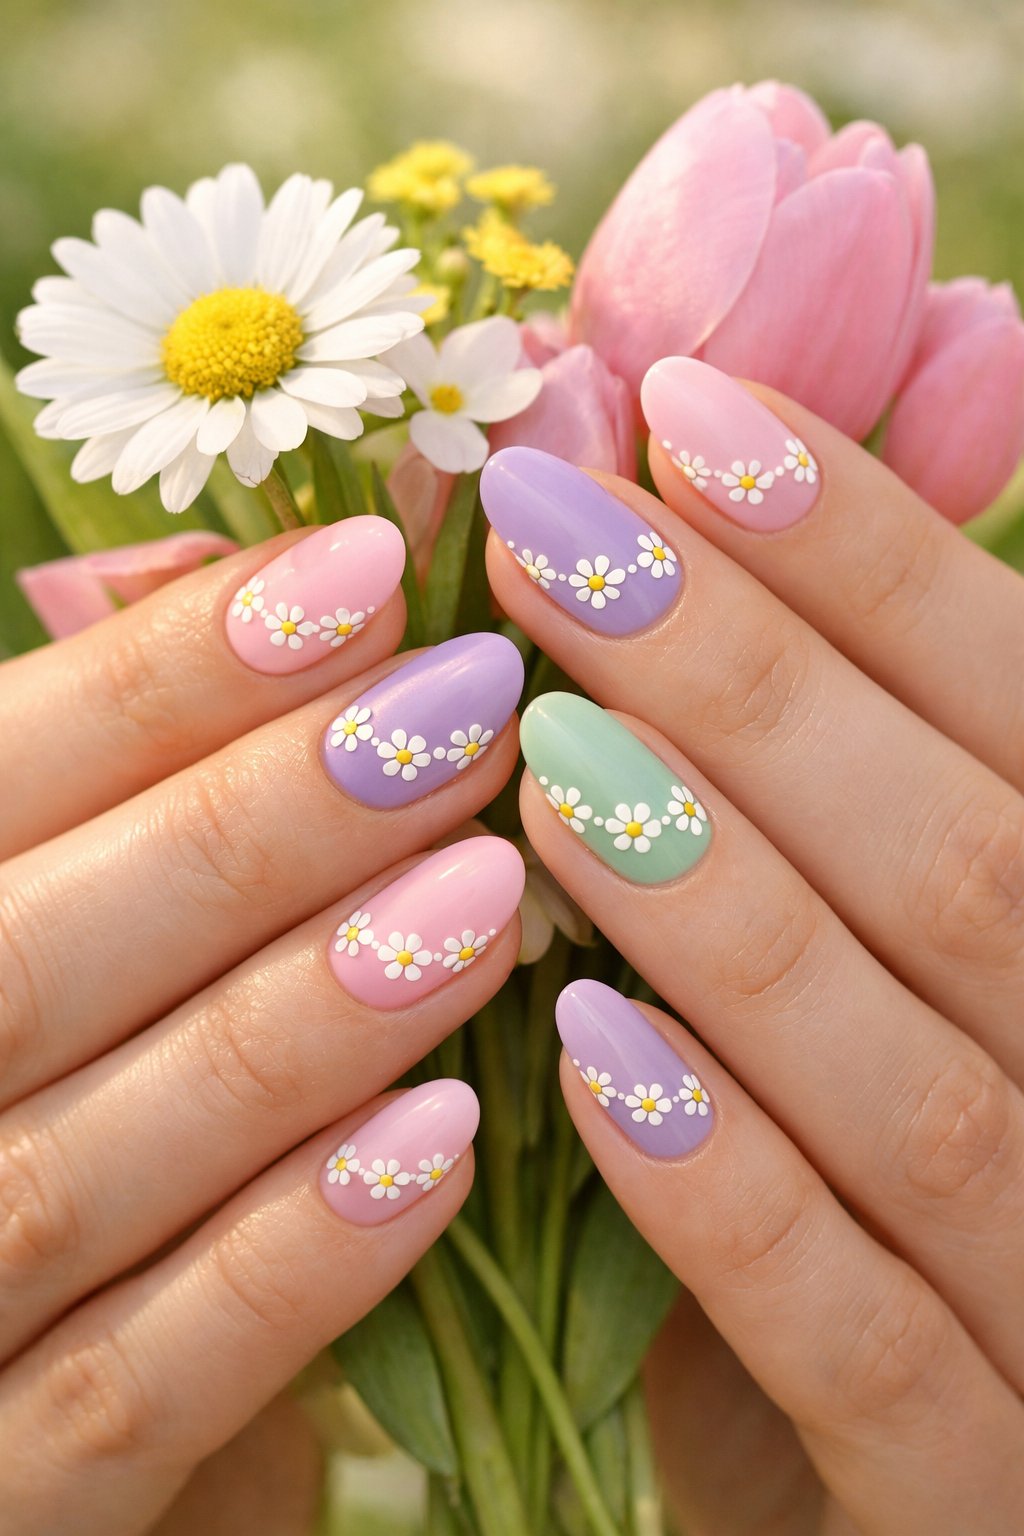
Paint tiny daisies across your nails for a sweet spring look. Start with a pale base, then add small white petals and yellow centers with a dotting tool or even a toothpick.
Mix up the petal sizes and space them out for a playful, not-too-perfect chain. Finish with a clear topcoat for shine.
Expert Tip from KidsCareIdeas: “Use a thin brush for the petal edges and a toothpick for the centers—it keeps everything tidy.”
8. Butterfly wing holographic
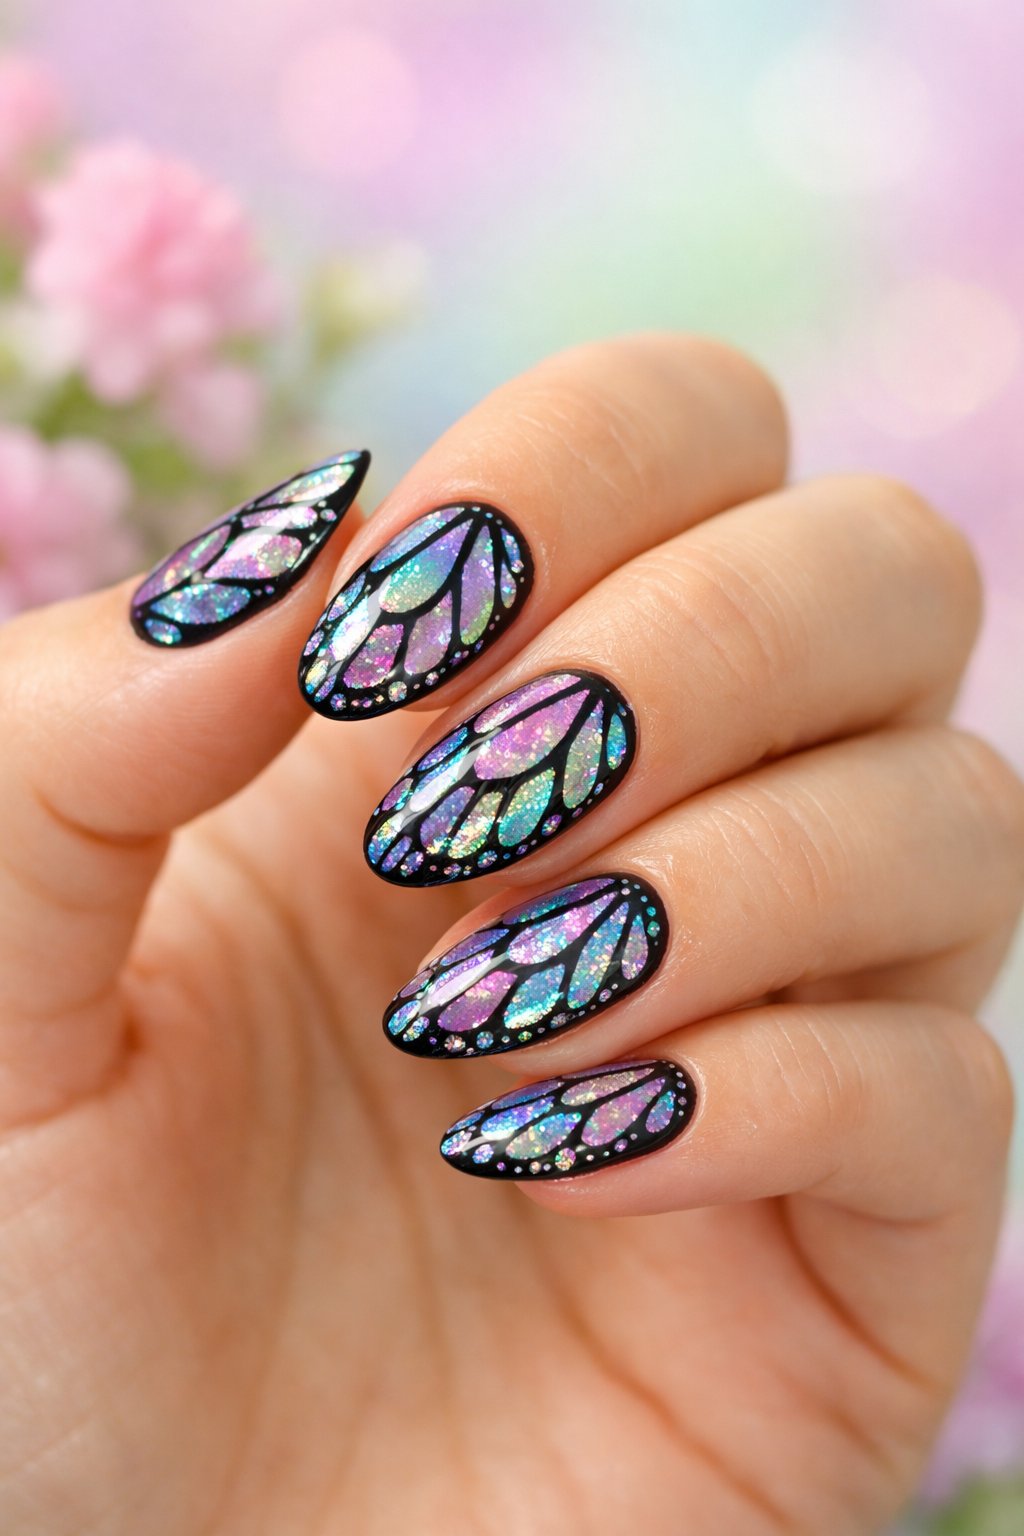
Want nails that catch the light? Try butterfly wing holographic nails. Use holo powder or flakies over a dark base to make colors jump out.
Paint thin layers and seal each with a fast-dry top coat for a smooth effect. For a softer look, sponge the holographic powder just at the tips.
Add accent nails with skinny black lines to mimic wing veins—it’s easier than it sounds.
Expert Tip from KidsCareIdeas: “Press holo flakes with a silicone tool for a glassy finish. Seal once under and once on top for extra staying power.”
9. Coral reef ombré
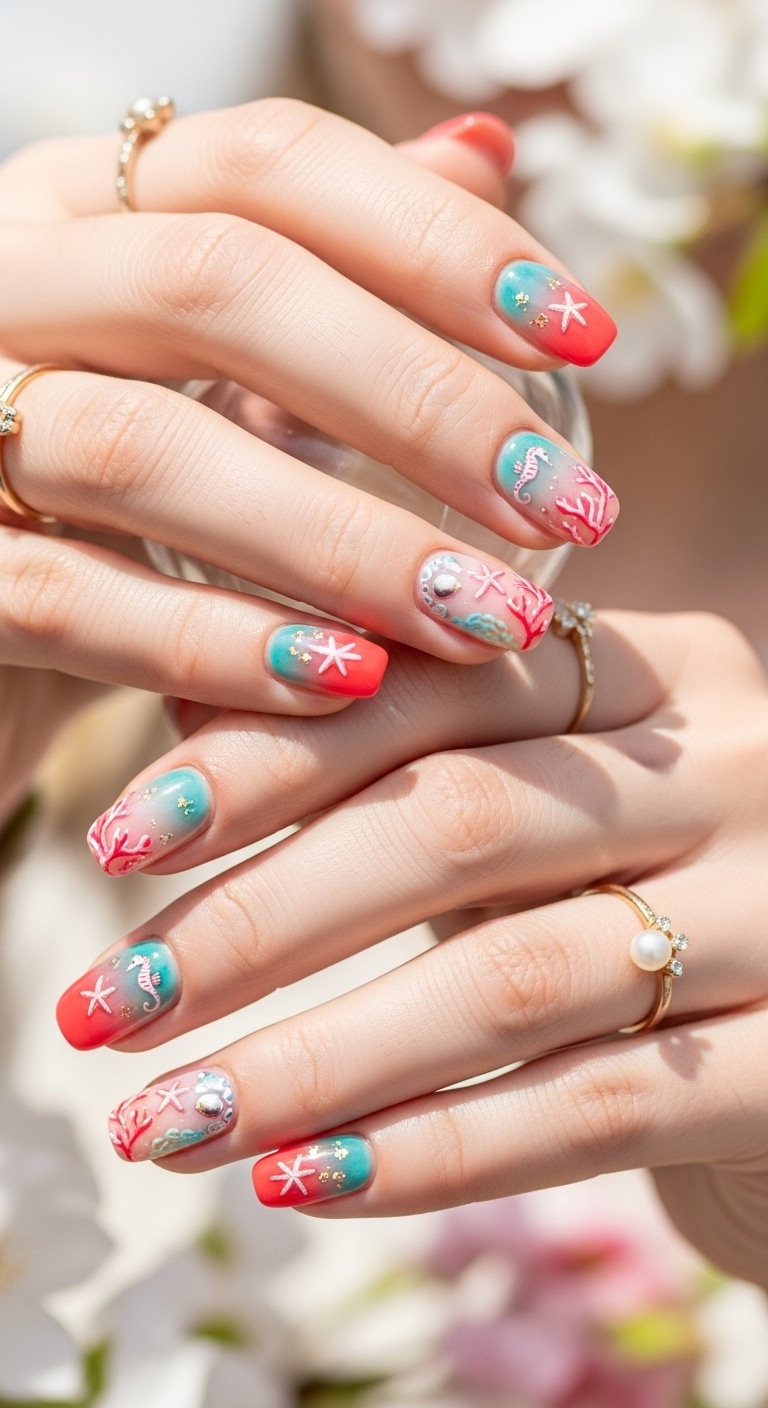
Blend soft coral into peach and sandy beige for a coral reef ombré. Use a sponge to dab colors from cuticle to tip for a smooth fade.
Add tiny white or teal dots to look like bubbles or sea life. Keep your nails short or oval for a breezy, beachy feel.
Finish with a glossy top coat to lock in the gradient and add shine.
Expert Tip from KidsCareIdeas: “Use a makeup sponge for that perfect ombré and clean up edges with a tiny brush dipped in remover.”
10. Lemon drop polka dots

Start with a soft lemon base, then add tiny white dots for a playful, happy look. The combo is bright but not wild, and it works for any nail length.
A dotting tool or the end of a bobby pin makes perfect circles. Mix up the dot sizes for a cute, hand-painted feel.
Seal it all with a glossy top coat for extra shine. This mani looks adorable with spring outfits.
Expert Tip from KidsCareIdeas: “Put on a thin layer of top coat before dotting—dots glide on easier. Two thin top coats at the end help make it last.”
11. Lavender honeycomb pattern
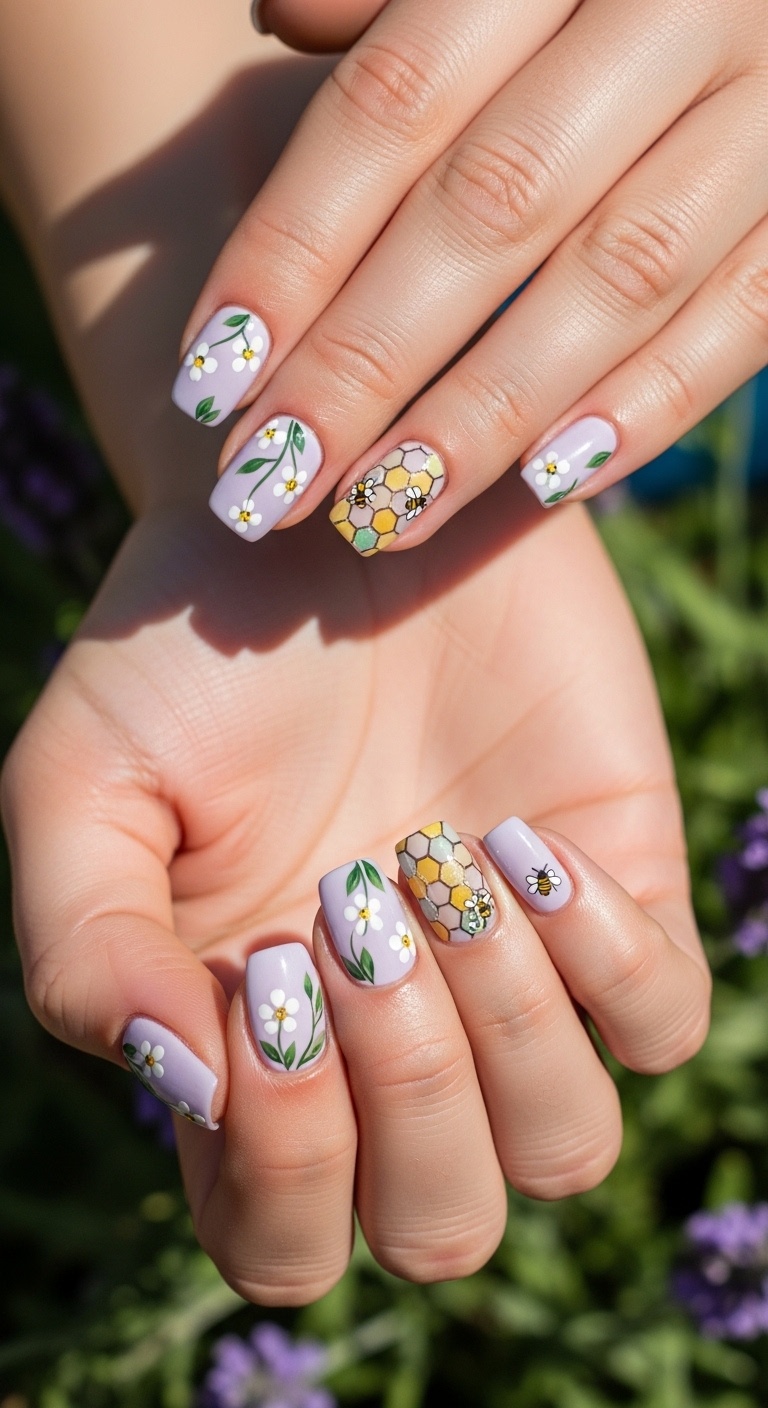
Go for a soft, geometric look with a lavender honeycomb pattern. Paint a pale lavender base, then add small hexagons in a darker shade for the honeycomb effect.
Use a thin brush or a stencil if you want sharp edges. Leave a few hexagons empty or fill them with gold dots for a little sparkle.
This design works on any length and dresses up or down easily. Finish with a glossy top coat for shine.
Expert Tip from KidsCareIdeas: “Freehand hexagons too tricky? Print a tiny hex pattern to trace. Dotting tools help match hex sizes easily.”
12. Sky blue geometric lines

Make your nails feel crisp with sky blue lines over a white or nude base. Thin geometric stripes add a touch of structure but don’t look too serious.
Use striping tape or a super fine brush for straight lines. Mix up horizontal and diagonal stripes for a playful twist.
Glossy top coat seals it all in and makes those lines pop. This style rocks on short and medium nails.
Expert Tip from KidsCareIdeas: “Fix tiny mistakes with a toothpick before the polish dries—way easier than redoing the whole thing.”
13. Rose gold foil flakes
Rose gold foil flakes bring sparkle without going overboard. Place tiny pieces over a nude or pastel base for a soft, classy finish.
Press flakes into tacky polish or use a bit of clear gel to hold them down. Finish with two top coats so the edges stay smooth and last longer.
Mix big flakes with little shards for extra texture. Do just one accent nail if you want to keep it subtle.
Expert Tip from KidsCareIdeas: “Tweezers or a dotting tool help you place foil exactly where you want. Cure under LED for a clean finish.”
14. Peach blossom gradient
If you want gentle spring nails, try a peach blossom gradient. Start with a pale peach at the cuticle and blend to warm coral at the tip.
Dab colors together with a makeup sponge for a smooth fade—no fancy brushwork needed. Top it off with a glossy coat to make the colors really pop.
Add a tiny white dot or two for a blossom accent, but keep it simple.
Expert Tip from KidsCareIdeas: “Use a peel-off base if you want easy removal after your spring event.”
15. Vibrant orchid stripes
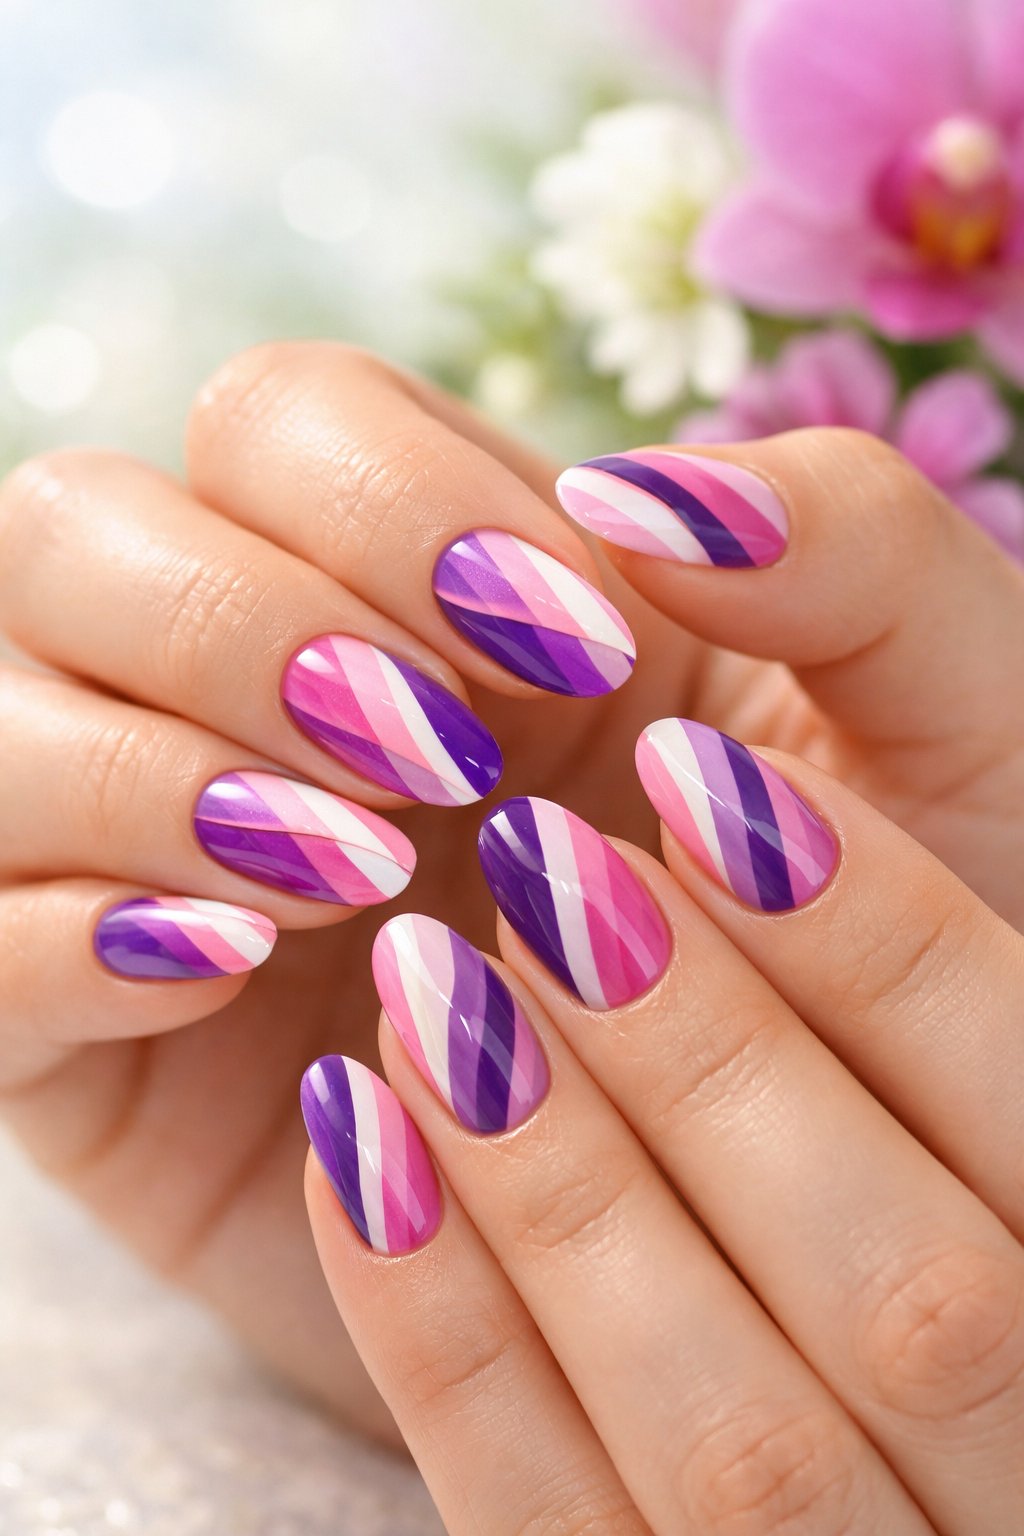
Pick a soft orchid base and let it dry all the way. Use striping tape or a nail art brush to add bold, contrasting stripes.
Change up the width and direction of your stripes for a fun, energetic look. Mix in some metallic or white stripes if you want the orchid color to stand out.
Top with a clear coat to smooth everything out. This look works great on short or medium nails, and thin layers help it last.
Expert Tip from KidsCareIdeas: “Fix small stripe mishaps with a toothpick before the polish sets—it’s way less stressful than starting over.”
16. Sunshine orange stamping
Grab a bright, warm orange polish for your base. Honestly, this shade just screams spring and feels super cheerful.
I think orange pops best with white or gold stamping, so go for those if you want a look that feels fresh and happy.
Pick a stamping plate with sunbursts, florals, or maybe some funky geometric lines. I like to stamp just one or two nails on each hand—keeps things balanced and not too busy.
Finish it off with a glossy top coat. That’ll really make the orange shine and help your design last longer.
Oh, and don’t forget to wipe your tools clean between stamps. That’s the secret to getting those designs sharp every single time.
Expert Tip from KidsCareIdeas: “Work quickly when stamping because the polish dries fast; use a fast-drying top coat to lock in the design.”
17. Baby blue with white clouds
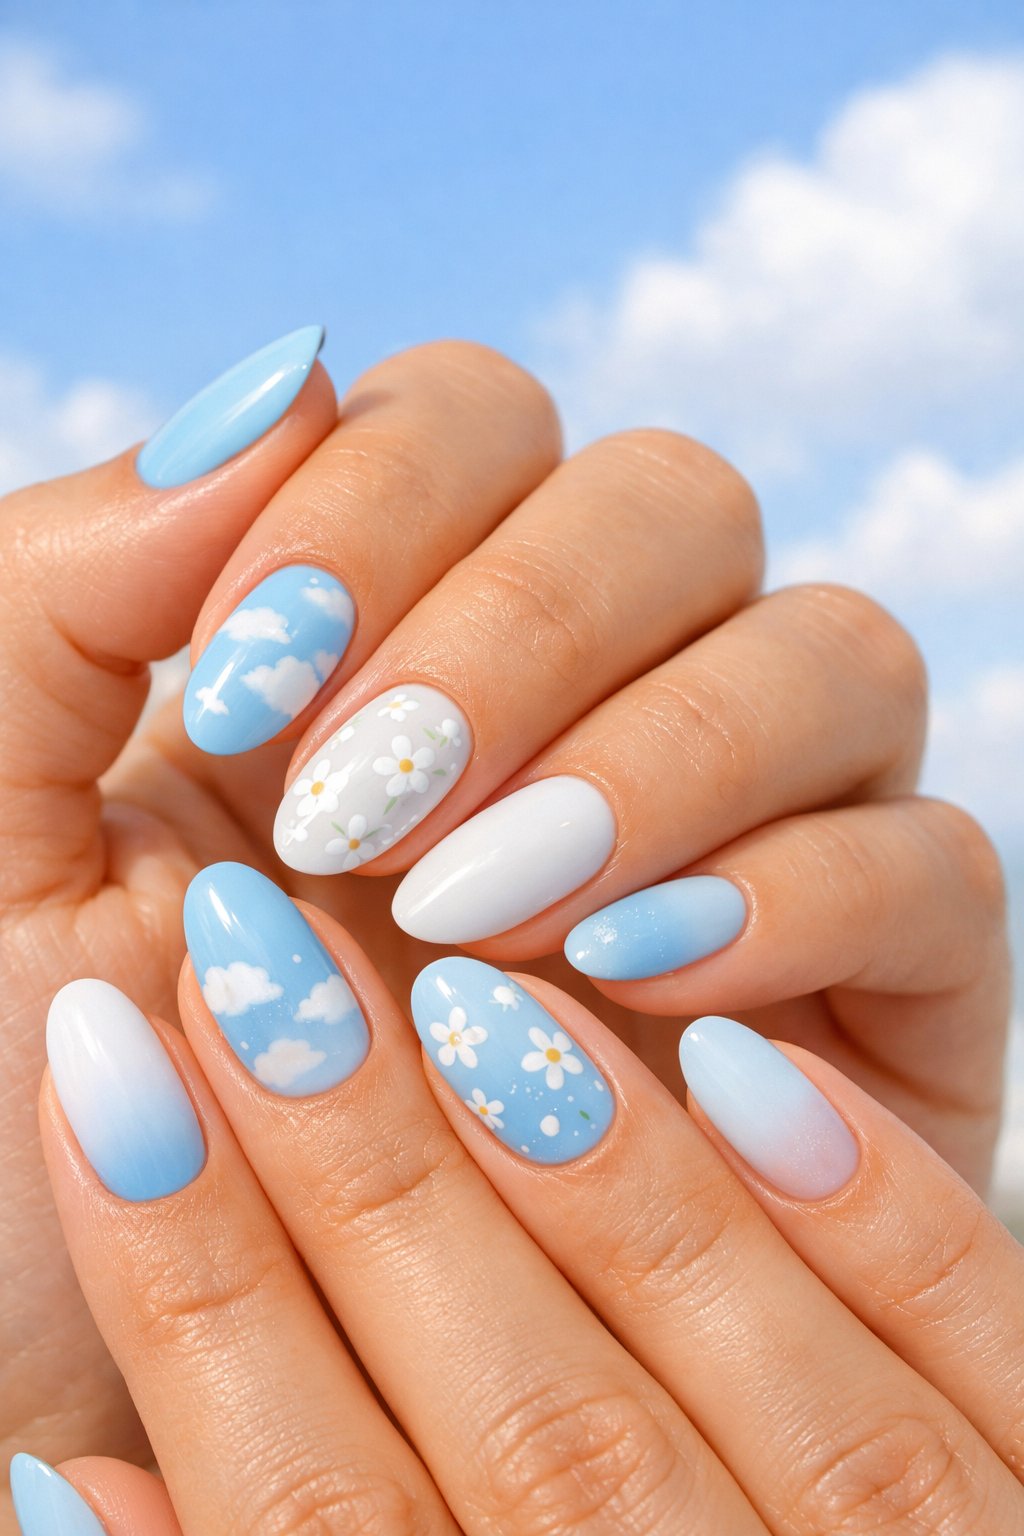
I love a soft baby blue for nails—it just feels fresh, right? That gentle color gives your hands a calm, pretty vibe.
Grab a dotting tool or even a toothpick, and dab on some tiny white clouds. Try to keep the shapes a little different on each nail so they don’t look too copy-paste.
Finish up with a glossy topcoat. Not only does it make everything shine, but it also keeps your clouds from chipping too soon.
Expert Tip from KidsCareIdeas: “Use a sponge to blend the blue for a soft sky effect, then dab clouds with a small brush. Seal with two thin topcoats to protect the look.”
