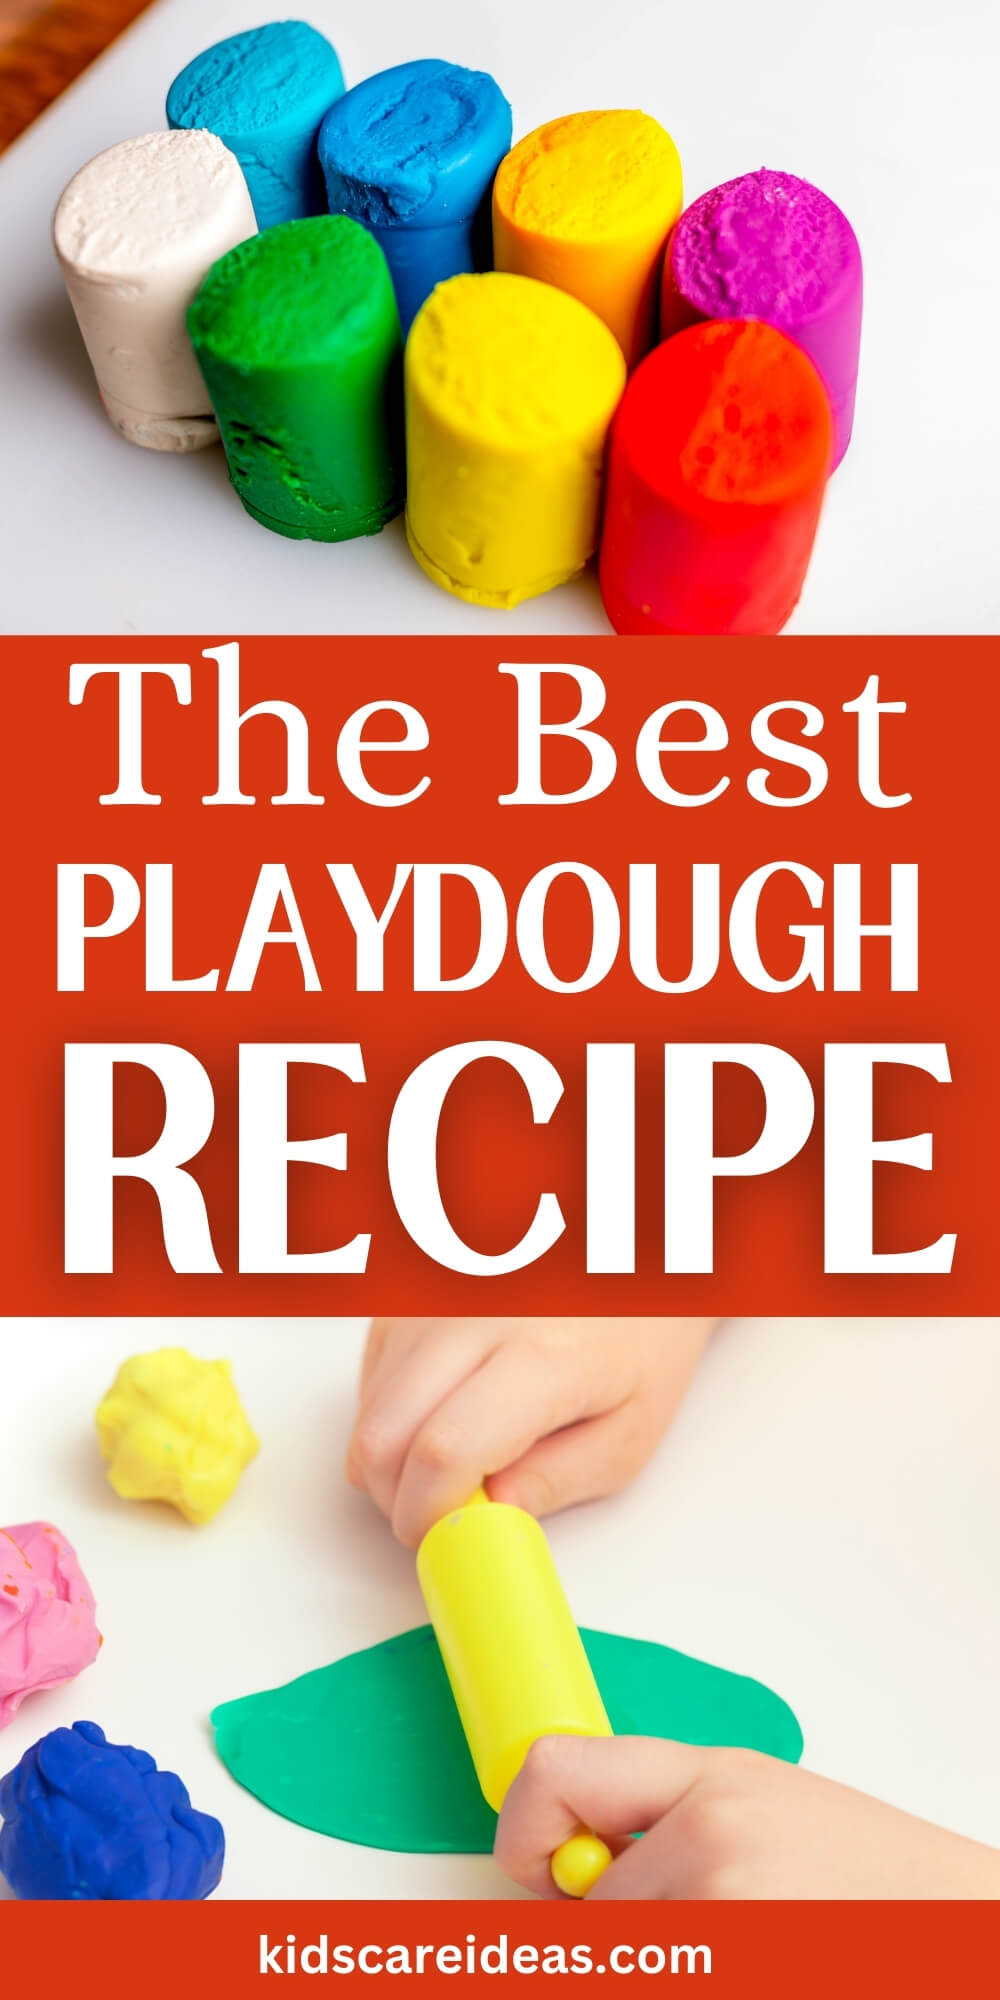
Inside: Discover the ultimate playdough recipe for endless fun! Learn how to make soft, pliable dough using simple ingredients found in your kitchen.
Remember the joy of squishing, molding, and creating with playdough as a child? Now, you can relive those memories and share the experience with your own kids.
This easy, safe, and non-toxic homemade playdough is cost-effective and perfect for hours of creative play.
Create colorful batches and enjoy a world of sensory fun with your family!
Why Make Homemade Playdough?
Before we dive into the recipe, let’s explore some benefits of making your own playdough:
- Cost-effective: You can make a full batch for under $1, saving money in the long run.
- Non-toxic: You control the ingredients, ensuring a safe play experience.
- Customizable: Adjust colors, scents, and textures to your preference.
- Longer lasting: Homemade playdough often lasts for months when stored properly.
- Fun activity: Making playdough can be an enjoyable process for both adults and children.
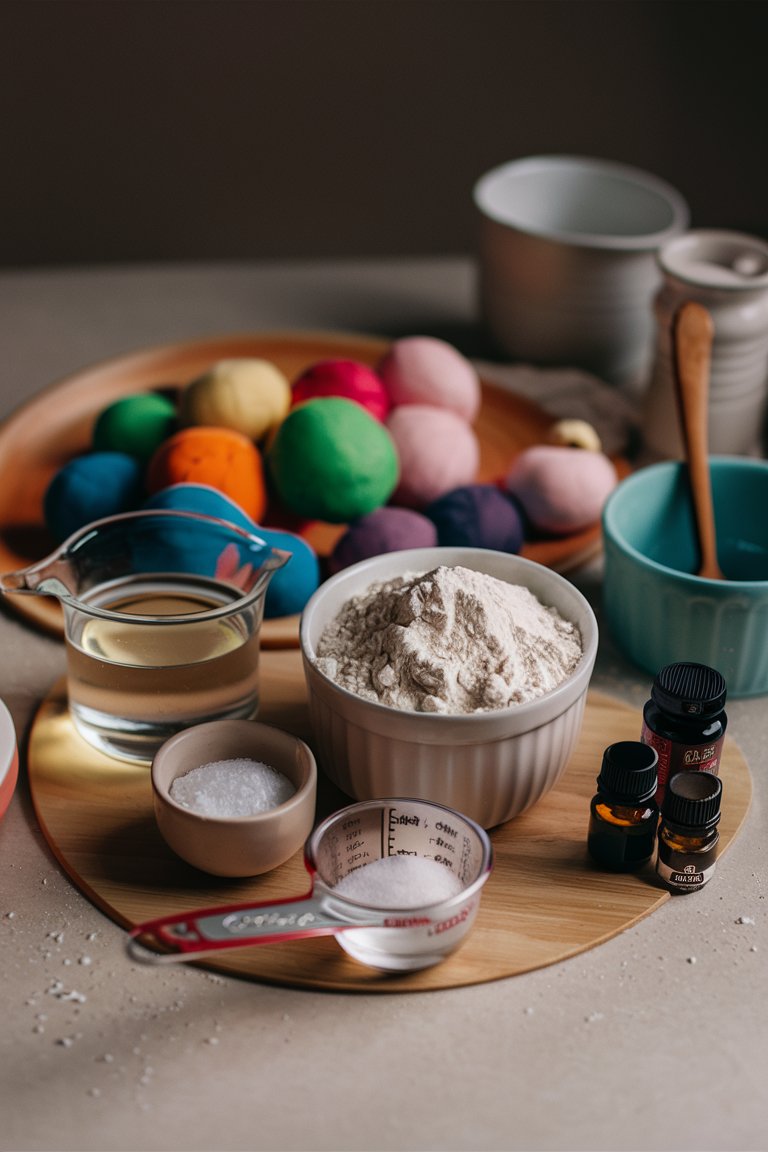
Ingredients You’ll Need
One of the best things about homemade playdough is that you don’t need any special ingredients. Here’s what you’ll need:
- 2 cups all-purpose flour
- 3/4 cup salt
- 4 teaspoons cream of tartar
- 2 cups lukewarm water
- 2 tablespoons vegetable oil
- Food coloring (optional)
- Essential oils for scent (optional)
Before getting into the steps, let’s buy the ingredients if you don’t have them handy:
All-purpose flour:


Cream of Tartar:


Vegetable Oil:

Edible Food Coloring:


Step-by-Step Instructions
Here are the instructions below:
1. Gather Your Ingredients and Tools
Before you begin, make sure you have all the necessary ingredients and tools at hand. You’ll need:
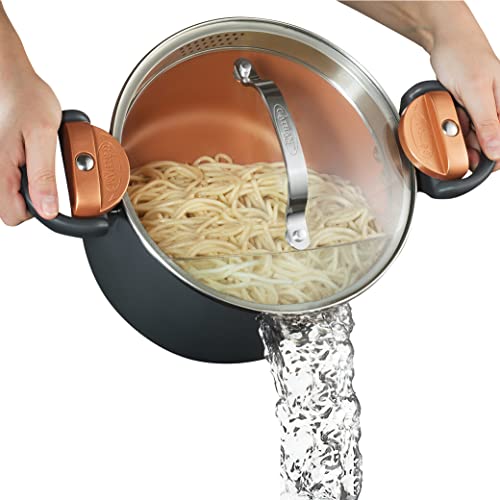
- A large saucepan
- Measuring cups and spoons
- A wooden spoon or silicone spatula for stirring
- A clean surface for kneading
- Airtight containers or ziplock bags for storage
2. Combine Dry Ingredients
In your large saucepan, measure and mix the dry ingredients:
- 2 cups all-purpose flour
- 3/4 cup salt
- 4 teaspoons cream of tartar
Use your wooden spoon or spatula to ensure these ingredients are well combined. This step is crucial for achieving a smooth, lump-free playdough.
3. Prepare the Wet Ingredients
In a separate bowl or measuring cup, measure out 2 cups of lukewarm water. Then, add 2 tablespoons of vegetable oil.
If you’re using food coloring, add it to this wet mixture. Start with a few drops and adjust as needed to achieve your desired color intensity.
4. Combine Wet and Dry Ingredients
Pour the wet ingredients into the saucepan with the dry ingredients. Use your wooden spoon or spatula to mix thoroughly, ensuring there are no dry pockets of flour.
The mixture will be quite liquidy at this stage, but don’t worry – it will thicken as it cooks.
5. Cook the Mixture
Place the saucepan over medium heat. Stir constantly to prevent the mixture from sticking to the bottom of the pan. As you stir, you’ll notice the mixture beginning to thicken.
Keep stirring, making sure to scrape the sides and bottom of the pan.
6. Watch for Consistency Changes
As you continue to stir and cook, the mixture will start to come together and form a dough. You’ll know it’s ready when it starts to gather around your spoon and pull away from the sides of the pan.
This process usually takes about 5 minutes, but can vary slightly depending on your stove.
7. Remove from Heat
Once the dough has formed a ball and becomes difficult to stir, remove the pan from the heat. Be careful, as the dough will be very hot at this point.
8. Cool the Dough
Allow the dough to cool in the pan for a few minutes until it’s comfortable to touch. You can speed up this process by turning the dough out onto a clean, heat-resistant surface.
9. Knead the Dough
Once the dough is cool enough to handle, begin kneading it. This step is crucial for achieving that perfect playdough consistency.
Knead for about 5 minutes, or until the dough is smooth and pliable.
If the dough feels too sticky, you can add a small amount of flour as you knead. Conversely, if it feels too dry, you can add a few drops of water.
10. Add Scent (Optional)
If you want to add a pleasant scent to your playdough, now is the time. Add a few drops of your chosen essential oil and knead it into the dough until well distributed.
11. Final Texture Check
After kneading, your playdough should be smooth, pliable, and non-sticky. If needed, make any final adjustments to the texture by adding small amounts of flour (if too sticky) or water (if too dry).
12. Store the Playdough
To keep your playdough fresh, store it in an airtight container or ziplock bag. If stored properly, your homemade playdough can last for several months.
You can get one ziplock bag from here below:


Shop Required Utensils:
Here are several Large Saucepan you can choose from:

Here are some good quality measuring cups and spoons:


Get Silicone Spatula here:

Tips for Making Perfect Playdough at Home
Here are some tips for making perfect homemade playdough:
- Use lukewarm water for best results. Warm water helps the ingredients blend more smoothly.
- Don’t skip the cream of tartar – it’s a crucial ingredient that helps preserve the playdough and gives it a silky texture.
- Knead the dough thoroughly to achieve the smoothest consistency. This step is essential for creating soft, pliable playdough.
- Store the playdough in an airtight container or ziplock bag to keep it fresh for months.
- For a unique twist, consider using baby oil instead of vegetable oil if you’re not concerned about kids eating the playdough. This can improve the texture and scent.
- To prevent food coloring from staining hands, mix the color into the dough thoroughly before letting children play with it.
- For easier mixing, consider blending the salt before adding it to the other ingredients. This can help create a smoother texture.
- Remember that homemade playdough is easy to make with just a few common ingredients – flour, salt, water, and cream of tartar are the basics you’ll need to create the best playdough recipe.
Variations to Try
Once you’ve mastered the basic recipe, why not experiment with some fun variations? Here are some exciting ways to customize your homemade playdough:
1. Glitter Playdough
Add some sparkle to your creation by mixing in fine glitter. You can use biodegradable glitter for an eco-friendly option. Here’s how:
- Add 1-2 tablespoons of fine glitter per batch of playdough
- Knead thoroughly to distribute the glitter evenly
- Experiment with different glitter colors to create unique effects
2. Natural Colors
For a more natural approach, try using ingredients from your kitchen to color your playdough:
- Turmeric: Creates a vibrant yellow
- Beet juice: Produces a deep pink or red
- Spinach powder: Gives a lovely green hue
- Cocoa powder: Makes a rich brown color
Add these natural colorants during the cooking process for the best results. Start with small amounts and adjust as needed to achieve your desired color intensity.
3. Textured Playdough
Create sensory-rich playdough by adding different textures:
- Sand: Mix in fine play sand for a gritty texture
- Oatmeal: Add dry oats for a unique feel
- Dried herbs: Incorporate lavender, rosemary, or mint for texture and scent
- Rice: Mix in uncooked rice for a bumpy texture
Add these ingredients after cooking, during the kneading process.
4. Scented Playdough
Engage multiple senses by adding scents to your playdough:
- Essential oils: Add a few drops of lavender, peppermint, or citrus oils
- Extracts: Use vanilla, almond, or peppermint extract for a pleasant aroma
- Spices: Mix in cinnamon, nutmeg, or pumpkin pie spice for seasonal scents
Add scents after cooking, during the kneading process. Start with a small amount and increase gradually to avoid overwhelming scents.
5. Color-Changing Playdough
Create a magical experience with color-changing playdough:
- Use thermochromic pigments that change color with temperature
- Knead warm and cool playdough together for a marbled effect
6. Edible Playdough
For younger children who might be tempted to taste their creations, try making edible playdough:
- Use ingredients like peanut butter, marshmallows, or cream cheese as a base
- Add powdered sugar or coconut flour to achieve the right consistency
Remember to clearly label edible playdough and supervise children during play.
7. Metallic Playdough
Create a shimmering effect with metallic playdough:
- Add mica powder to your basic recipe for a pearlescent sheen
- Use metallic food coloring for a bold, shiny effect
8. Glow-in-the-Dark Playdough
For a fun nighttime activity, try making glow-in-the-dark playdough:
- Add glow-in-the-dark paint to your basic recipe
- Charge the playdough under a light before use
- Remember, when introducing new ingredients, always ensure they are safe for children to handle. Supervise play and store your custom playdough in airtight containers to maintain its quality. These variations can add new dimensions to playtime, encouraging creativity and sensory exploration. Happy experimenting!
Conclusion
Creating your own playdough is a simple, fun, and rewarding activity that yields hours of creative play.
With just a few basic ingredients and about 10 minutes of your time, you can make a batch that will last for months.
You’ll save money and have the satisfaction of providing a safe, customized play material for your children.
So why not give it a try? Your little ones (and your wallet) will thank you!
