So, you want your nails to look festive but not like you dipped them in tinsel? Pink’s your best friend this Christmas.
It’s fun, cheerful, and honestly, it goes with just about any holiday outfit—without feeling too serious or over-the-top.
You’ll find a bunch of ideas here, from subtle sparkles to bold patterns. Whether you’re headed to a party, hanging with family, or just want to feel a little extra while sipping cocoa, pink nails can totally do the trick.

And hey, you don’t need pro-level skills to pull these off. Most of these are easy enough for a cozy night in.
1. Candy cane swirls with pastel pink
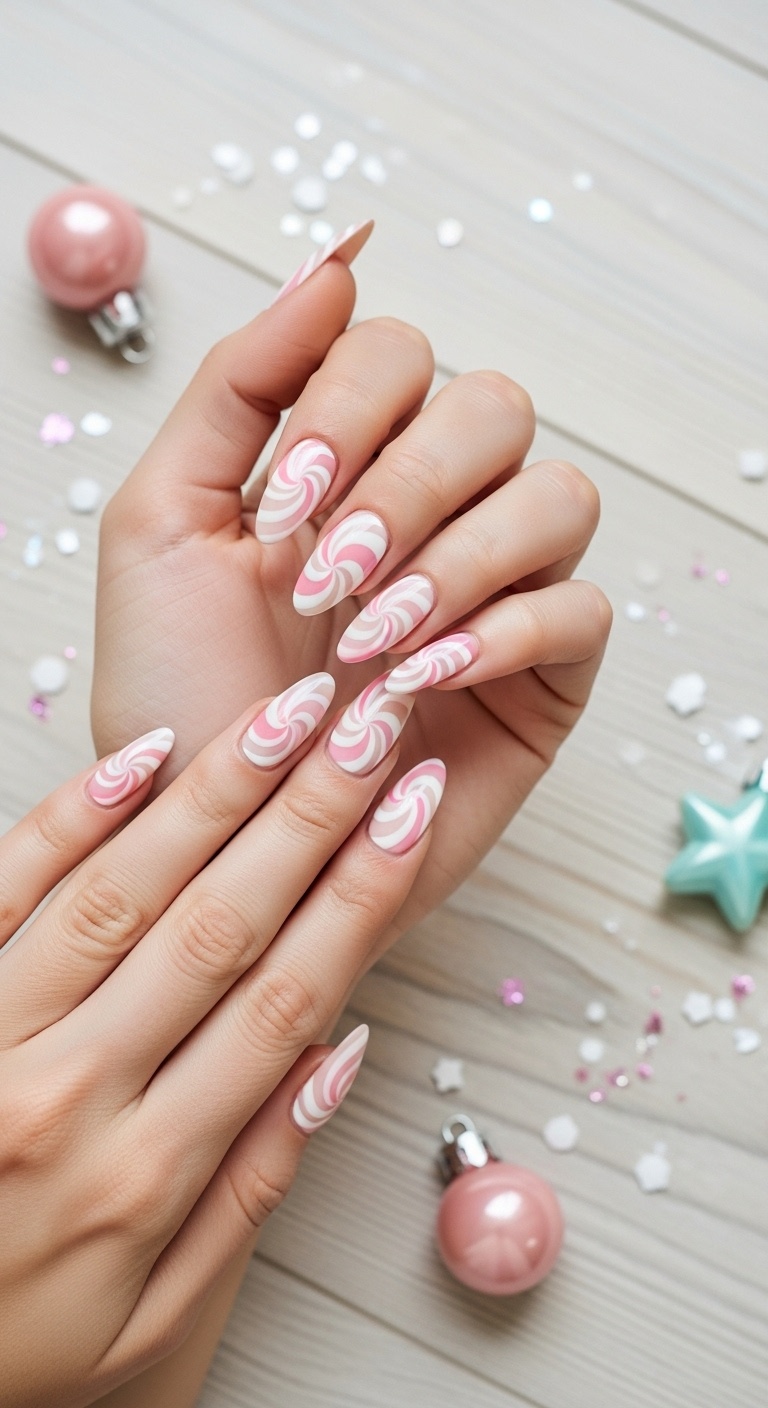
Want fun, festive nails? Try candy cane swirls with pastel pink.
First, paint your nails a soft pink. Then, grab a thin brush (or even a toothpick) and add white and red stripes in a swirl. Boom—candy cane vibes.
The pastel keeps it sweet and not too wild. If you want a little extra, a glitter topcoat adds sparkle without hiding your hard work.
Expert Tip from KidsCareIdeas: “If you don’t have a thin brush, a toothpick gives you more control for those candy cane swirls.”
2. Matte pink with glitter snowflakes
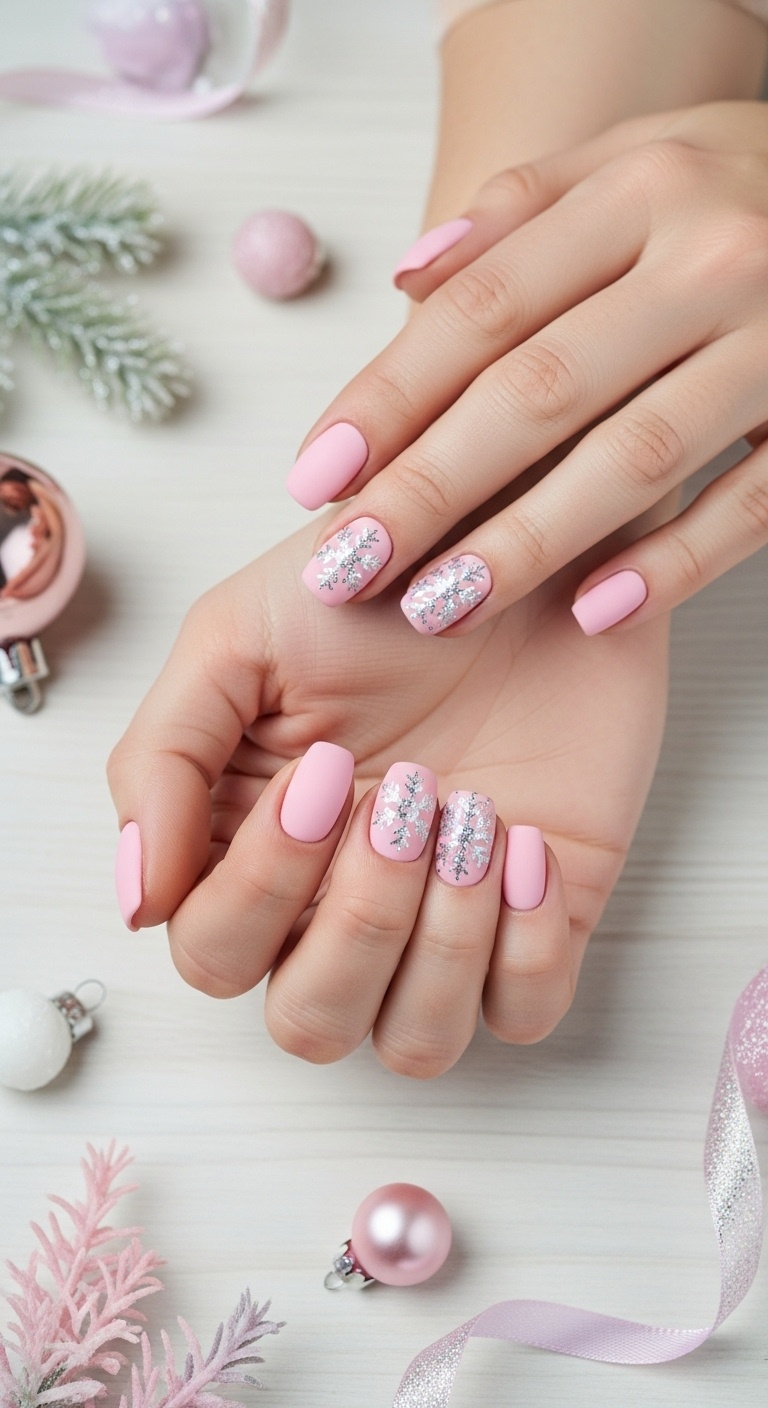
Matte pink polish feels smooth and modern, no shiny glare in sight.
Sprinkle on some tiny glitter snowflakes for a bit of sparkle. Stickers work if you’re not up for painting tiny shapes.
The glitter catches the light just right, making your nails pop without being too much.
Matte polish helps the glitter stand out even more. It looks good on both short and long nails.
Expert Tip from KidsCareIdeas: “Use a clear top coat over the glitter to stop it from falling off. Matte polish can wear faster, so refresh it every few days.”
3. Hot pink French tips with silver studs
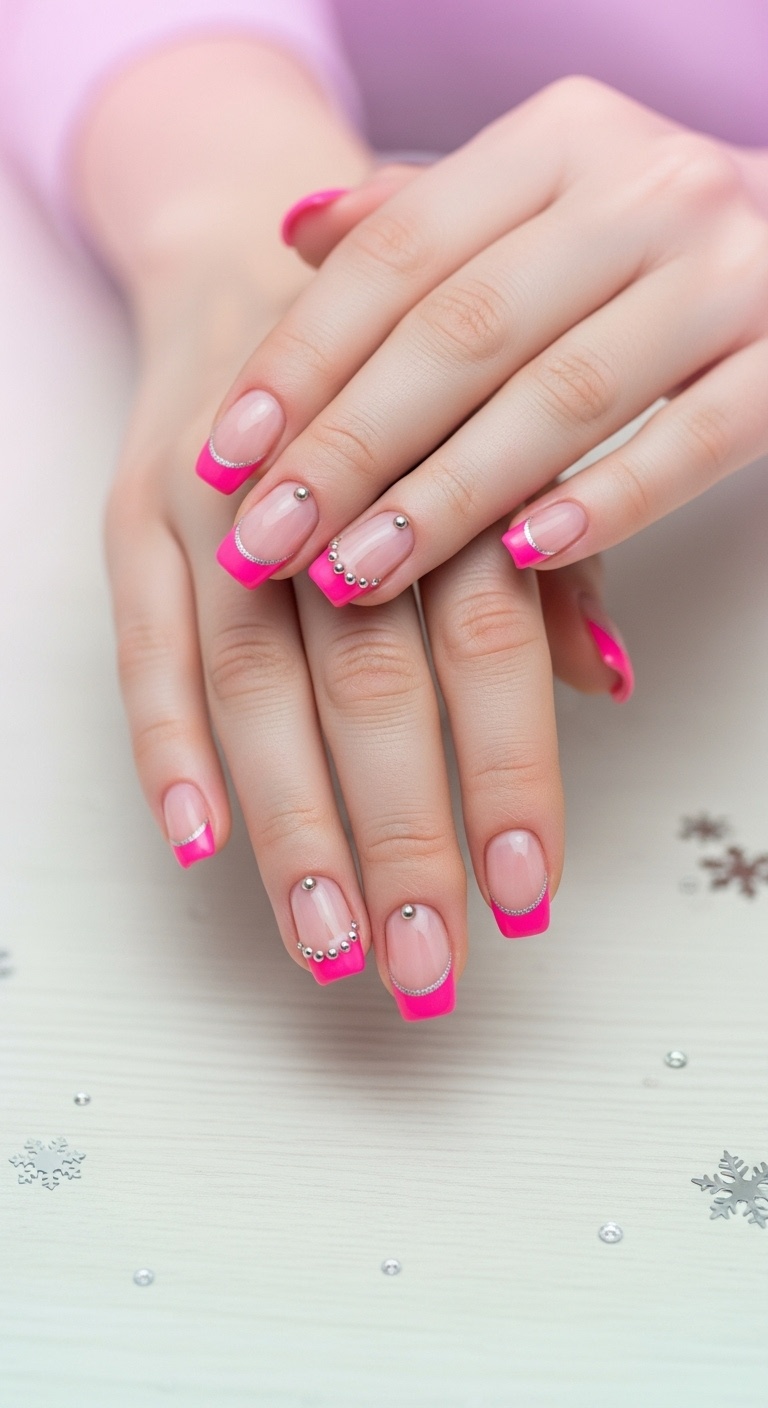
Give your French tips a twist with hot pink instead of classic white. It’s bold and playful—kind of perfect for holiday parties.
Add small silver studs along the edge for a little sparkle. It’s like tiny Christmas lights for your nails.
You can do this on any nail shape, seriously. And if you’ve got a dotting tool or toothpick, placing the studs is a breeze.
Expert Tip from KidsCareIdeas: “Use a dotting tool or toothpick to place studs carefully. Seal with clear topcoat to keep studs from falling off.”
4. Rose gold sparkly ombre
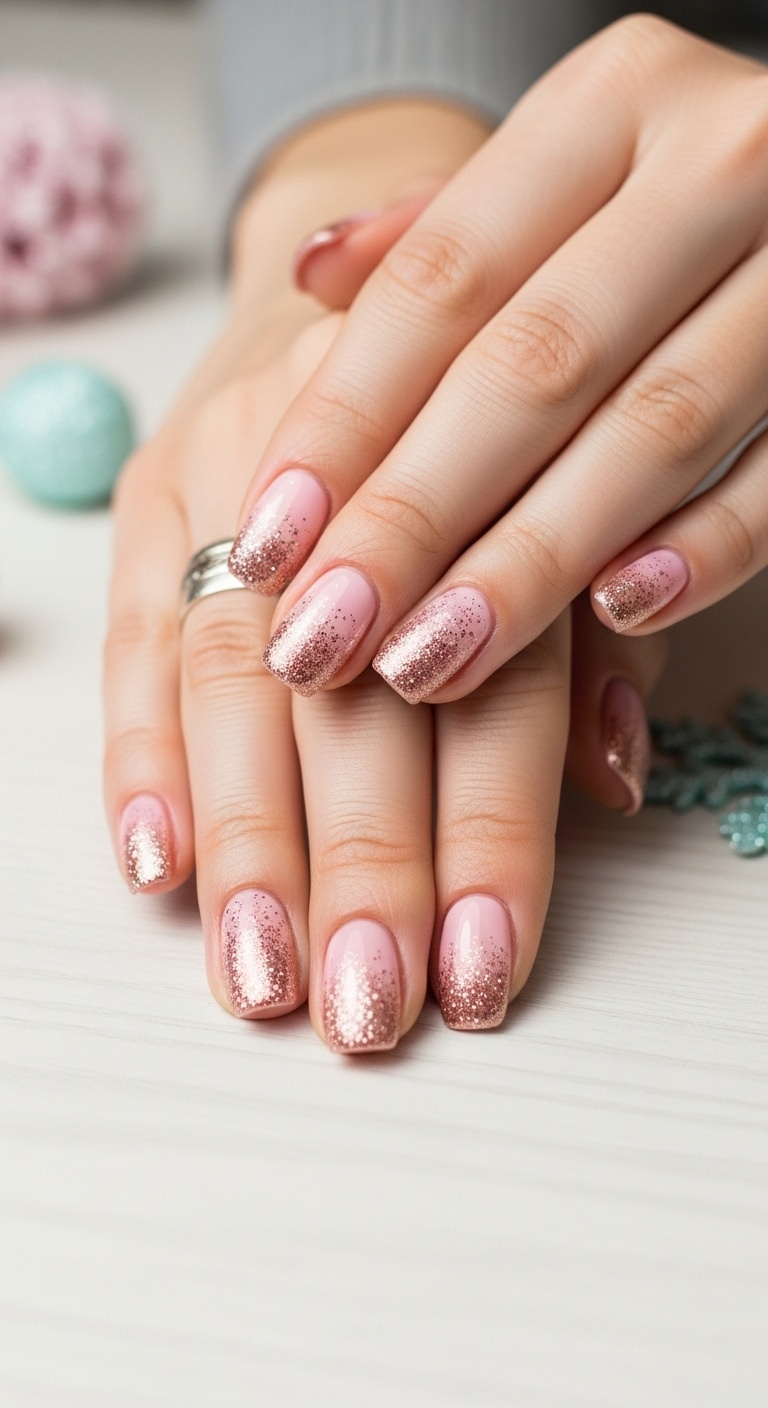
Start with a soft pink base. Then, blend rose gold glitter from the tips down to the middle.
You’ll get a smooth ombre that shines but doesn’t scream for attention.
The sparkle adds just enough holiday cheer. Works great on all nail lengths.
Use a good clear topcoat so the glitter stays put and your nails look fresh.
Expert Tip from KidsCareIdeas: “Use a makeup sponge to apply the glitter for a soft, even ombre look. Seal with two coats of topcoat to keep sparkle all season long.”
5. Soft pink base with white reindeer silhouettes
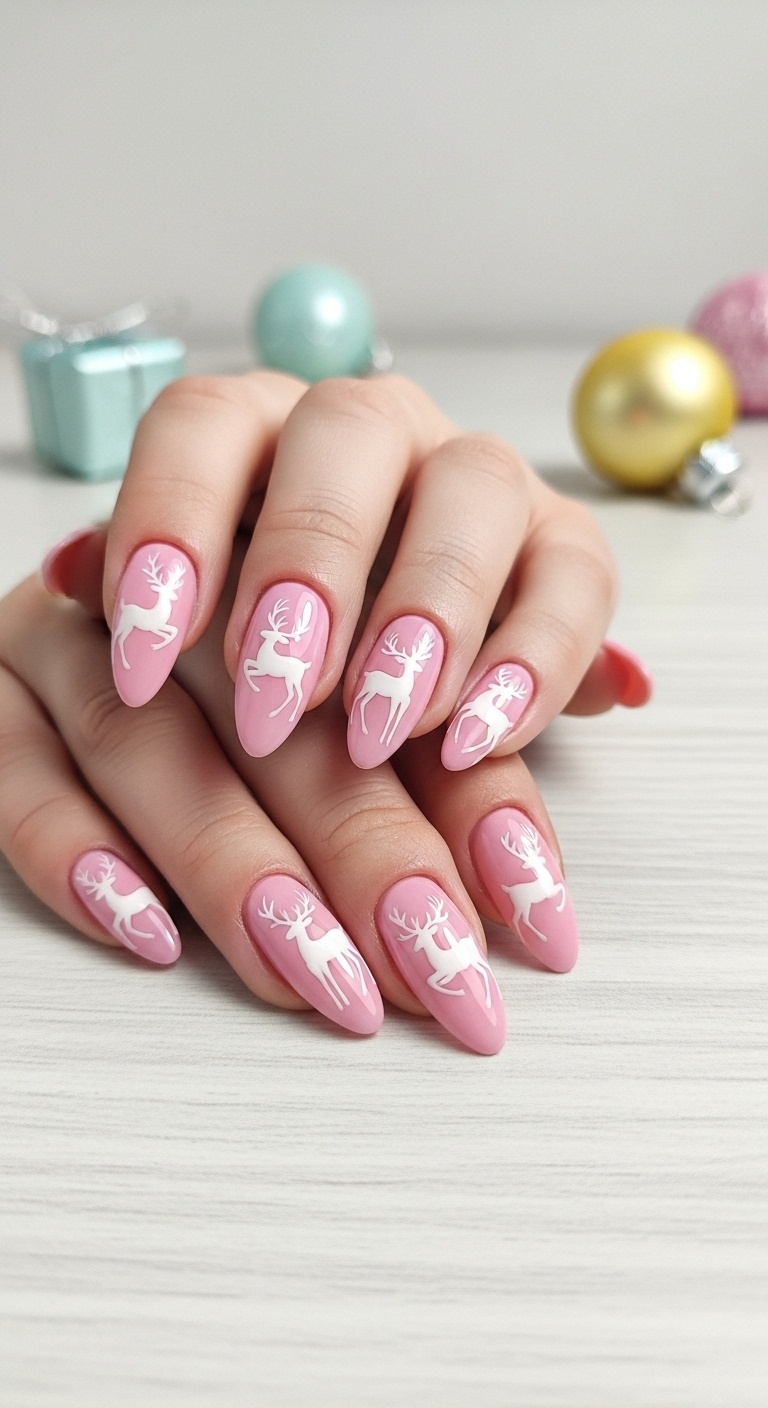
Paint your nails a gentle pink. It’s cozy and perfect for winter.
Add tiny white reindeer silhouettes. The white really pops on pink and gives a cute Christmas feel.
If you don’t want to paint them, stickers save time and look neat.
Keep your reindeer simple. Too many details can get messy fast.
Expert Tip from KidsCareIdeas: “Use a thin brush for the reindeer to get clean shapes. If you’re new, white stickers save time and look great.”
6. Bright pink glitter with tiny holly decals
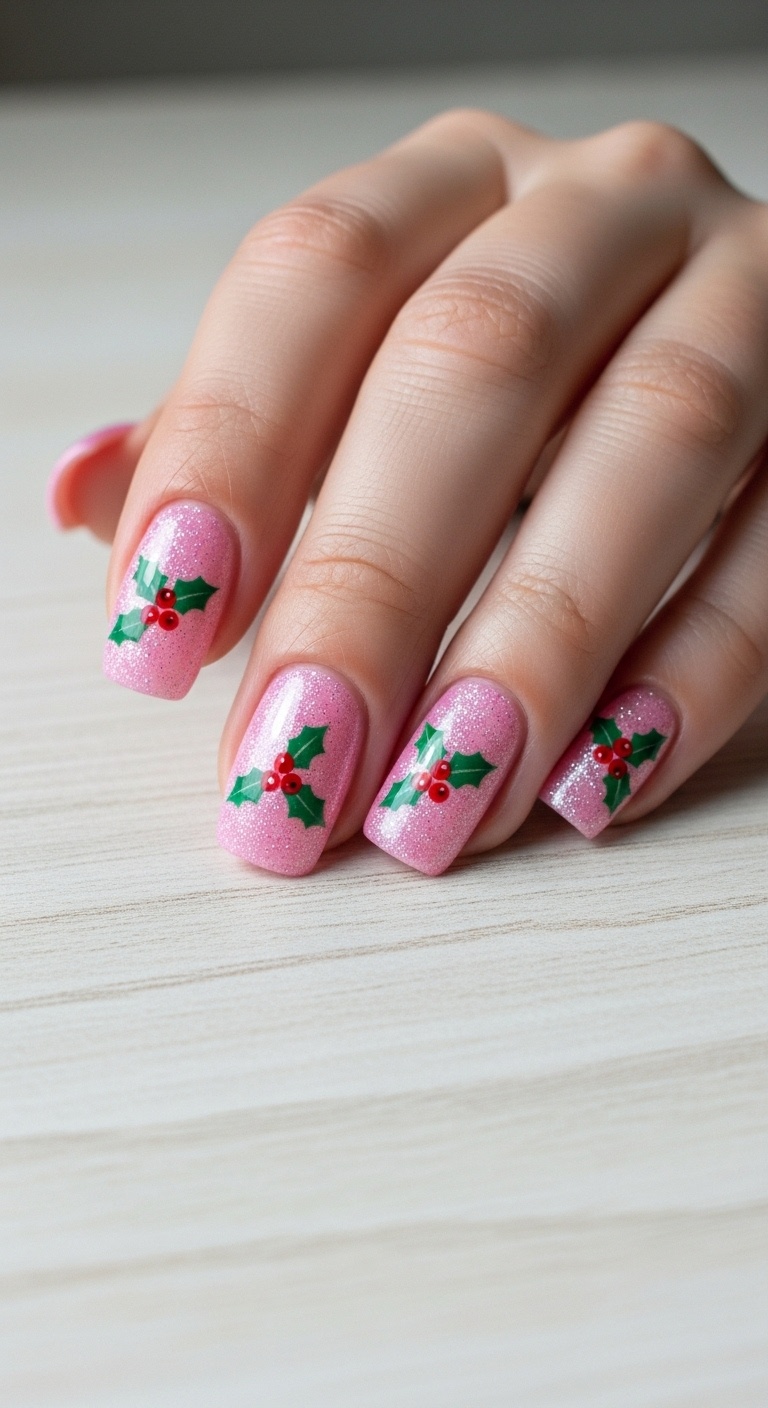
Love sparkle? Go for bright pink glitter.
Stick on tiny holly decals for that extra Christmas touch. The red and green pop against the pink.
You can do this on all your nails or just a couple if you want less bling.
Don’t forget the clear topcoat—keeps everything in place.
Expert Tip from KidsCareIdeas: “Use tweezers to place holly decals carefully. It helps you avoid smudging the glitter base.”
7. Blush pink with tiny rhinestone Christmas trees
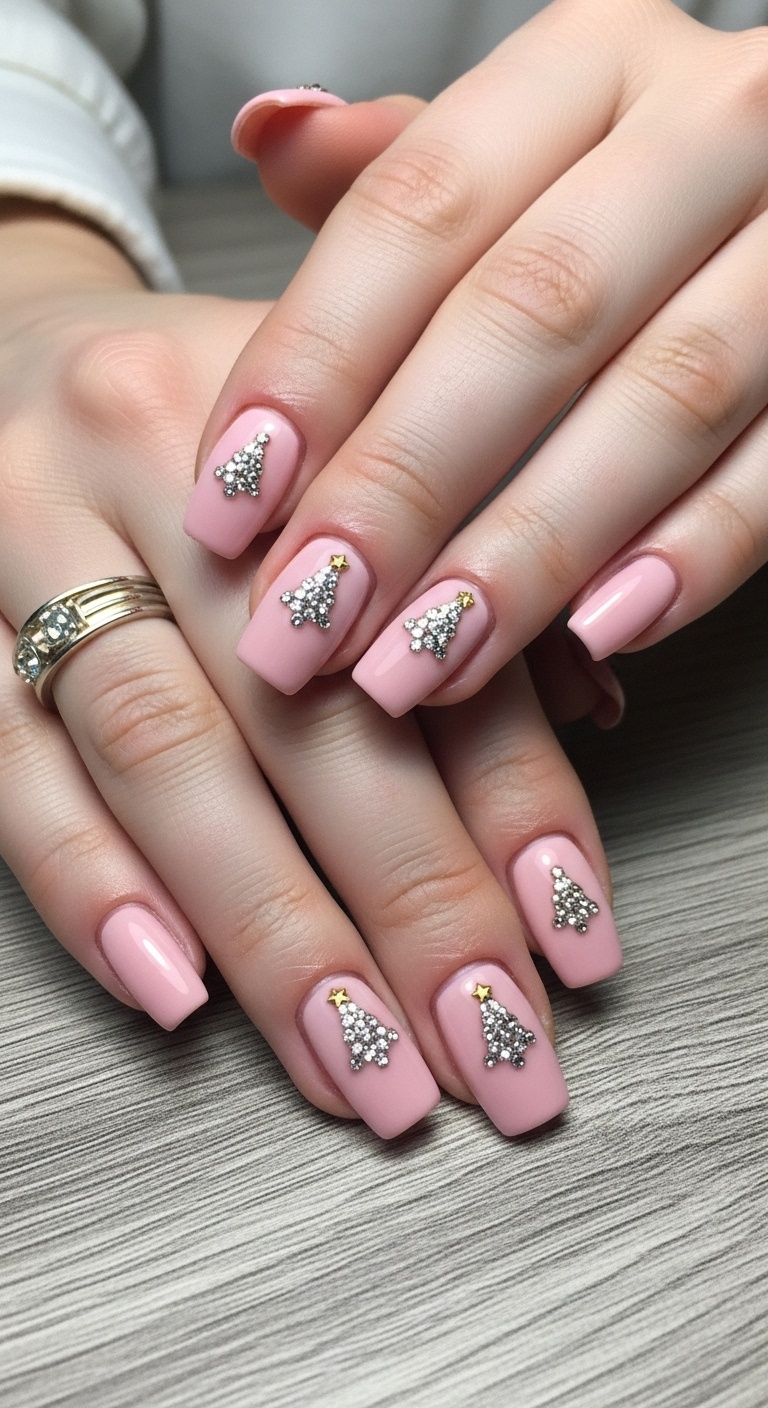
Pick a soft blush pink for your base. It’s gentle and gives off warm holiday vibes.
Add a few tiny rhinestones in the shape of Christmas trees on one or two nails. It’s festive but not over-the-top.
Keep the rest of the nails simple. That way, the rhinestones get to shine.
You can put the rhinestone trees near the tip or by the cuticle—both look cute.
Expert Tip from KidsCareIdeas: “Use a clear topcoat to seal your rhinestones so they don’t fall off quickly. Make sure to press the stones gently into the wet polish before applying the topcoat.”
8. Shimmering pink with gold foil accents
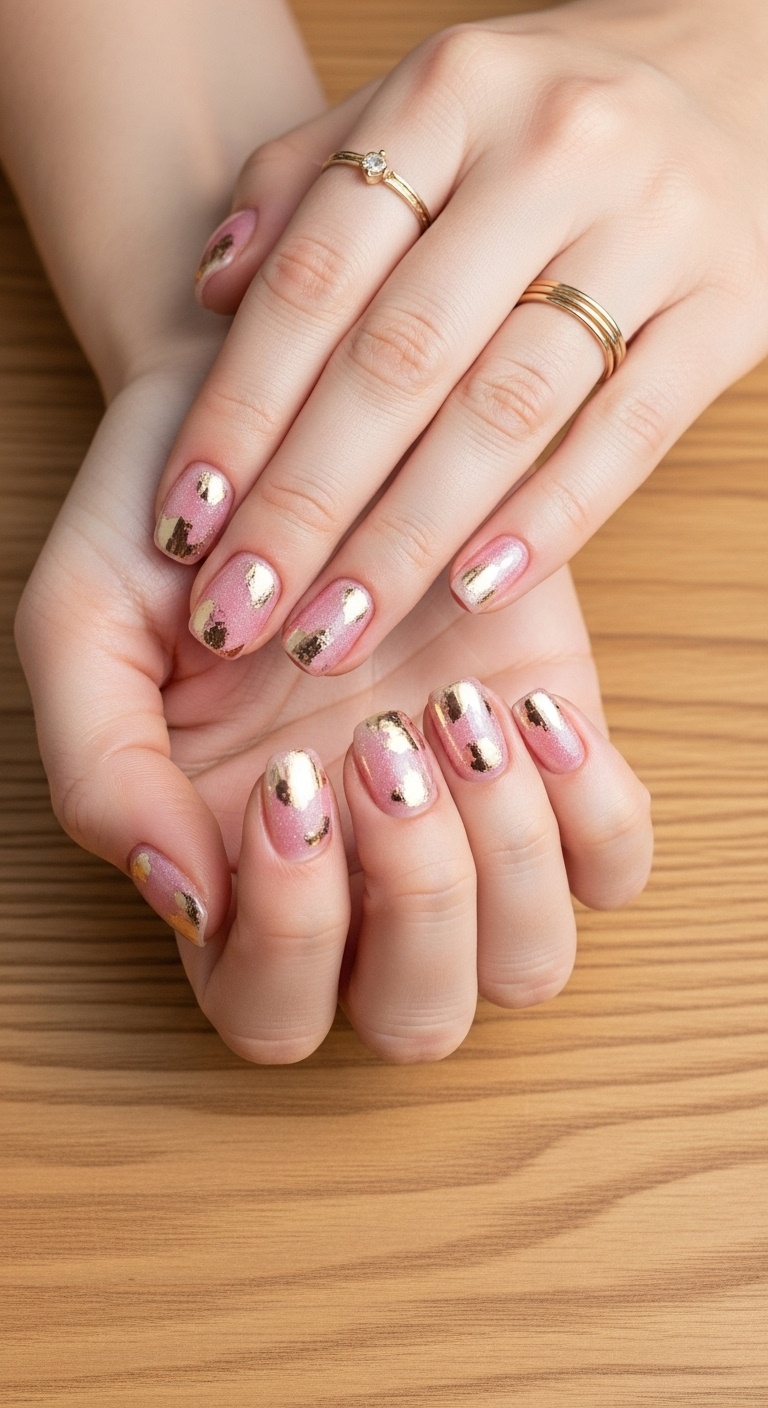
Start with a soft pink base and add little pieces of shiny gold foil.
The gold foil gives tiny flashes of light—just enough to catch someone’s eye.
It’s festive but still feels classy. You only need a little foil on each nail, so don’t go wild.
Lock it all in with a clear topcoat so everything stays put.
Expert Tip from KidsCareIdeas: “Apply gold foil carefully with tweezers for precise placement. Always finish with a strong top coat to prevent chipping and keep your manicure shiny.”
9. Pink and white striped peppermint nails
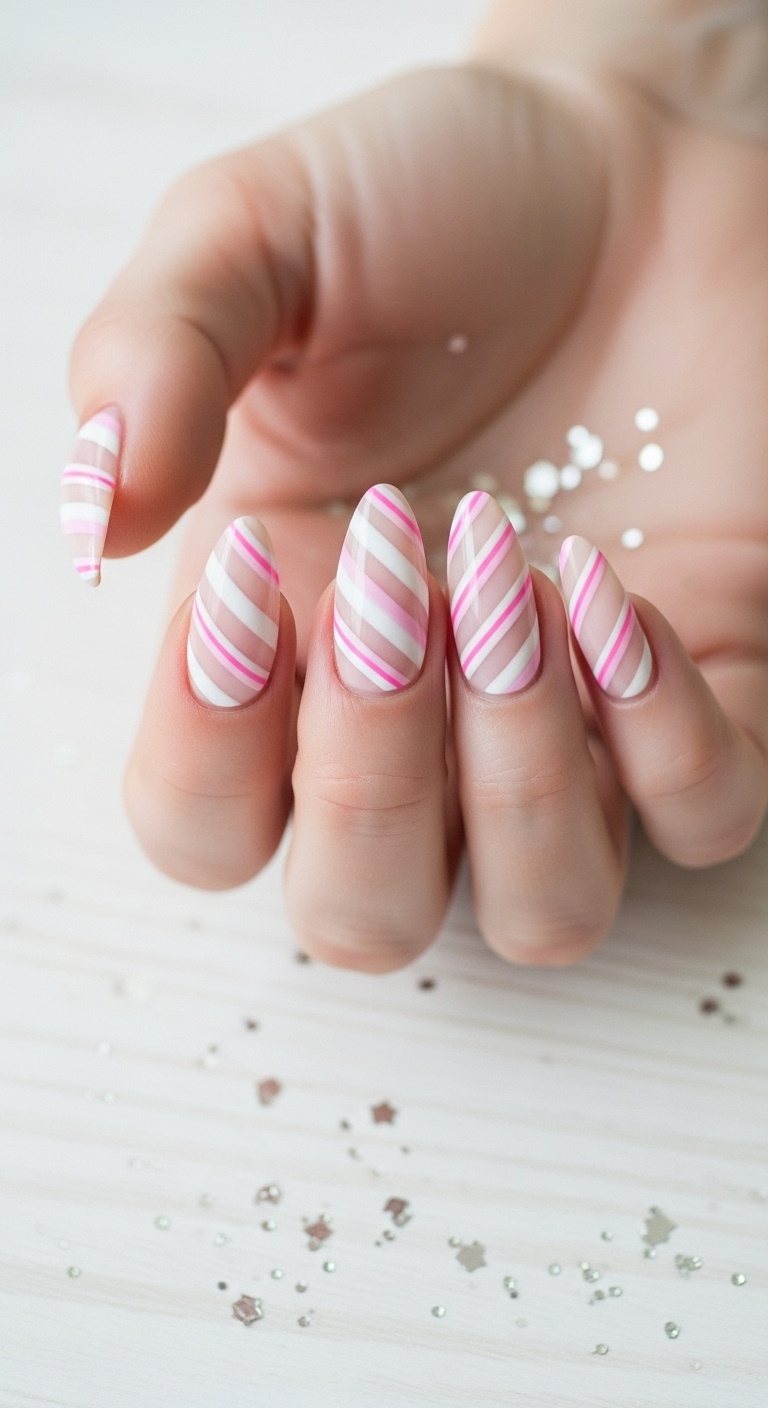
Pink and white stripes look just like peppermint candy. It’s sweet and totally festive.
Paint a light pink base first. Then, add thin white stripes with a brush or striping tape.
You can keep the stripes straight or add a little swirl for more candy vibes.
This works on any nail shape and brings instant holiday cheer.
Expert Tip from KidsCareIdeas: “Use a quick-dry topcoat to keep your stripes sharp and prevent smudging. Thin striped designs last longer when painted slowly and carefully.”
10. Neon pink with playful Santa faces
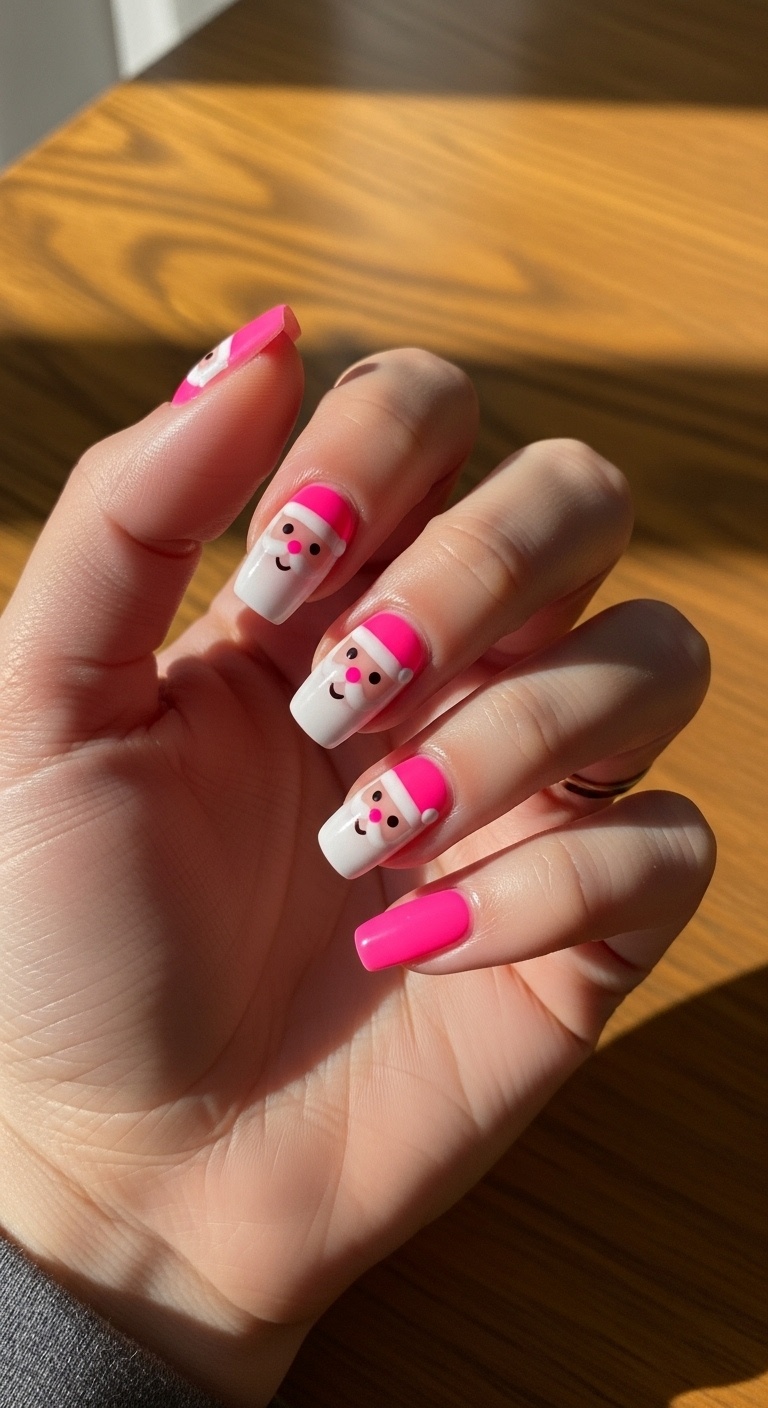
Go bold with neon pink nails. They’re bright and impossible to miss.
Add playful little Santa faces—just a few or all ten if you’re feeling extra.
Keep the faces simple: white beards, red hats, and tiny eyes. It’s cheerful and not too traditional.
You’ll need a steady hand or a thin brush, but it’s worth it for those smiles.
Expert Tip from KidsCareIdeas: “Use a clear topcoat to make the neon colors pop longer. Practice drawing Santa faces on paper before painting your nails.”
11. Dusty rose with delicate snowdrop flowers
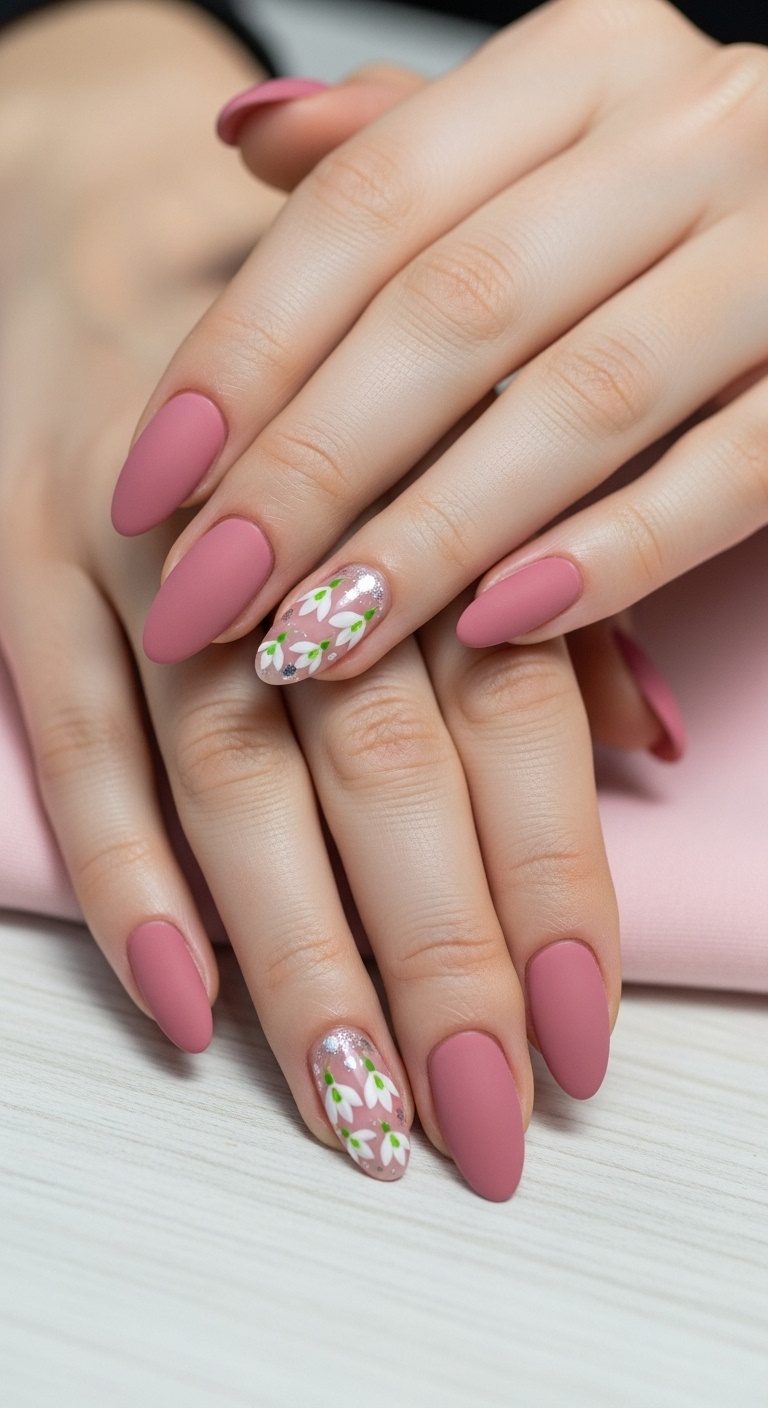
Dusty rose is a soft, cozy pink that’s just right for winter.
Add tiny snowdrop flowers to a couple of nails. The white petals stand out and look pretty.
Most nails can stay plain—just a flower or two keeps things balanced.
Use a fine brush or dotting tool for the flower details. It helps you get clean shapes.
Expert Tip from KidsCareIdeas: “Start your nail art with a light base coat to prevent staining. Use quick-dry topcoat to protect your design and make it last longer.”
12. Bubblegum pink with geometric sparkle
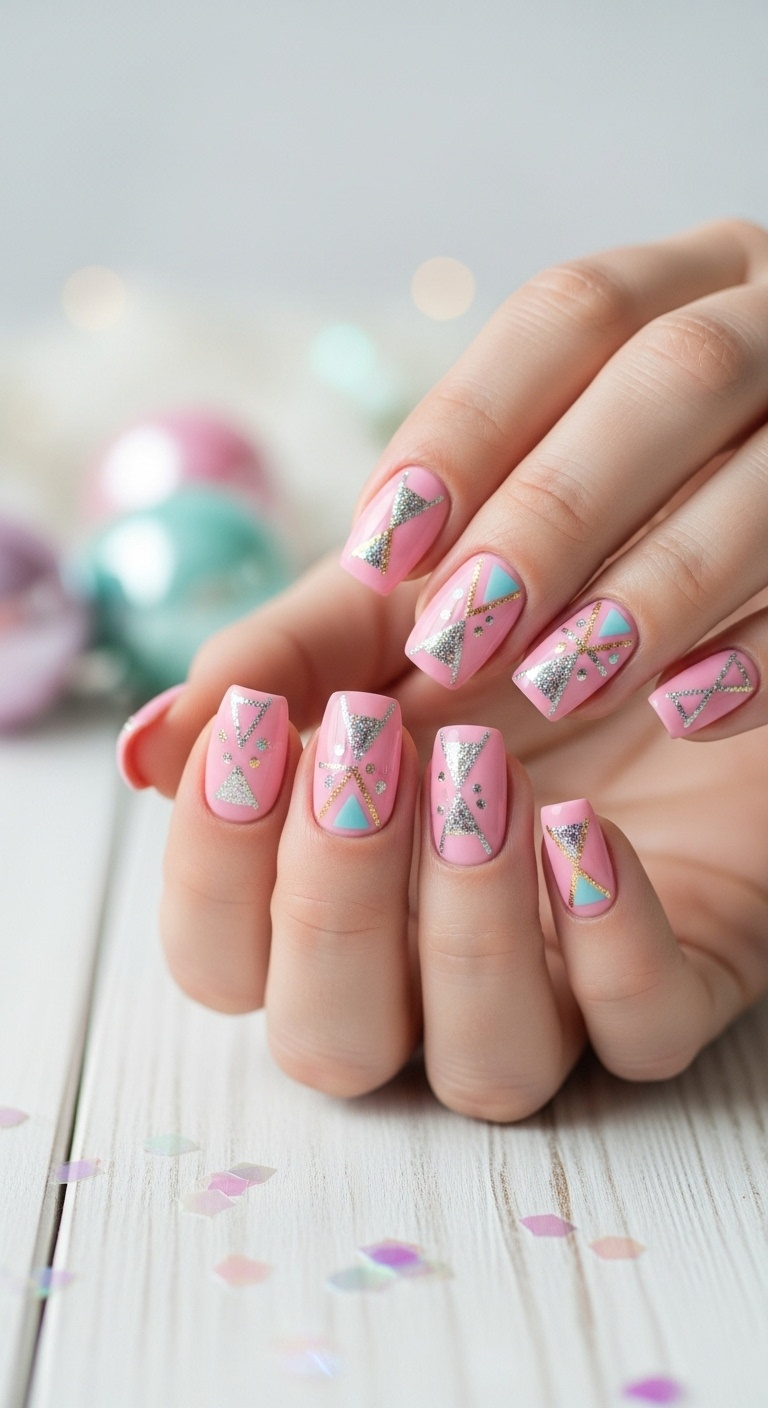
Go for a bright bubblegum pink base. It’s fun and fresh for the holidays.
Add silver or white glitter in geometric shapes—triangles, lines, whatever you like.
Keep the sparkle subtle so the pink still shines. Use a thin brush for crisp lines.
Clean up the edges with a small brush dipped in remover for a neat finish.
Expert Tip from KidsCareIdeas: “Use a quick-dry top coat to keep your sparkle in place longer. Clean up edges with a small brush dipped in nail polish remover for a crisp finish.”
13. Metallic pink with subtle snowflake etching
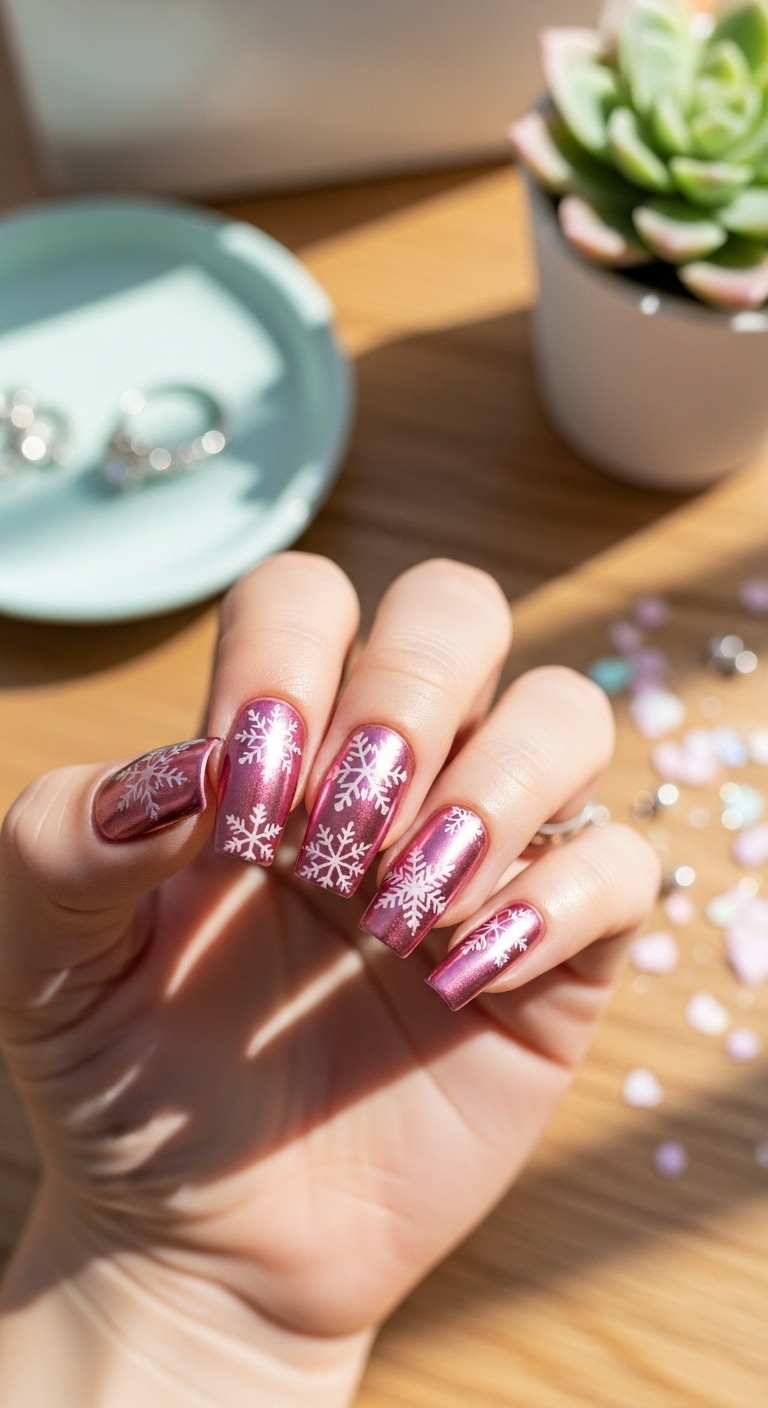
Metallic pink nails shine without being too wild.
Add a little snowflake etching on one or two nails for a wintery touch.
Keep the snowflakes tiny and simple so they don’t overpower the metallic base.
It’s festive but still easy enough for everyday wear.
Expert Tip from KidsCareIdeas: “Use a fine nail brush to draw snowflakes carefully. This keeps the design neat and avoids smudges.”
14. Pale pink with glitter gradient
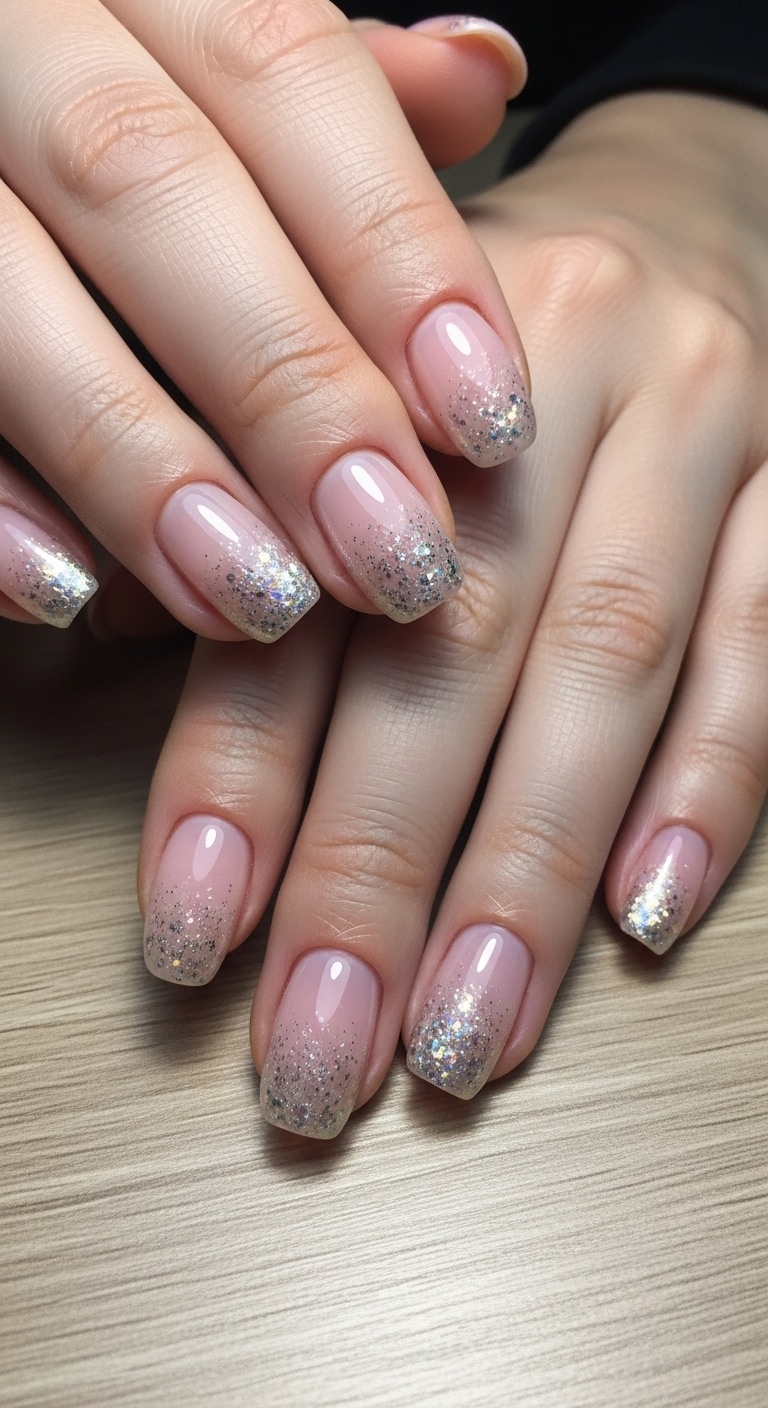
Start with a soft pale pink base. It feels calm and simple, honestly—this shade works with just about any style.
Now, grab your favorite glitter and add it right at the tips. Let it fade down gently.
You’ll get sparkly nails without looking like you’re headed to a disco. This gradient trick looks elegant but isn’t too loud.
If you want a smooth finish, stick with fine glitter. Chunky glitter is fun, but let’s be real—it’s not the easiest for everyday wear.
Here’s a tip from KidsCareIdeas: Use a makeup sponge to dab on the glitter. Then, seal everything with a clear top coat so your shine lasts longer.
