Learn how to make hydrophobic sand at home in simple step-by-step through this helpful guide.
Let’s get started!
Materials to Make Hydrophobic Sand
With very few and specific materials, you can create Hydrophobic or Magic sand at home through the DIY process. The ingredients required are:
- Colored Sand
- Plastic Spoon
- Disposable container to mix the ingredients all together
- Plastic Cup
- Water Repellant (Fabric Protector)
- Water
How to Make Hydrophobic Sand at Home?
Making Hydrophobic sand at home can be a real-time fun experiment. It is also called Magic sand and for a reason of course.
All you have to do is, carefully follow a series of steps to get the perfect batch of Magic sand prepared at home:
- Pour a thin layer of sand on any plastic plate. The layer should be thin. If you want to prepare magic sand in greater quantities, you can choose to do it in multiple batches. If the layer is not thin, you won’t be able to spread the water repellent uniformly across.
- Spray the water repellent uniformly across the layer of sand. The fabric protector is the easiest available type of water repellent and is commercially available readily. Spray in a moderate amount until you feel it is enough to wet the sand. Wait till the sand gets moist. Keep a close observation at this stage to prevent overspraying or wasting the water repellent.
- Next with the help of a plastic spoon, mix the water repellent with the sand uniformly. This step is crucial. Once the first coat is mixed thoroughly, apply the second coat of water repellent followed by uniform mixing.
- Now place the sand in front of the fan to help it dry out completely. It can take even an hour for the water repellent to completely dry and get mixed with the sand. Time and again keep on stirring the sand to prevent any lump formation.
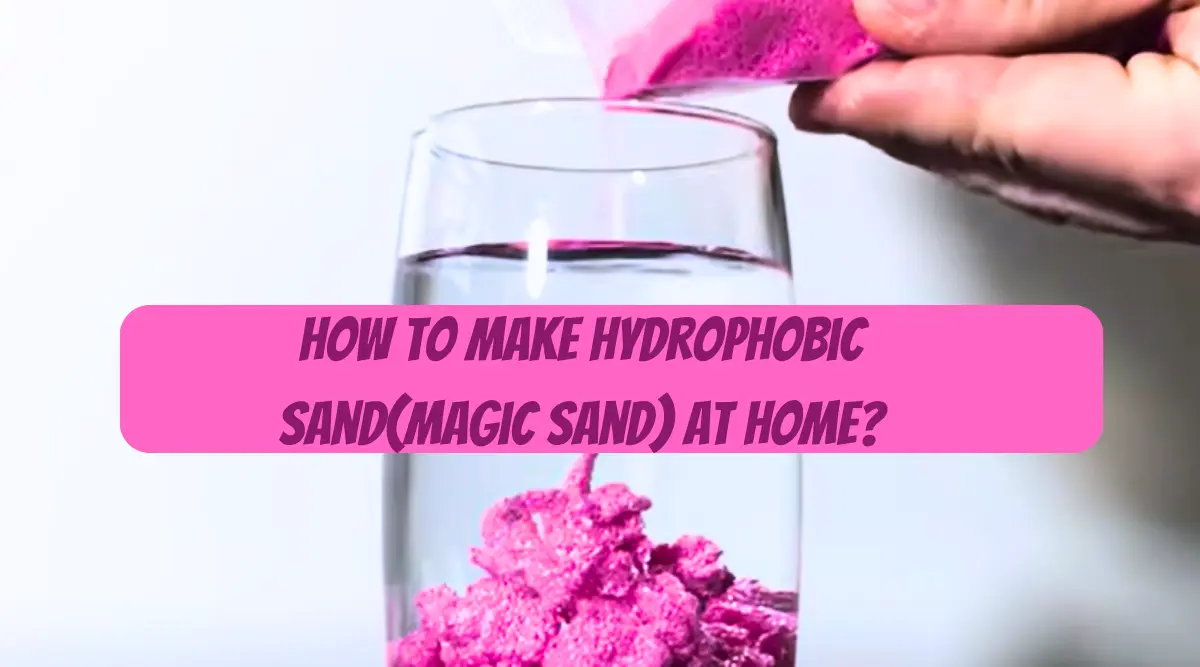
- Once the sand is completely dried out, it is time to check whether the magic sand has been formed properly or not. Fill the plastic cup with some water and then put a spoonful of sand in it to check whether it is getting wet or not.
Tips and Tricks for Best Results
You can create the best hydrophobic sand by following some amazing tricks and tips.
- Spread out the sand evenly in a thin layer. The thinner the layer, the better will be the interaction of water repellent with the sand.
- Allow the mix of water repellent and sand to dry out completely. Even the slightest moisture can cause a problem in the property of the hydrophobic sand.
- Keep stirring the sand mix with a plastic spoon to prevent any type of lump formation.
Safety Precautions
Here are some of the safety precautions, that will help you create just the perfect batch of magic sand:
- If you have a greater quantity of sand, prepare the magic sand in two batches. The idea is to never let the layer of sand be too thick.
- Always use an aluminum foil to cover the tray that you are preparing the sand in. This helps in protecting the tray and you could reuse it next time.
- Do not spray the water repellent so thick that there is a liquid pool all around. The quantity should be just the perfect – optimally balanced and just the right to wet the sand layer.
FAQs on How to Make Hydrophobic Sand at Home
What are some common mistakes to avoid while making hydrophobic sand or magic sand?
- Never add any soap or water to the sand as it can alter the properties of the hydrophobic sand and make it behave just like regular sand.
- Stay away from adding excess water repellent in the sand as it could make drying of the sand mixture extremely difficult.
How Magic Sand Works?
The water repellent creates an external coating over the grains of sand and even when in water, this causes the sand granules to adhere to each other. The water repellent basically creates an air pocket around the sand and prevents it from getting wet.
