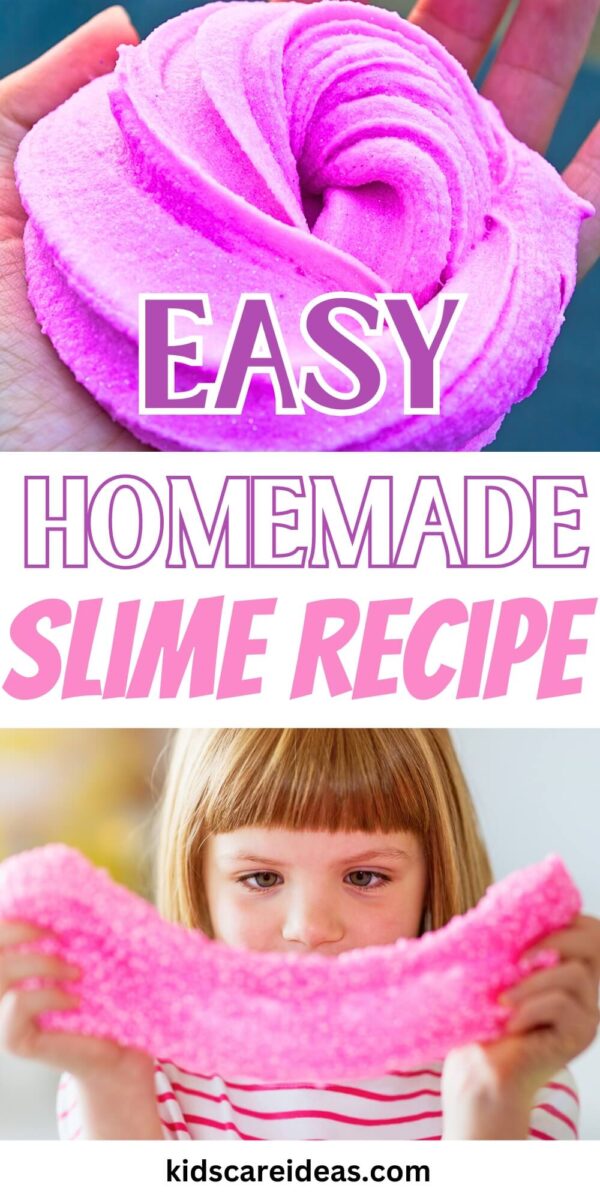
Ever wondered how to make that gooey, stretchy slime everyone loves?
Whether you’re a parent trying to keep your kids busy or just someone who likes DIY projects, making slime at home is easy and fun.
In this guide, we’ll show you simple steps to create your own slime using common household items.
So, get ready for some colorful, squishy fun that everyone will enjoy!
Materials Needed
Now, before heading into the Slime recipes, let’s check the basic tools required for your Slime preparation.
Tools and Equipment
- Mixing Bowl: A medium-sized bowl to mix all the ingredients together.
- Stirring Utensil: A spoon or spatula to stir the mixture. A plastic one is preferred for easy cleaning.
- Measuring Spoons and Cups: Essential for getting the right proportions of ingredients.
- Storage Container: An airtight container to keep your slime fresh and stretchy after making it.
Optional Add-Ins for Texture and Color
- Food Coloring: Adds vibrant colors to your slime. Gel food coloring works best, but liquid is fine too.
- Glitter: Adds sparkle and shine.
- Foam Beads: Provides a crunchy texture and fun, sensory experience.
- Lotion: Makes the slime stretchy and soft.
- Shaving Cream: When added, it can make fluffy slime with a lighter, airier texture.
- Scented Oils: Provides a pleasant smell to your slime.
Each of these extras can be mixed in during or after the main ingredients have been combined, allowing you to customize the slime to your liking.
Typically, you start with just a small amount and gradually add more until the desired effect is achieved.
Safety Precautions
- Supervision: Always supervise children, especially when using borax, as it can be irritating to the skin and dangerous if ingested.
- Avoid Contact: Keep slime away from eyes and mouth. Wash hands thoroughly after handling.
- Protect Skin: If you have allergies or sensitive skin, wear gloves.
- Storage: Store slime in an airtight container to prevent it from drying out.
- Pet and Child Safety: Keep slime out of reach of pets and younger children who might accidentally ingest it.
- Non-Toxic Ingredients: Use non-toxic ingredients whenever possible.
Slime-Making Basics
Making slime at home is fun and easy. You need just a few simple ingredients and some basic techniques to get started.
Simple Slime Recipe
To make basic slime, you will need the following ingredients:
- 1 cup (240 mL) of liquid craft glue
- 1/2 cup (120 mL) of water
- 1/2 teaspoon borax
- Food coloring (optional)
Start by mixing the water and glue in a bowl.
You can add a few drops of food coloring if you want your slime to be colorful.
In a separate container, dissolve the borax in half a cup of hot water.
Slowly add the borax solution to the glue mixture, stirring constantly.
The slime will start to form and thicken. If it feels too sticky, you can add a bit more borax solution, a little at a time.
Shop the ingredients:
Find here liquid craft glue, borax and food colors for making the above slime recipe:


Mixing Techniques
- Stir glue and water until smooth, without lumps. Gradually add borax solution, stirring continuously for even consistency.
- Begin stirring with a spoon. As slime thickens, knead by hand for smoothness and stretchiness.
- Continue kneading until slime isn’t sticky. Adjust consistency: add more borax solution if too sticky, or water if too stiff.
- Store slime in an airtight container to keep it fresh and ready for play.
How to Make Slime Without Glue?
You can make slime without using glue by following several simple recipes. Here are a few popular methods:
Method 1: Tapioca Flour Slime
Ingredients:
- 1 cup water
- 4 teaspoons tapioca flour (divided)
- Food coloring (optional)
Instructions:
- Pour 1 cup of water into a microwave-safe bowl.
- Add a few drops of food coloring to the water, if desired.
- Mix in 2 teaspoons of tapioca flour until fully dissolved.
- Microwave the mixture for 20 seconds to heat it up.
- Let it cool slightly, then gradually add 2 more teaspoons of tapioca flour while stirring continuously.
- Continue mixing until the slime reaches a stretchy consistency.
Secret Tip: After heating and cooling, knead the slime with your hands to enhance its stretchiness and smooth texture.
Method 2: Conditioner Slime
Ingredients:
- Conditioner (about 1 cup)
- Cornstarch (start with 1/2 cup and adjust as needed)
- Food coloring (optional)
Instructions:
- Place conditioner into a bowl.
- Add a few drops of food coloring to the conditioner, if desired, and mix well.
- Gradually add cornstarch, stirring continuously, until the mixture thickens to a slime-like consistency.
- Adjust the amount of cornstarch as needed until you achieve the desired texture.
Secret Tip: To make the slime smoother and more elastic, add a teaspoon of baby oil or coconut oil while mixing.
Method 3: Shaving Foam Slime
Ingredients:
- Shampoo (1/2 cup)
- Shaving foam (1 cup)
- Food coloring (optional)
Instructions:
- Pour 1/2 cup of shampoo into a mixing bowl.
- Add a few drops of food coloring to the shampoo, if desired, and mix well.
- Gradually incorporate 1 cup of shaving foam into the shampoo.
- Stir vigorously until the mixture is fully combined and fluffy.
Secret Tip: For a scented slime, add a drop or two of your favorite essential oil to the mixture before stirring in the shaving foam.
Method 4: Cornstarch and Shampoo Slime
Ingredients:
- Shampoo (1/2 cup)
- Cornstarch (about 2 1/2 cups)
- Food coloring (optional)
Instructions:
- Pour 1/2 cup of shampoo into a mixing bowl.
- Add 2-3 drops of food coloring to the shampoo and mix well.
- Begin adding cornstarch, about 1/2 cup at a time, stirring continuously.
- Keep adding cornstarch until the mixture thickens and can be kneaded into a moldable slime.
Secret Tip: To prevent sticking, lightly coat your hands with cornstarch before kneading the slime. This will make it easier to handle and less sticky.
These methods provide a fun and glue-free way to make slime at home.
Adjust the ingredients and follow the secret tips for best results and a personalized slime experience!
Experiment with different ingredients to find your favorite texture and color!
Advanced Slime Recipes
Create unique slime with these more advanced recipes. Each type has its own special ingredients and method, which results in different textures and appearances.
Fluffy Slime
Ingredients:
- 1 cup white glue
- 1/2 tsp baking soda
- 1/2 cup water
- 8 oz shaving cream
- 1 tsp acrylic paint (optional)
- 1 tbsp saline solution
Instructions:
- Mix glue, baking soda, and water in a bowl.
- Add acrylic paint if desired.
- Incorporate shaving cream until fluffy.
- Gradually add saline solution while mixing.
- Knead until smooth.
Secret Tip: Chill shaving cream for extra fluffiness.
Butter Slime
Ingredients:
- 1 cup white glue
- 1/2 tsp baking soda
- 1 tbsp saline solution
- 1/2 cup model magic clay
- 1/4 cup water
Instructions:
- Combine glue and baking soda.
- Add water and stir.
- Mix in saline solution.
- Knead in model magic clay.
- Continue kneading until smooth.
Secret Tip: Add baby oil or lotion for a buttery texture.
Clear Slime
Ingredients:
- 1 cup clear glue
- 1 tsp borax
- 1 cup hot water
- 1/2 cup room temperature water
Instructions:
- Dissolve borax in hot water.
- Mix clear glue with room temperature water.
- Gradually add borax solution.
- Stir until slime forms.
- Knead until clear.
Secret Tip: Store in an airtight container overnight for clarity.
Yogurt Slime
Ingredients:
- 1/2 cup plain yogurt
- 1/4 cup cornstarch
- 1 tbsp food coloring (optional)
Instructions:
- Mix yogurt and food coloring if using.
- Gradually add cornstarch, stirring continuously.
- Knead until desired consistency.
Secret Tip: Add vanilla extract for a pleasant scent.
Understanding Slime
Slime is a fascinating substance that can behave both as a liquid and a solid.
Science Behind Slime
Slime is a type of non-Newtonian fluid, meaning it doesn’t follow Newton’s laws of fluid dynamics. It can flow like a liquid but also hold its shape like a solid. This unique behavior is due to the polymers found in the glue.
When you mix glue with a solution containing borax, a chemical reaction occurs. The borax links the polymer chains in the glue, creating a stretchy, gooey substance. Polyvinyl acetate (PVA) is the most common polymer used in slime-making.
Understanding this process helps you troubleshoot issues, like slime that is too sticky or too hard. Adjusting the amounts of ingredients can change the slime’s texture and feel.
Types of Slime
Here are common types of slime:
| Type of Slime | Description |
|---|---|
| Basic Slime | Made with glue and a borax solution; perfect for beginners. |
| Cloud Slime | Light and fluffy; created by adding instant snow powder to the base mixture. |
| Glow-in-the-Dark Slime | Incorporates phosphorescent powder or paint for a fun visual effect. |
| Butter Slime | Smooth and spreadable; made by incorporating clay into the base mixture. |
| Clear Slime | Made using clear glue, resulting in a transparent slime. |
| Magnetic Slime | Contains iron filings, allowing it to interact with magnets. |
Each type of slime offers a different experience and can teach about various aspects of chemistry and material science.
Storing the Slime in Proper Way
To keep your slime soft and stretchy, store it properly.
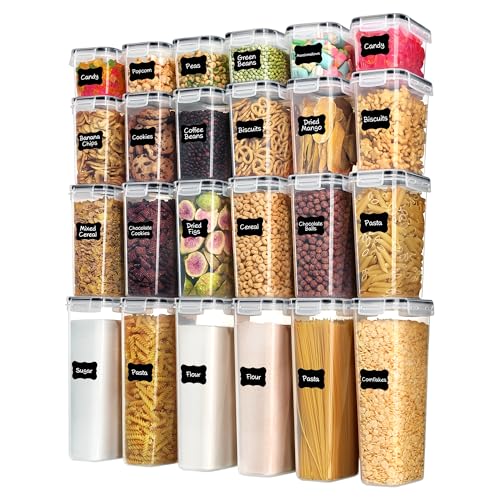
1. Use Airtight Containers:
An airtight container works best to store slime.
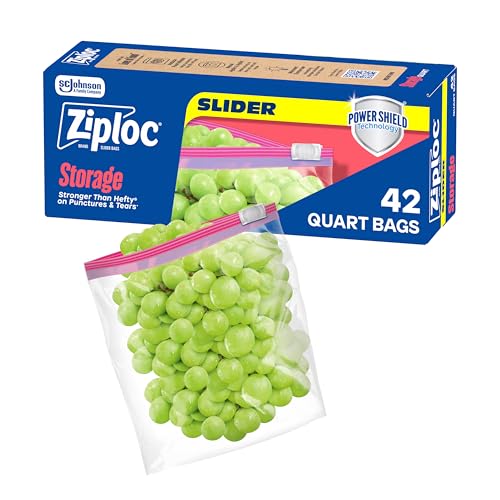
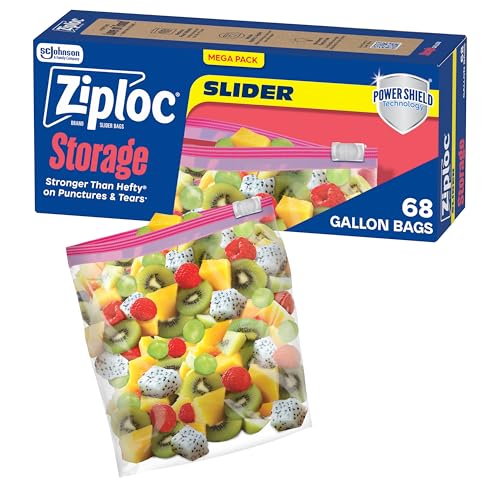
Plastic food storage containers or zip-lock plastic bags are great choices.
Here are some amazing Airtight food storage containers:


Here are some zip lock bags you can consider:

Note: Before sealing, press out as much air as possible. Air exposure can dry out and harden the slime.
2. Label Your Containers:
Keeping track of different slime recipes can be challenging. Use containers that come with labels or invest in some stickers to mark the date and type of slime.
This helps in identifying and managing your slime collection efficiently.
3. Store in a Cool, Dry Place:
To maintain the consistency and texture of your slime, store it in a cool, dry place away from direct sunlight. Extreme temperatures can affect the slime’s properties and make it too sticky.
Troubleshooting Common Problems While Making Slime
Problem #1: Slime is Too Sticky
- Add More Activator: Gradually add a few drops of activator (e.g., borax solution or contact lens solution) and knead well.
- Knead Longer: Sometimes slime becomes less sticky with more kneading.
- Check Ratios: Ensure the glue-to-activator ratio is correct.
Problem #2: Slime is Too Hard
- Add Lotion: Mix in a small amount of hand lotion or baby oil to soften the slime.
- Add Water: Add a few drops of water and knead to incorporate it evenly.
- Reduce Activator: Use less activator next time to prevent hardness.
Problem #3: Slime is Not Forming Properly
- Check Ingredients: Make sure all ingredients are fresh and not expired.
- Mix Thoroughly: Ensure all components are well-mixed before adding the activator.
- Adjust Ratios: Experiment with different glue-to-activator ratios to achieve the right consistency.
Creative Slime Uses and Projects
1. Stress Relief:
Squeeze and stretch slime to help ease stress. It’s calming to play with and can be a great fidget tool.
2. Sensory Play:
Slime is perfect for sensory activities. Kids can squish, knead, and stretch, which helps develop fine motor skills.
3. Science Experiments:
Use slime to teach about chemical reactions. Making slime can show how different ingredients react and combine to form a new substance.
4. Arts and Crafts:
Create colorful slime art. Mix in glitter, beads, or small toys to make your slime unique.
5. Themed Slimes:
Celebrate holidays or events with themed slimes. Use colors and mix-ins that match the occasion, like red and green for Christmas or orange for Halloween.
6. Improved Focus:
Playing with slime can help enhance concentration. It offers a hands-on break that can refresh and reset your mind.
7. DIY Gifts:
Make personalized slime bottles as gifts. Customize the slime with the recipient’s favorite colors and add-ins.
8. Homemade Stress Balls:
Fill small balloons with slime to create stress balls. Tie the balloon tightly to prevent leaks.
9. Slime Art:
Spread slime on paper for a different form of painting. The texture and colors create unique patterns.
10. Classroom Activities:
Teachers can use slime for interactive learning. It can be part of lessons on science, math, or even art projects.
