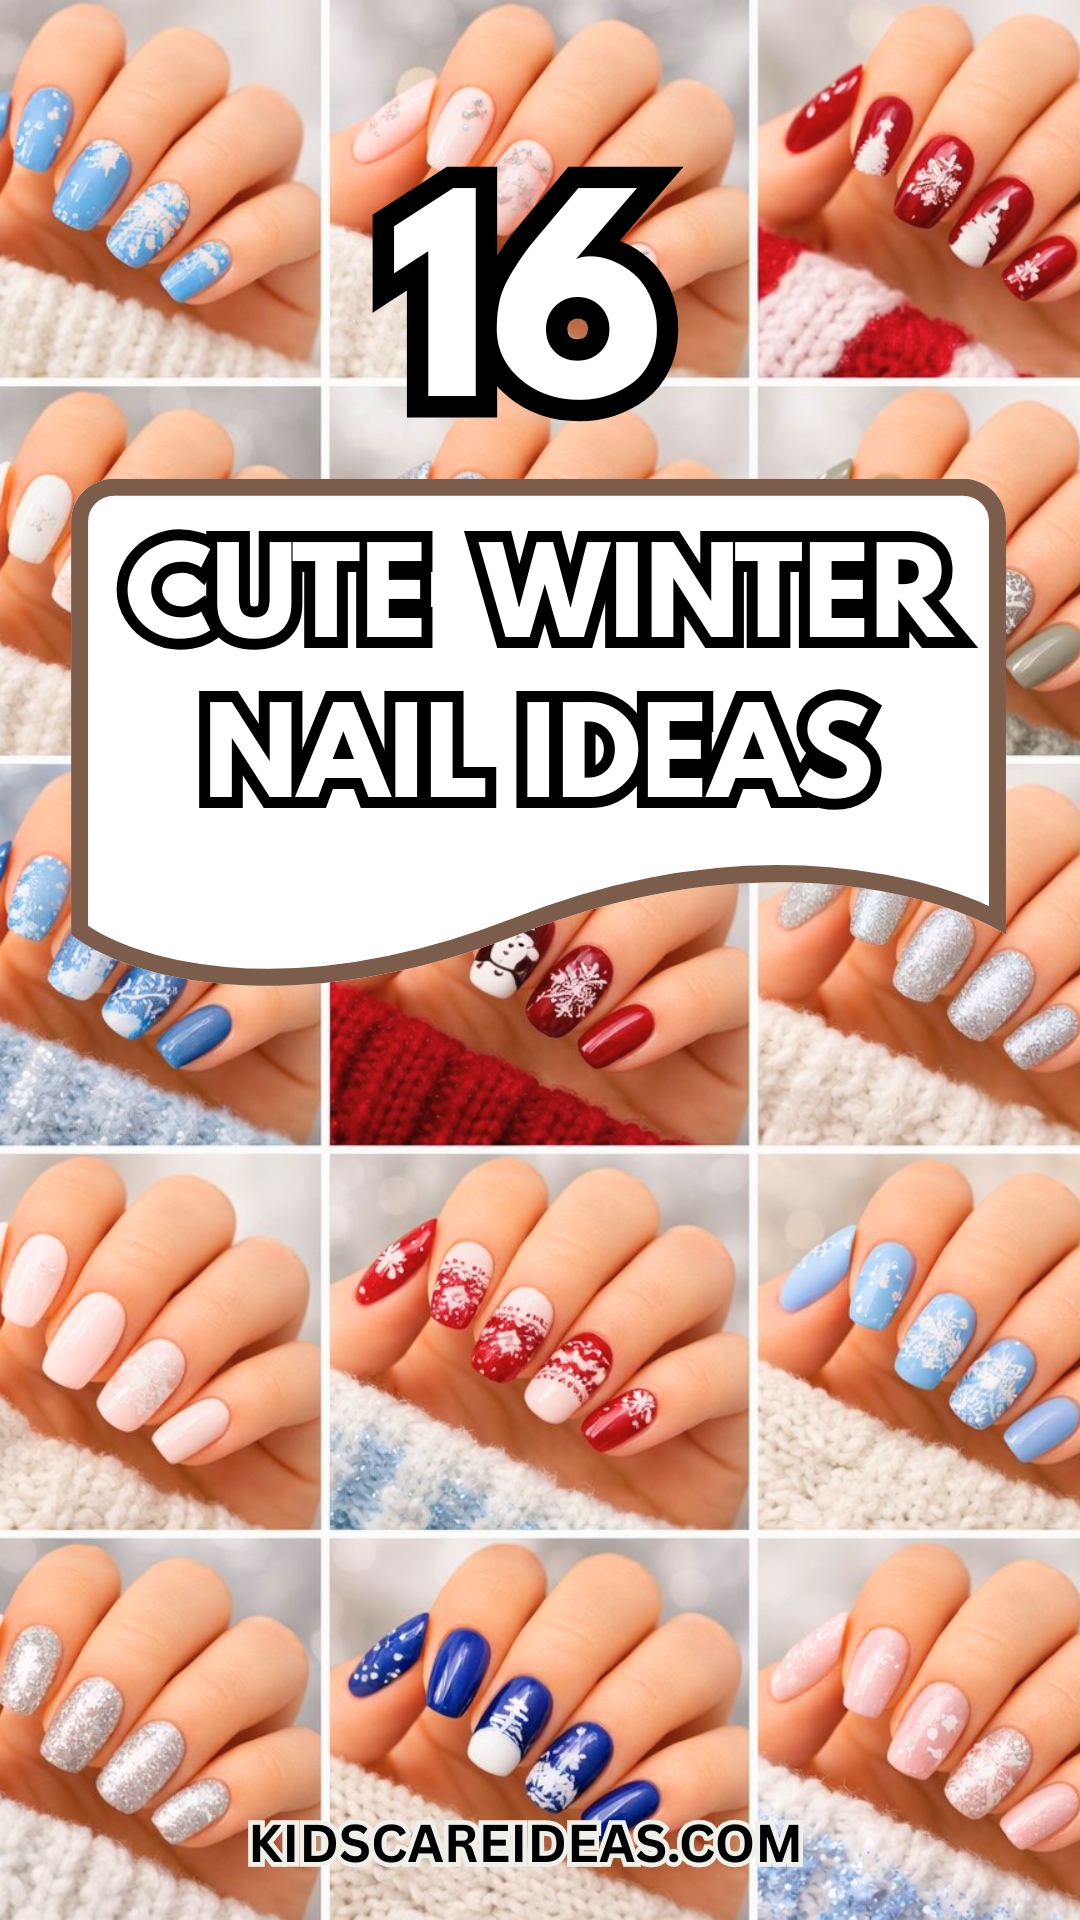
Let’s be honest—sometimes you just want your nails to feel like they belong in a snow globe, without spending hours fussing over them. Here are 16 cute winter nail ideas that’ll get your fingers looking cozy, festive, or just plain fun, no matter your mood or skill level.
You’ll find ideas for lazy nights, holiday shindigs, and those days when you just want something simple but still a little special.
There’s a little bit of everything here—playful patterns, sparkles, soft gradients. You might even get inspired to try something new at home, or just snap a pic for your next salon visit.
1. Snowflake sparkle tips
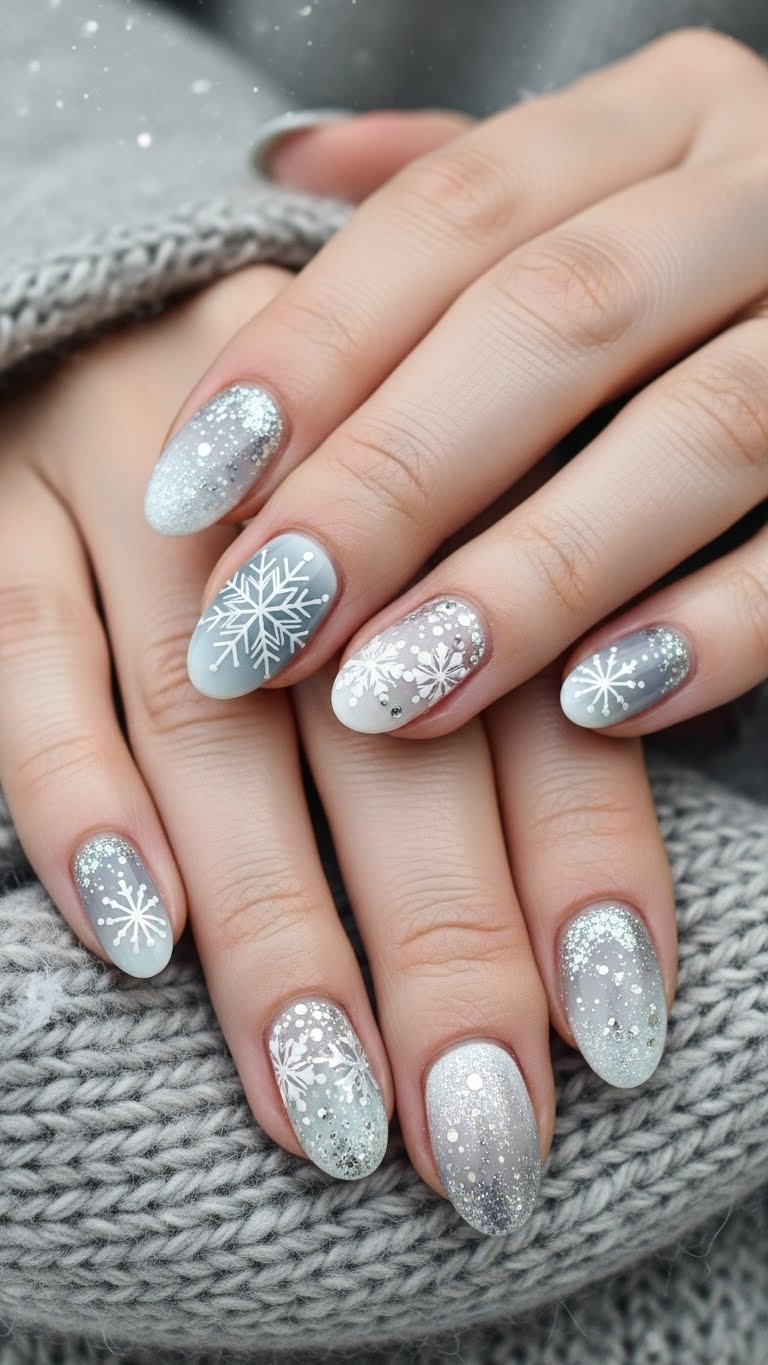
Grab a clear or pale blue polish to make those snowflakes really stand out. Tiny white flakes drawn with a fine brush or even a dotting tool can look super crisp.
Swipe silver or iridescent glitter on the tips for that frosty sparkle. A good top coat keeps everything in place so you don’t find glitter everywhere but your nails.
If you’re feeling extra, add more snowflakes on one accent nail. Don’t stress—stickers totally count if freehand isn’t your thing.
Expert Tip from KidsCareIdeas: “Use a toothpick for tiny snowflake dots if you don’t have a dotting tool.”
2. Cozy plaid nail art
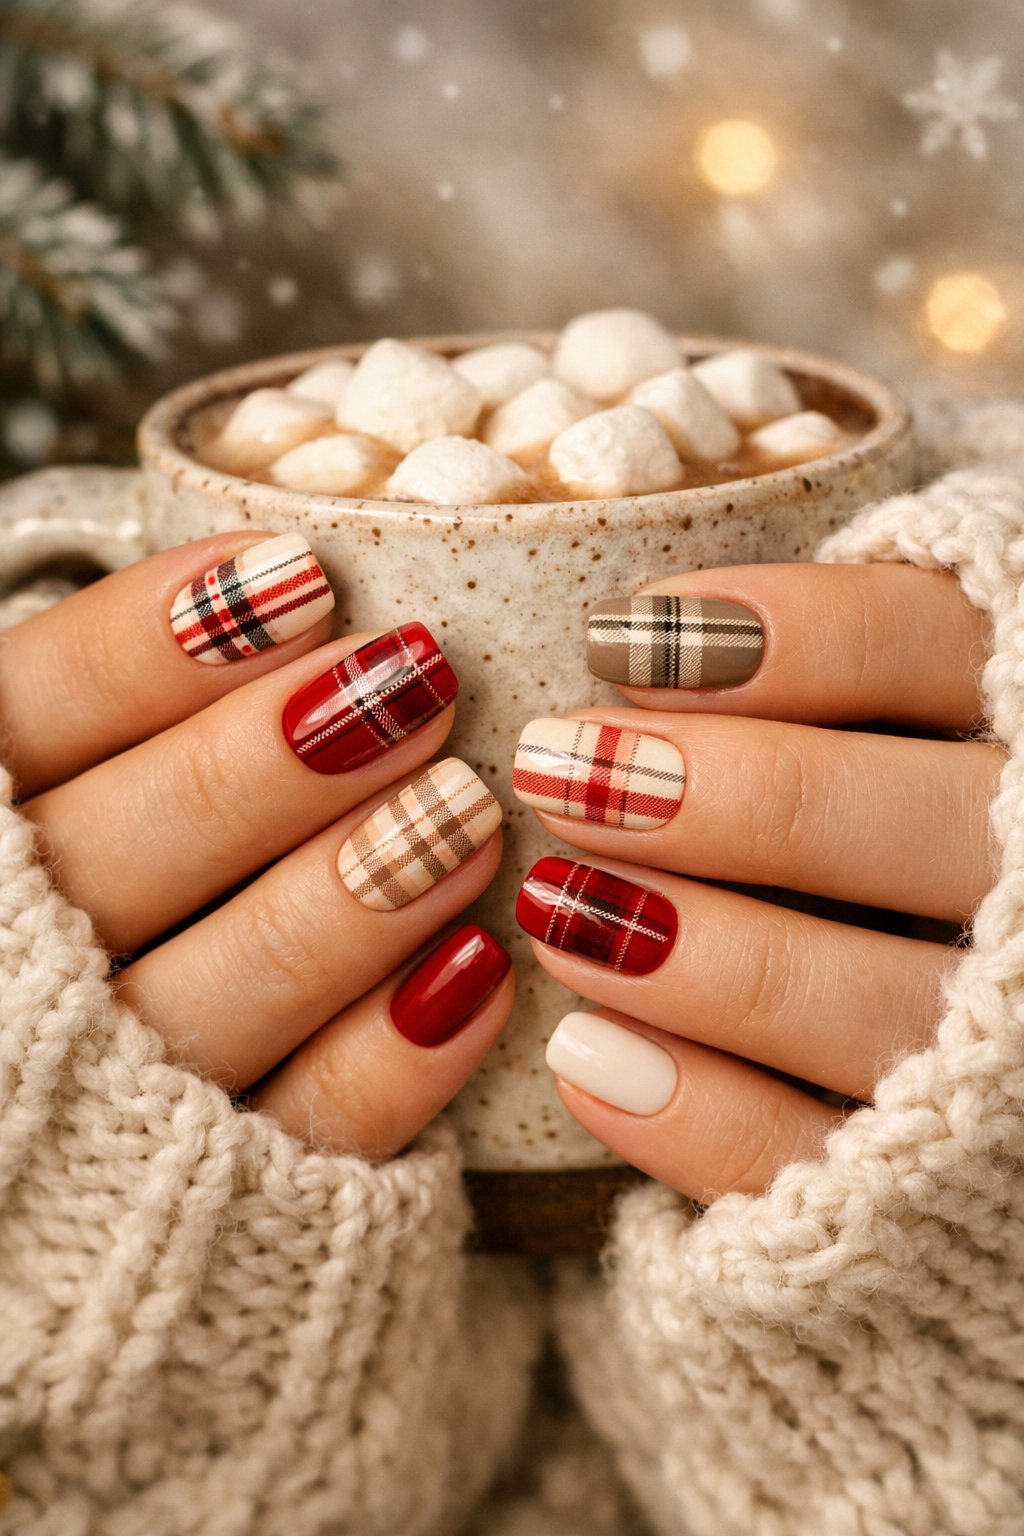
Plaid nails just scream winter, right? Start with a soft base like cream or light gray, then add stripes in red, black, or green for that classic flannel look.
A striping brush or even a toothpick works for the lines. Let each color dry before adding another so your plaid stays sharp, not smudgy.
Plaid looks cute on any nail length. Matte topcoat gives it that extra cozy sweater vibe.
Expert Tip from KidsCareIdeas: “Practice stripe spacing on paper first to steady your hand. Use a quick-dry topcoat to keep lines from smudging.”
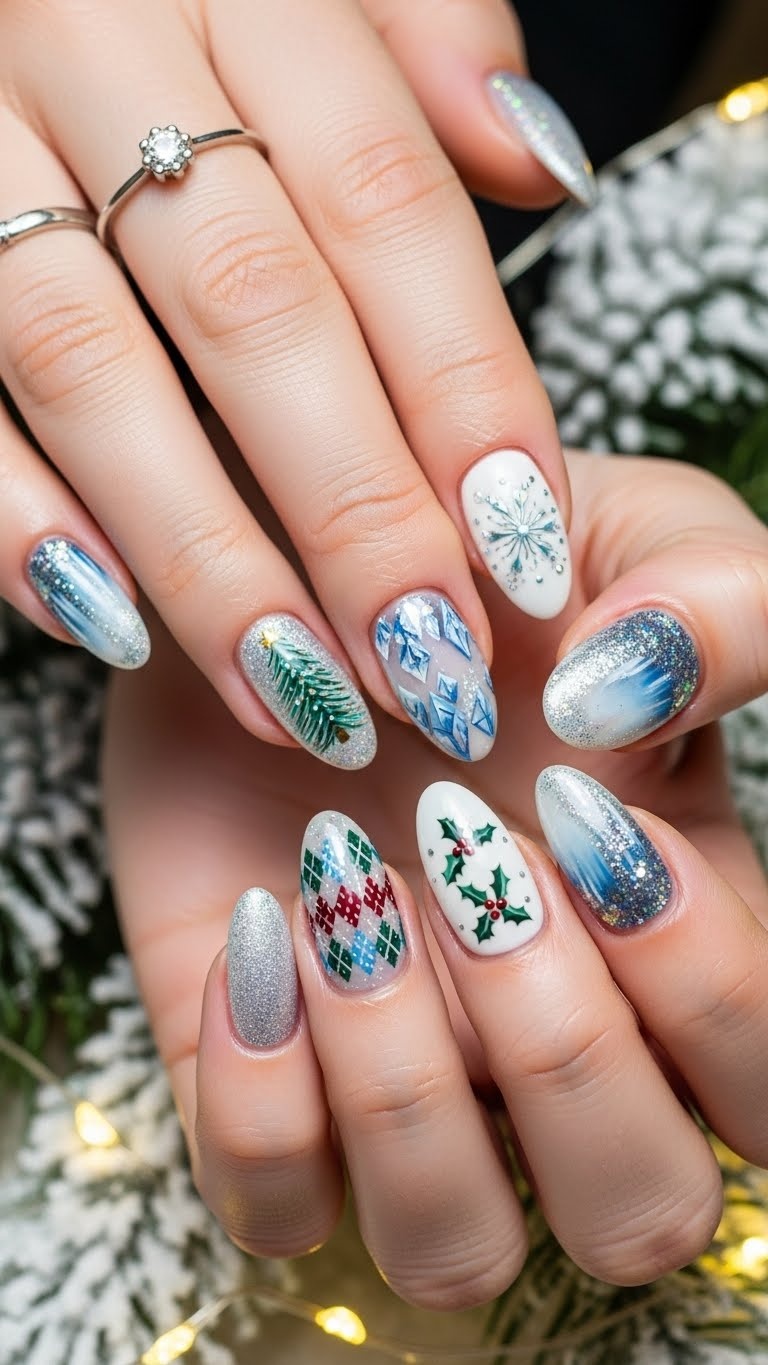
3. Frosted ombre blues
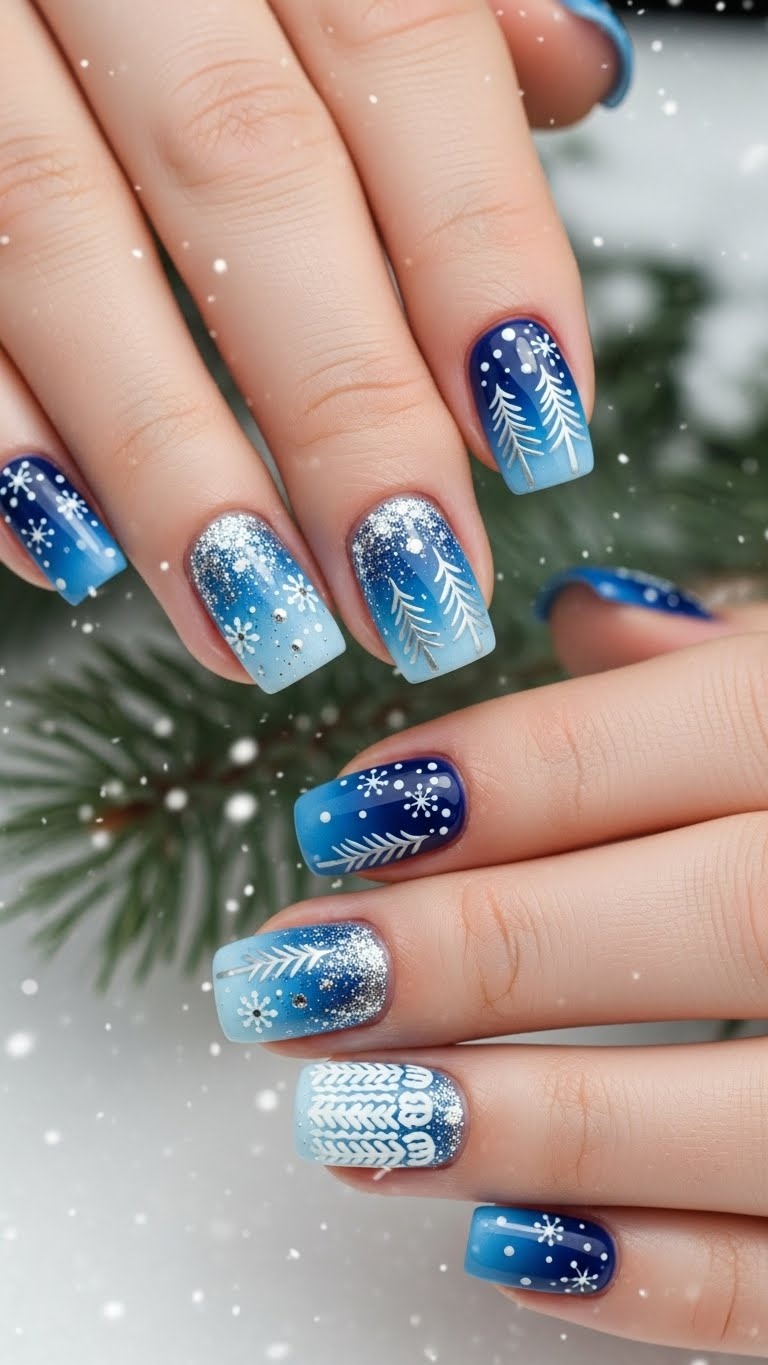
Pick two or three blue shades, from icy light to deep navy. Paint a pale base, then use a sponge to dab darker blue at the tips for a soft fade.
Add a shimmery or micro-glitter topcoat so your nails look like they’ve been kissed by frost. Keep your sponge dabs gentle for a smooth blend.
A glossy sealer locks it all in. If you’re feeling playful, dot a tiny snowflake near the cuticle.
Expert Tip from KidsCareIdeas: “Use a damp sponge and tap gently to blend blues; work quickly before polish dries. Seal edges with topcoat to make the ombre last longer.”
4. Candy cane stripes
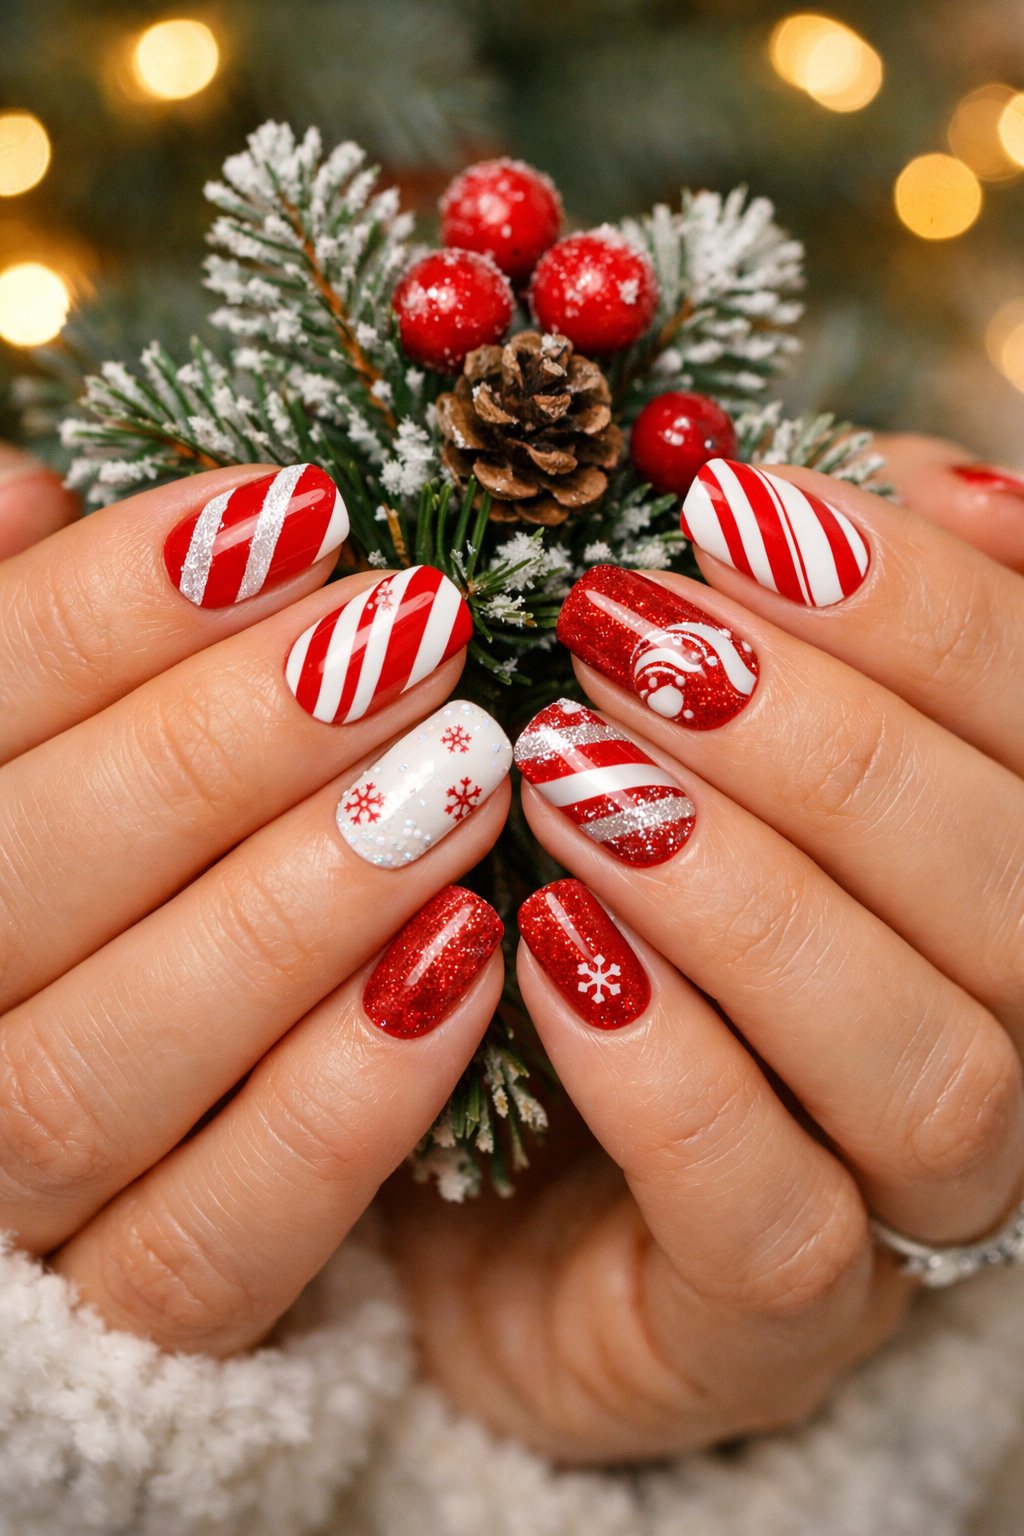
Go for classic red and white for instant candy cane vibes. Paint your base color, let it dry, and then get those stripes going.
A thin brush or striping tape helps keep the lines neat. Leave a little space between stripes so each one pops.
Glitter red on an accent nail adds sparkle without making things wild. Topcoat helps those stripes stick around.
Expert Tip from KidsCareIdeas: “Use a toothpick for tiny corrections and a fast-dry topcoat to prevent smudges. Practice stripes on paper before painting your nails.”
5. Glittery pine tree designs
Paint a sheer glitter base to start the party, then use a thin brush to add little green pine trees. Make small triangles for the tree shapes.
Dotting tools or tiny brush strokes add texture to the trees. A clear gloss on top keeps everything smooth and shiny.
Gold or silver glitter makes it extra festive. Stick to accent nails if you want things less busy.
Expert Tip from KidsCareIdeas: “Use peel-off base coat under glitter for easy removal. Press a top coat while the glitter is tacky to lock sparkle in place.”
6. Hot cocoa brown matte
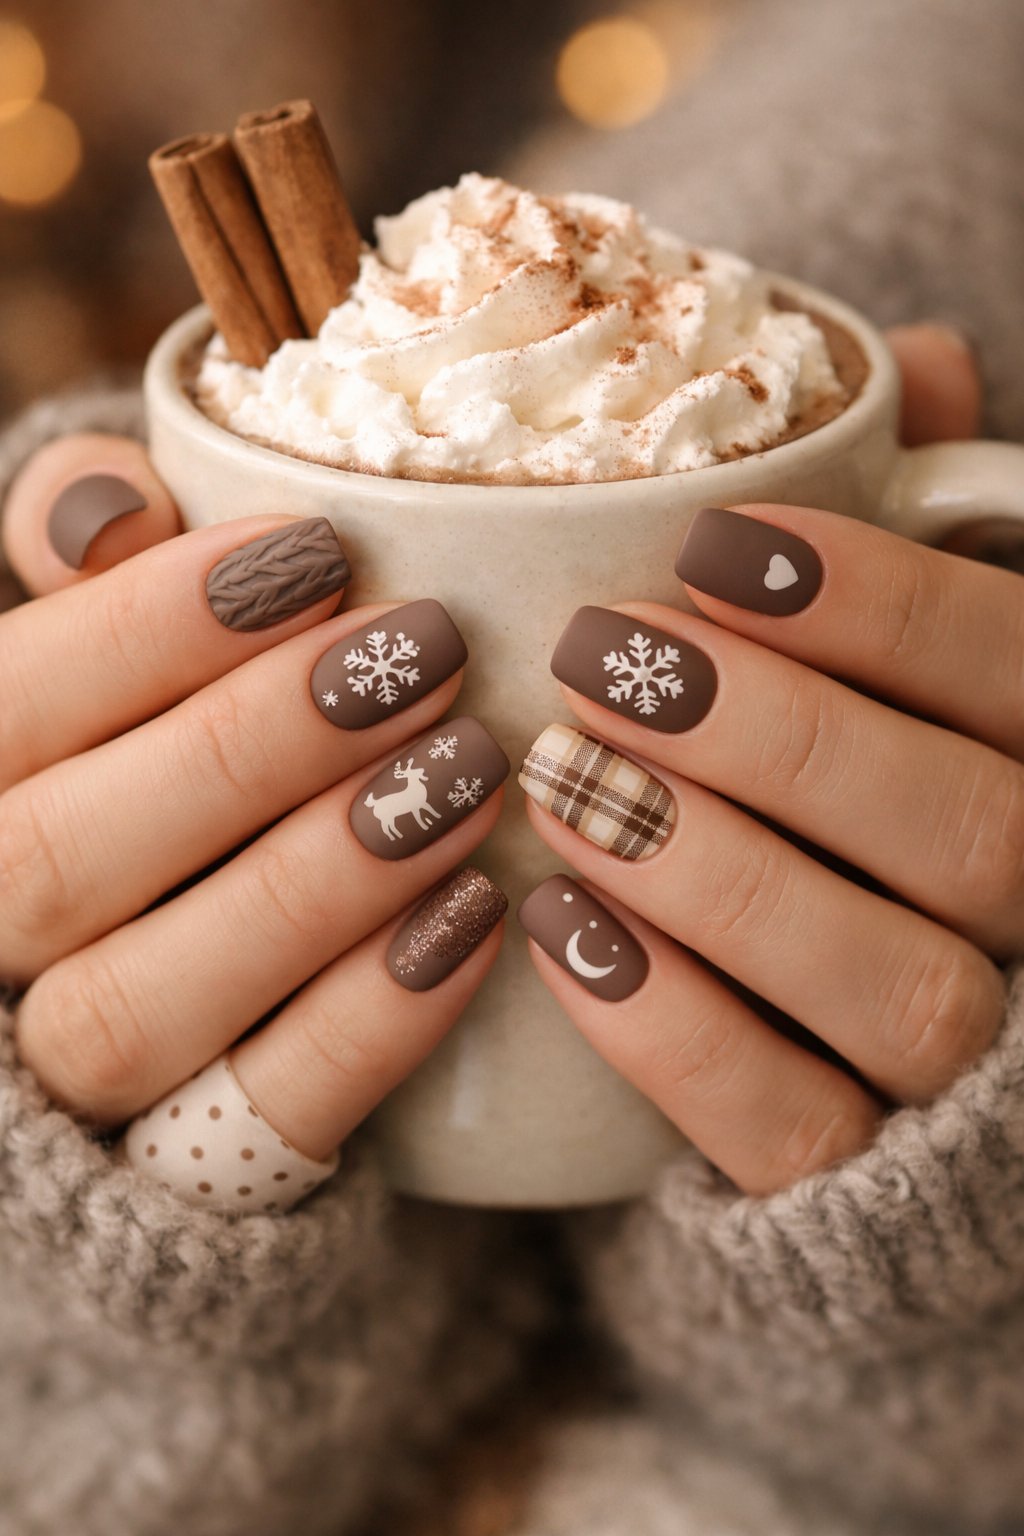
Pick a rich, chocolatey brown for a warm, cozy look. Matte finish keeps it soft and modern—no shine, just chill vibes.
Paint all your nails brown, or add a marshmallow accent with tiny white dots. Matte hides little chips, so your nails stay neat longer.
Pair with a cream sweater and maybe some gold rings. Simple but always classy.
Expert Tip from KidsCareIdeas: “Apply a quick-dry matte topcoat to seal color and prevent smudges.”
7. Icicle drips with shimmer
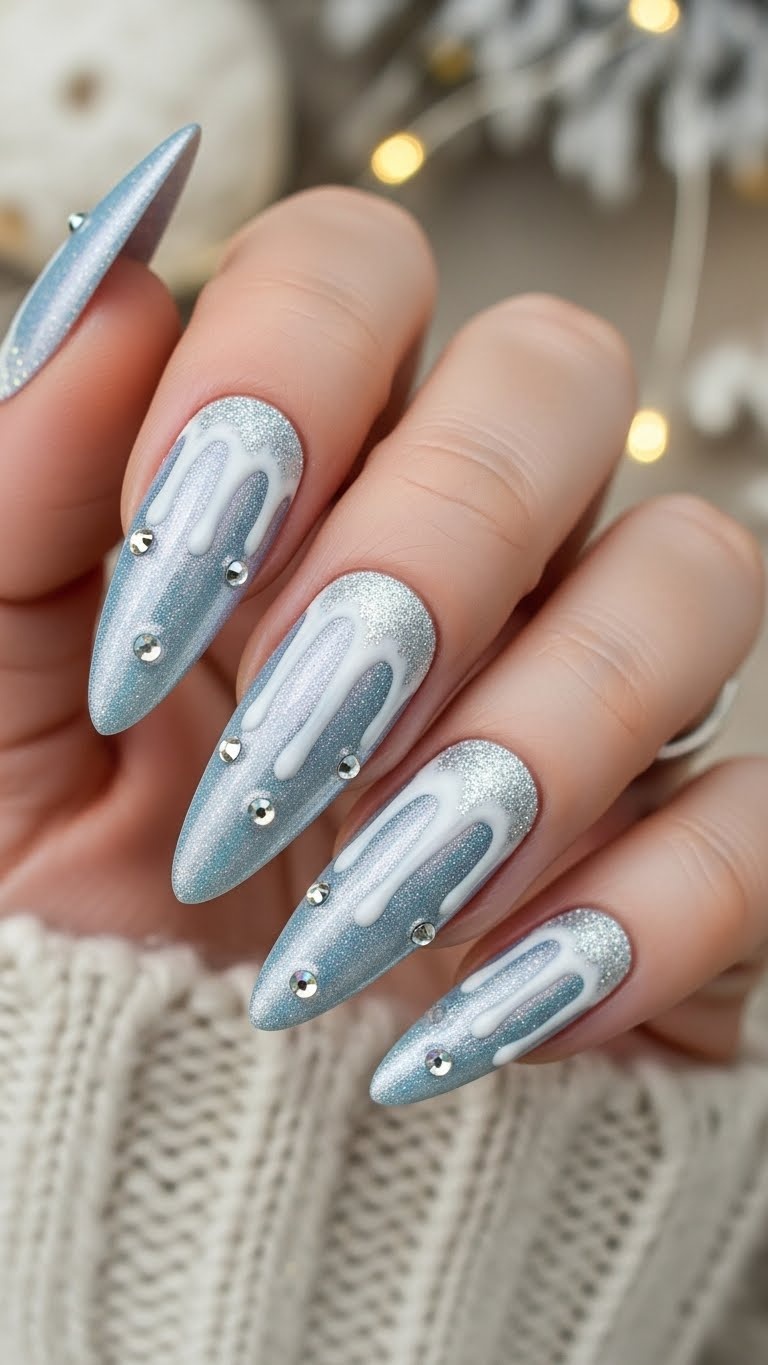
Start with a pale blue or icy white base. Use a thin brush to paint uneven drips from the tips down, like little icicles hanging off your nails.
Line each drip with silver or holographic glitter for that frosty shine. Uneven lengths make the icicles look more real.
A glossy topcoat makes the shimmer pop. Dotting tools help keep the lines clean.
Expert Tip from KidsCareIdeas: “Practice drips on a scrap tile before painting nails to build steady hand control.”
8. Reindeer silhouette accents
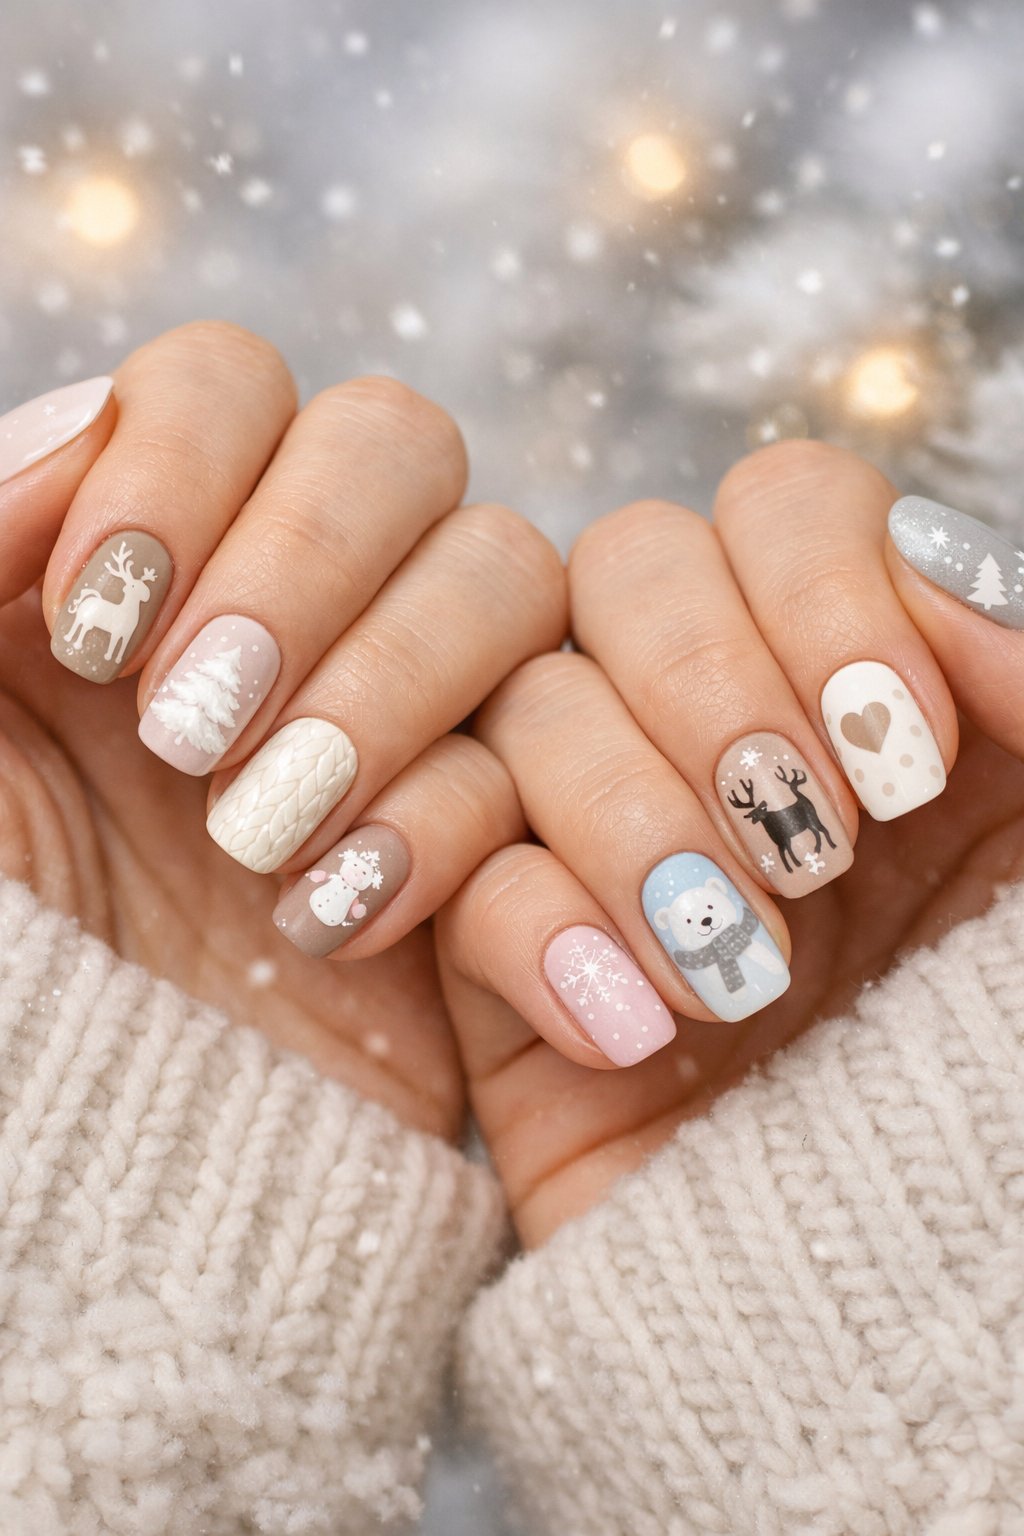
Go for a soft beige or pale pink base to make the reindeer stand out. Use a thin brush and dark brown or burgundy polish for the silhouette.
Stick the reindeer on just one or two nails for balance. Add a gold dot for a nose or white dots for snow to make it festive.
Glossy topcoat keeps everything protected and shiny. Take your time with the antlers—slow and steady wins here.
Expert Tip from KidsCareIdeas: “Practice the reindeer shape on paper first to get the antlers right. Use a dotting tool for the nose and snow to keep the design crisp.”
9. Twinkling starry nights

Paint your nails deep navy or black for a night-sky base. Dot on tiny white or silver stars—mix up the sizes so it looks natural.
Draw a few little stars with a thin brush, or use stickers if you’re short on time. Stick a rhinestone on one accent nail for extra twinkle.
Finish with a glossy topcoat to make everything shine and last.
Expert Tip from KidsCareIdeas: “Use a toothpick for precise dots and seal with two thin top coats for long-lasting shine.”
10. Berry red with gold flecks
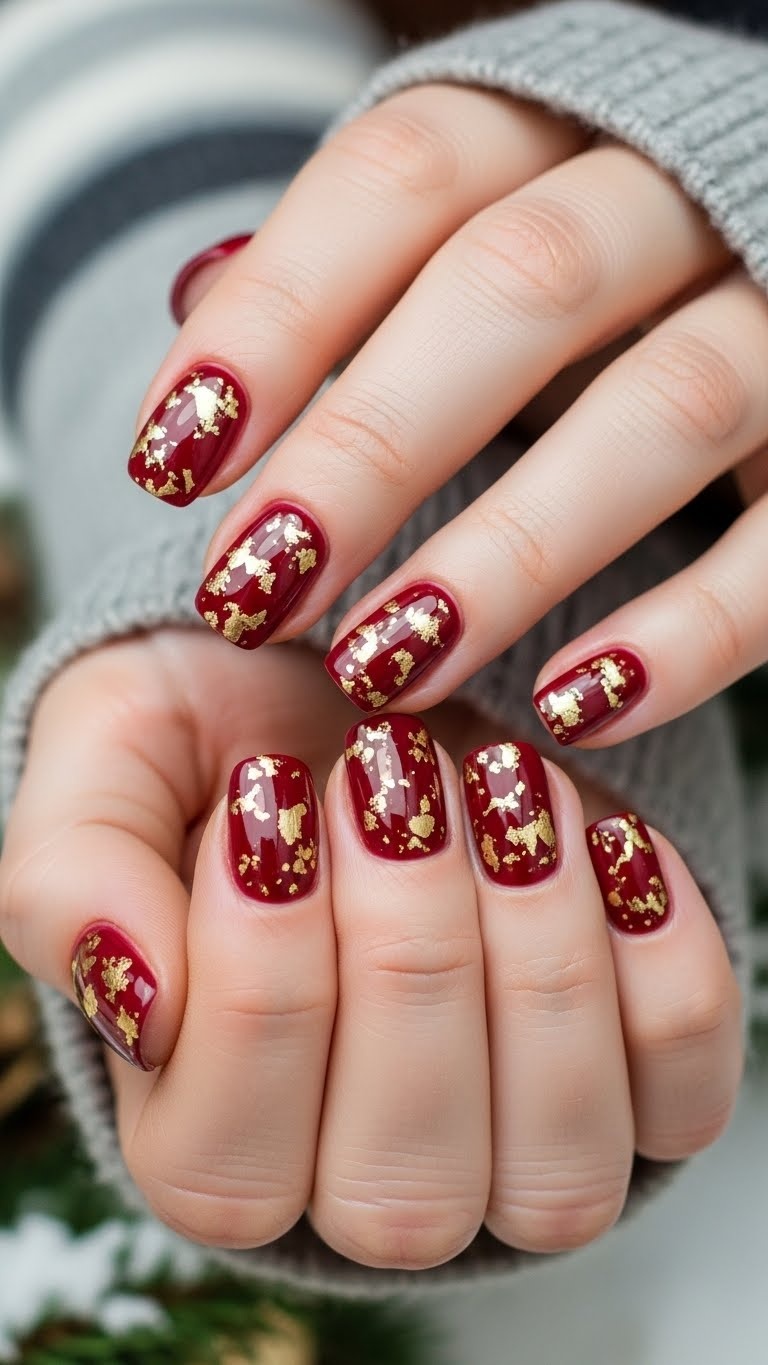
A deep berry red gives your nails a warm, rich look that works for any winter day or party. It looks good on every nail length and flatters most skin tones.
Add gold flecks with a thin brush, focusing near the cuticle or scattering them like confetti. A glossy topcoat keeps the gold in place and the red looking fresh.
This combo feels festive, but still easy to wear every day.
Expert Tip from KidsCareIdeas: “Use a sponge to dab gold polish lightly for a natural speckled effect. Finish with two thin topcoats to protect the look.”
11. Snowman faces on accent nails
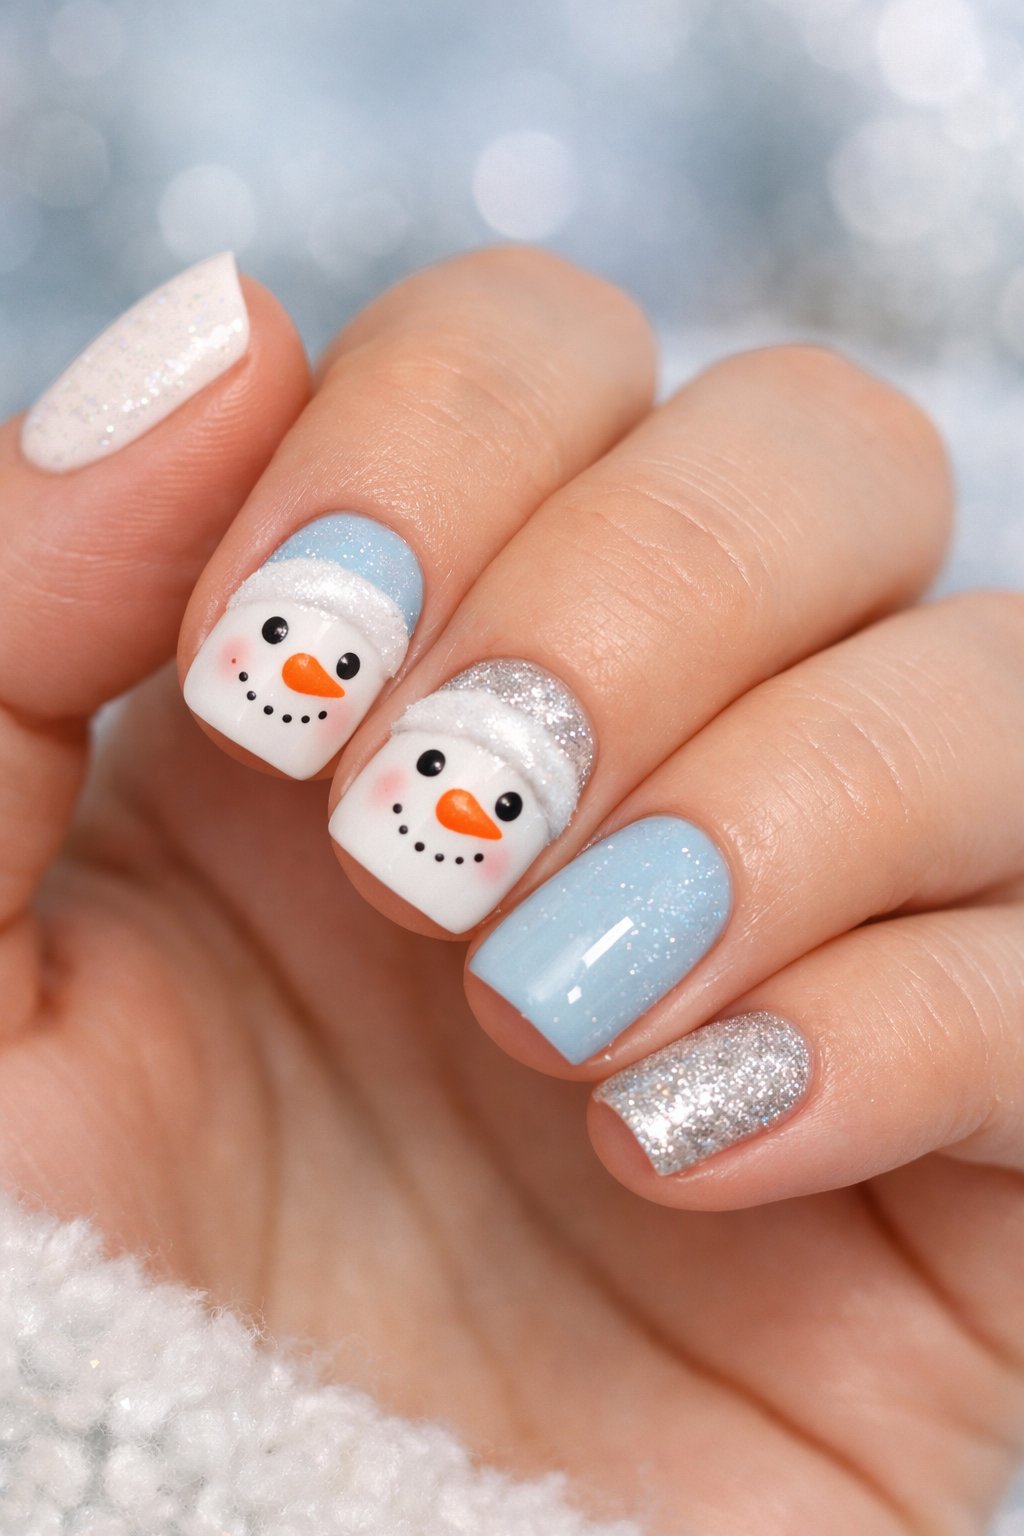
Pick one or two nails for cute little snowman faces. Start with white, then dot on black eyes and a tiny orange carrot nose.
Keep it simple so the faces last longer. A clear topcoat protects those tiny details and adds some shine.
If you want, add a scarf or hat with thin stripes or a little glitter. Just don’t crowd the nail—let the snowman breathe!
Expert Tip from KidsCareIdeas: “Use a toothpick or dotting tool for precise eyes and nose. Finish with two thin top coats to prevent chipping.”
12. Muted mauve with silver dots
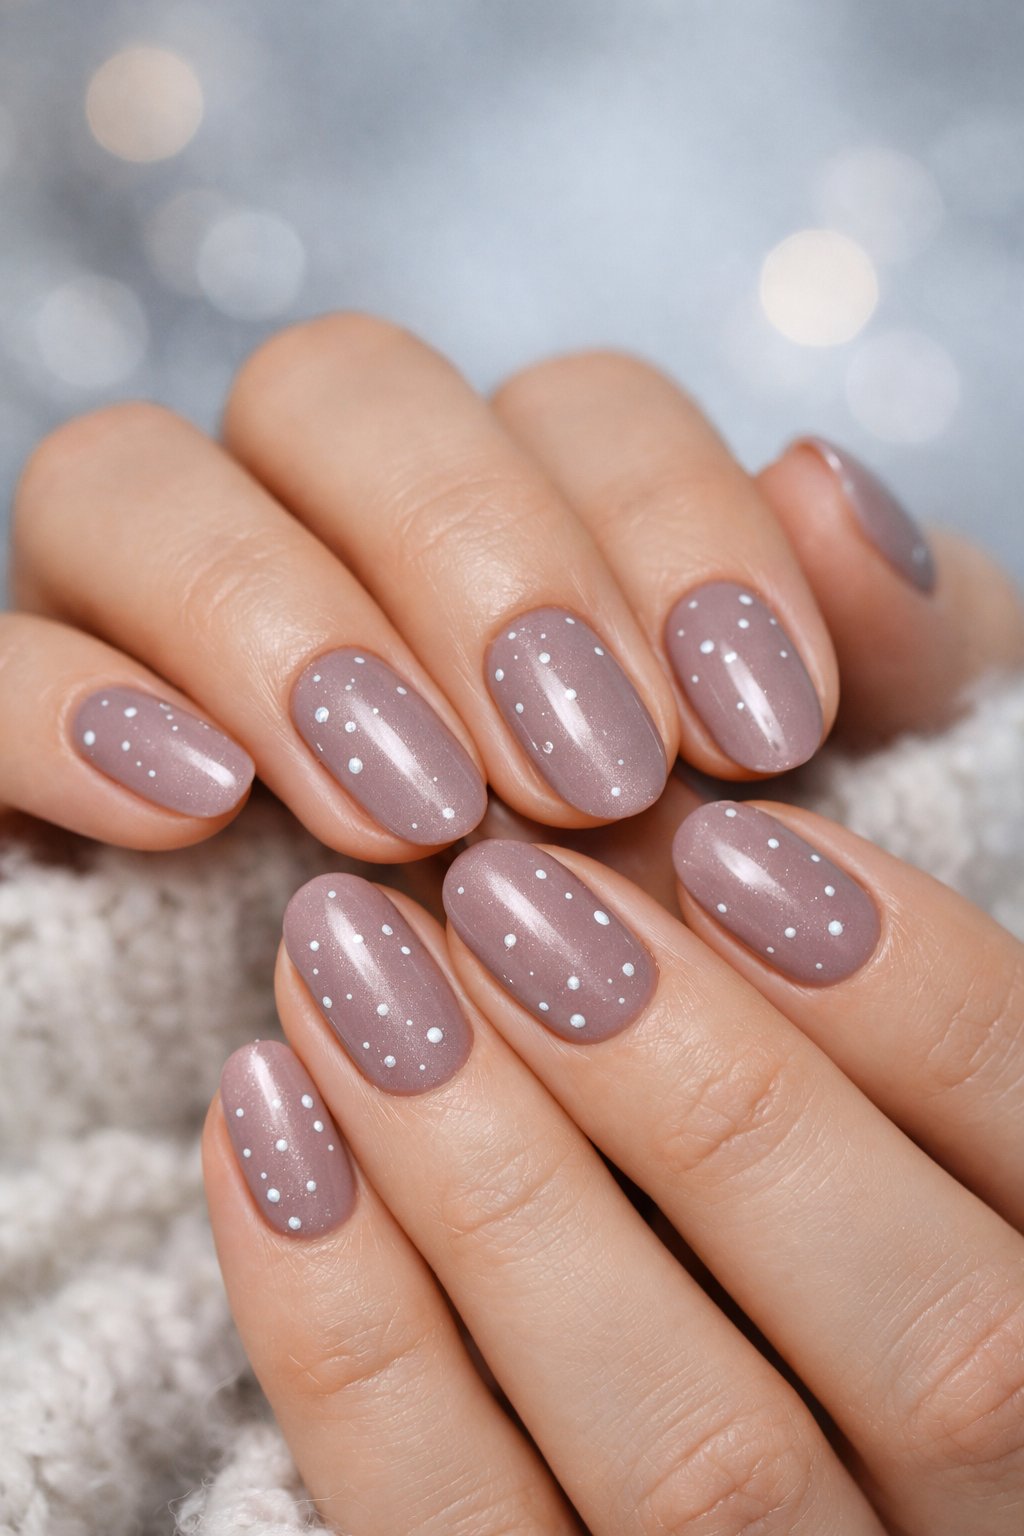
Muted mauve looks soft and grown-up, and it goes with just about everything. It’s a nice break from the usual reds and greens.
Dot on some tiny silver near the cuticle or across the tips for a little sparkle. Use a dotting tool or even a bobby pin for neat dots.
Glossy topcoat keeps the design fresh and shiny. It’s low-maintenance, so you can redo it at home without much fuss.
Expert Tip from KidsCareIdeas: “Use a fast-dry top coat to prevent smudges and extend wear. Place a dot on a toothpick first to control size.”
13. Polar bear paw prints
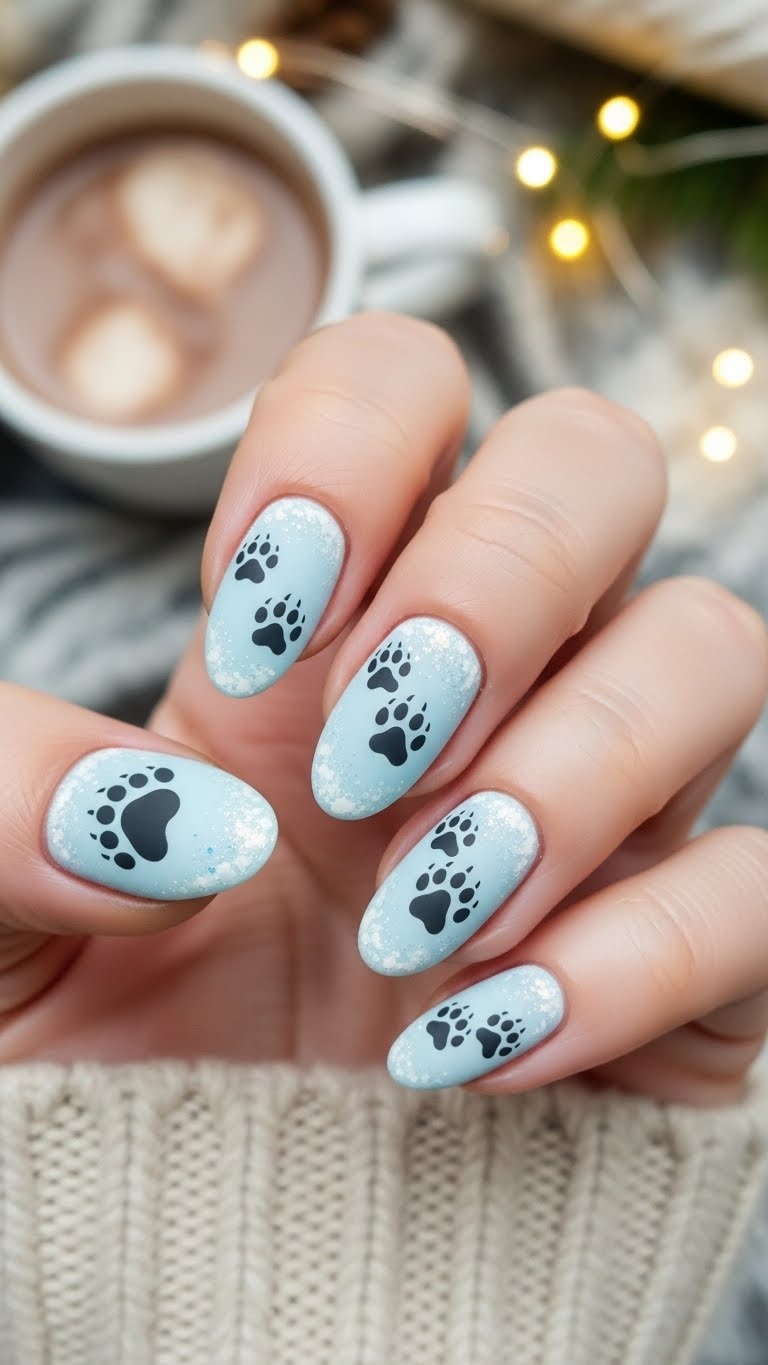
Paint a soft white base, then add tiny black pads for polar bear paws. Space them so they look like a little trail across your nails.
A dotting tool or bobby pin works for the round shapes. Add a hint of gray shadow under each pad if you want a bit more depth.
This is fun on one nail or all ten. Matte topcoat makes them look extra cozy.
Expert Tip from KidsCareIdeas: “Practice the paw pads on a plastic sheet first to get size and spacing right.”
14. Chunky knit sweater texture
You can fake sweater stitches on your nails using raised gel or acrylic lines. Go with a neutral base like cream or gray so the “knit” really pops.
Work in small beads and cure each row so the texture stays sharp. A dotting tool or tiny brush helps you make cables and ribbing that look like real yarn.
This design looks cute on short nails and holds up with a topcoat. It’s like wearing a sweater, but for your hands.
Expert Tip from KidsCareIdeas: “Use builder gel for the raised lines so they last through daily wear.”
Expert Tip from KidsCareIdeas: “Seal edges with a thin top coat to prevent snagging on sweaters.”
15. Icy lavender gradients
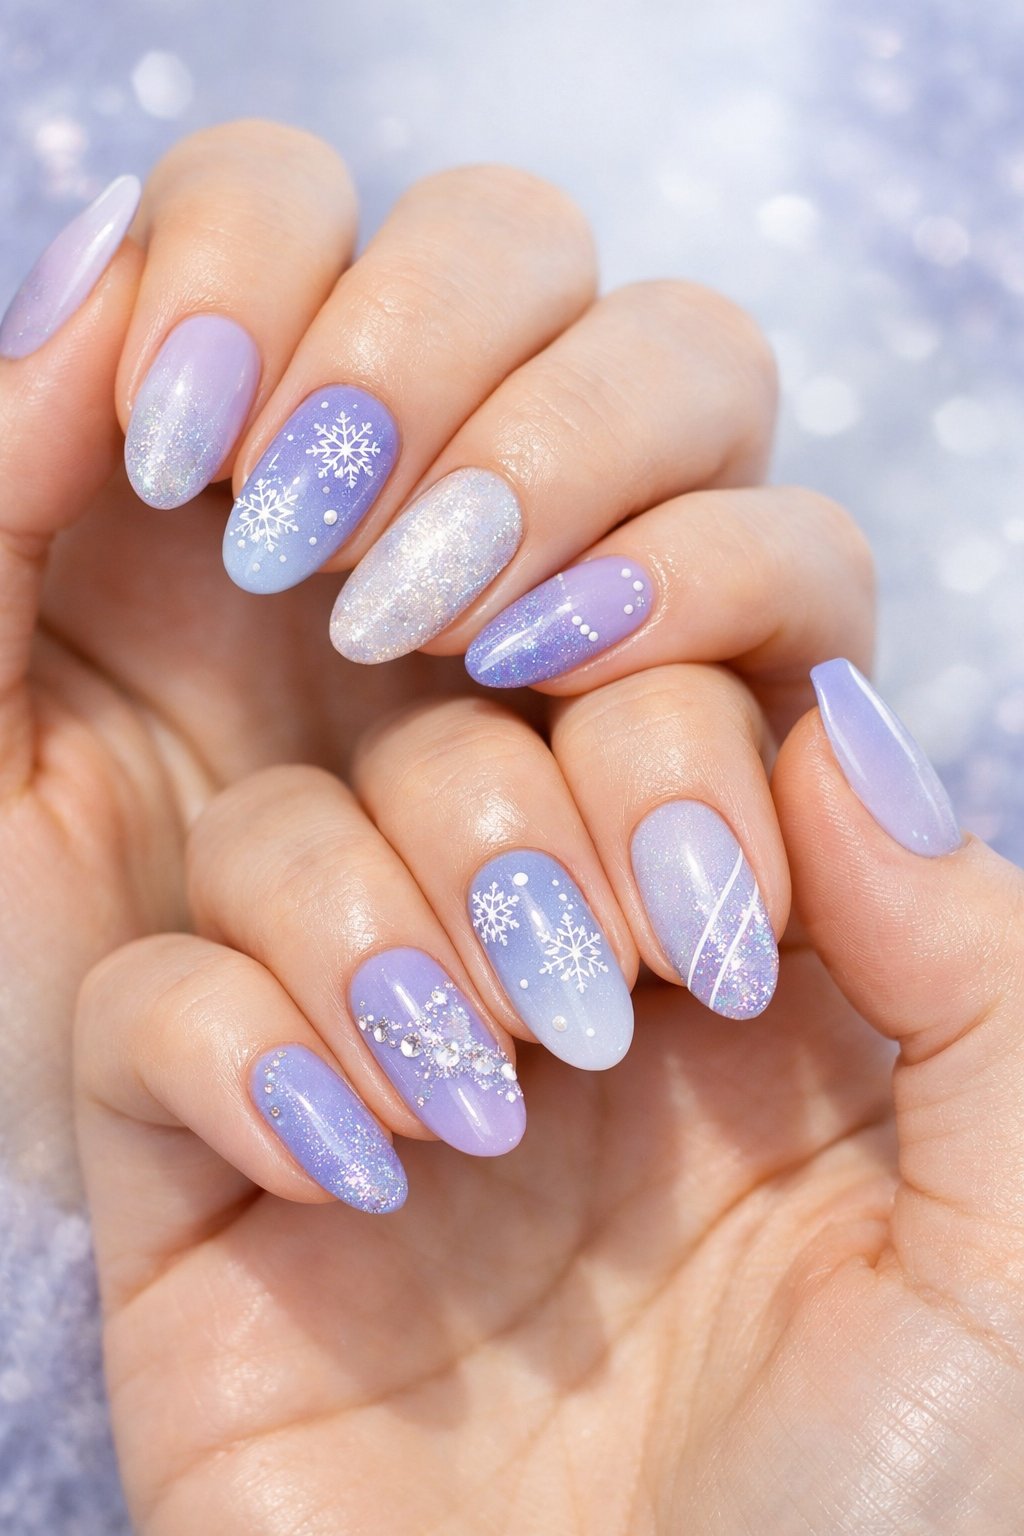
Start with a soft lavender base and fade it into near-white at the tips. The result feels delicate and a little dreamy—perfect for winter.
Use a sponge to blend the colors for a smooth transition. Glossy topcoat helps the colors pop and keeps your nails looking fresh.
Add a few tiny silver flakes or a single rhinestone on one nail for subtle sparkle. This look works for both short and long nails, and you can dress it up or down.
Expert Tip from KidsCareIdeas: “Thin layers help build a smooth gradient without clumps, so let each coat dry a bit.”
16. Golden snowflake decals
Tiny gold snowflake decals can turn a plain manicure into something that feels festive and fun. I like to stick them on a neutral or deep navy base—honestly, the contrast just pops and gives you that extra sparkle.
After you paint your color coat, go ahead and add the decals before you finish with a topcoat. Press them down gently, then seal everything with a glossy topcoat so they stay put and feel smooth.
If you’re worried about shaky hands, don’t stress! Grab some tweezers or a dotting tool, and placing each snowflake gets way easier.
Try mixing up the decal sizes for a more natural, snowy vibe. It’s a small thing, but it really makes the design feel wintry and less stiff.
Expert Tip from KidsCareIdeas: “Place decals off-center on a few nails to keep the design modern and chic. Use two thin topcoats instead of one thick one to avoid lifting the decals.”
