Getting your nails ready for Christmas is honestly one of the easiest ways to show off your holiday spirit.
I mean, who doesn’t love a little sparkle or a fun design this time of year?
You don’t need to be a pro to have nails that totally stand out at a party or make Grandma smile at family dinner.
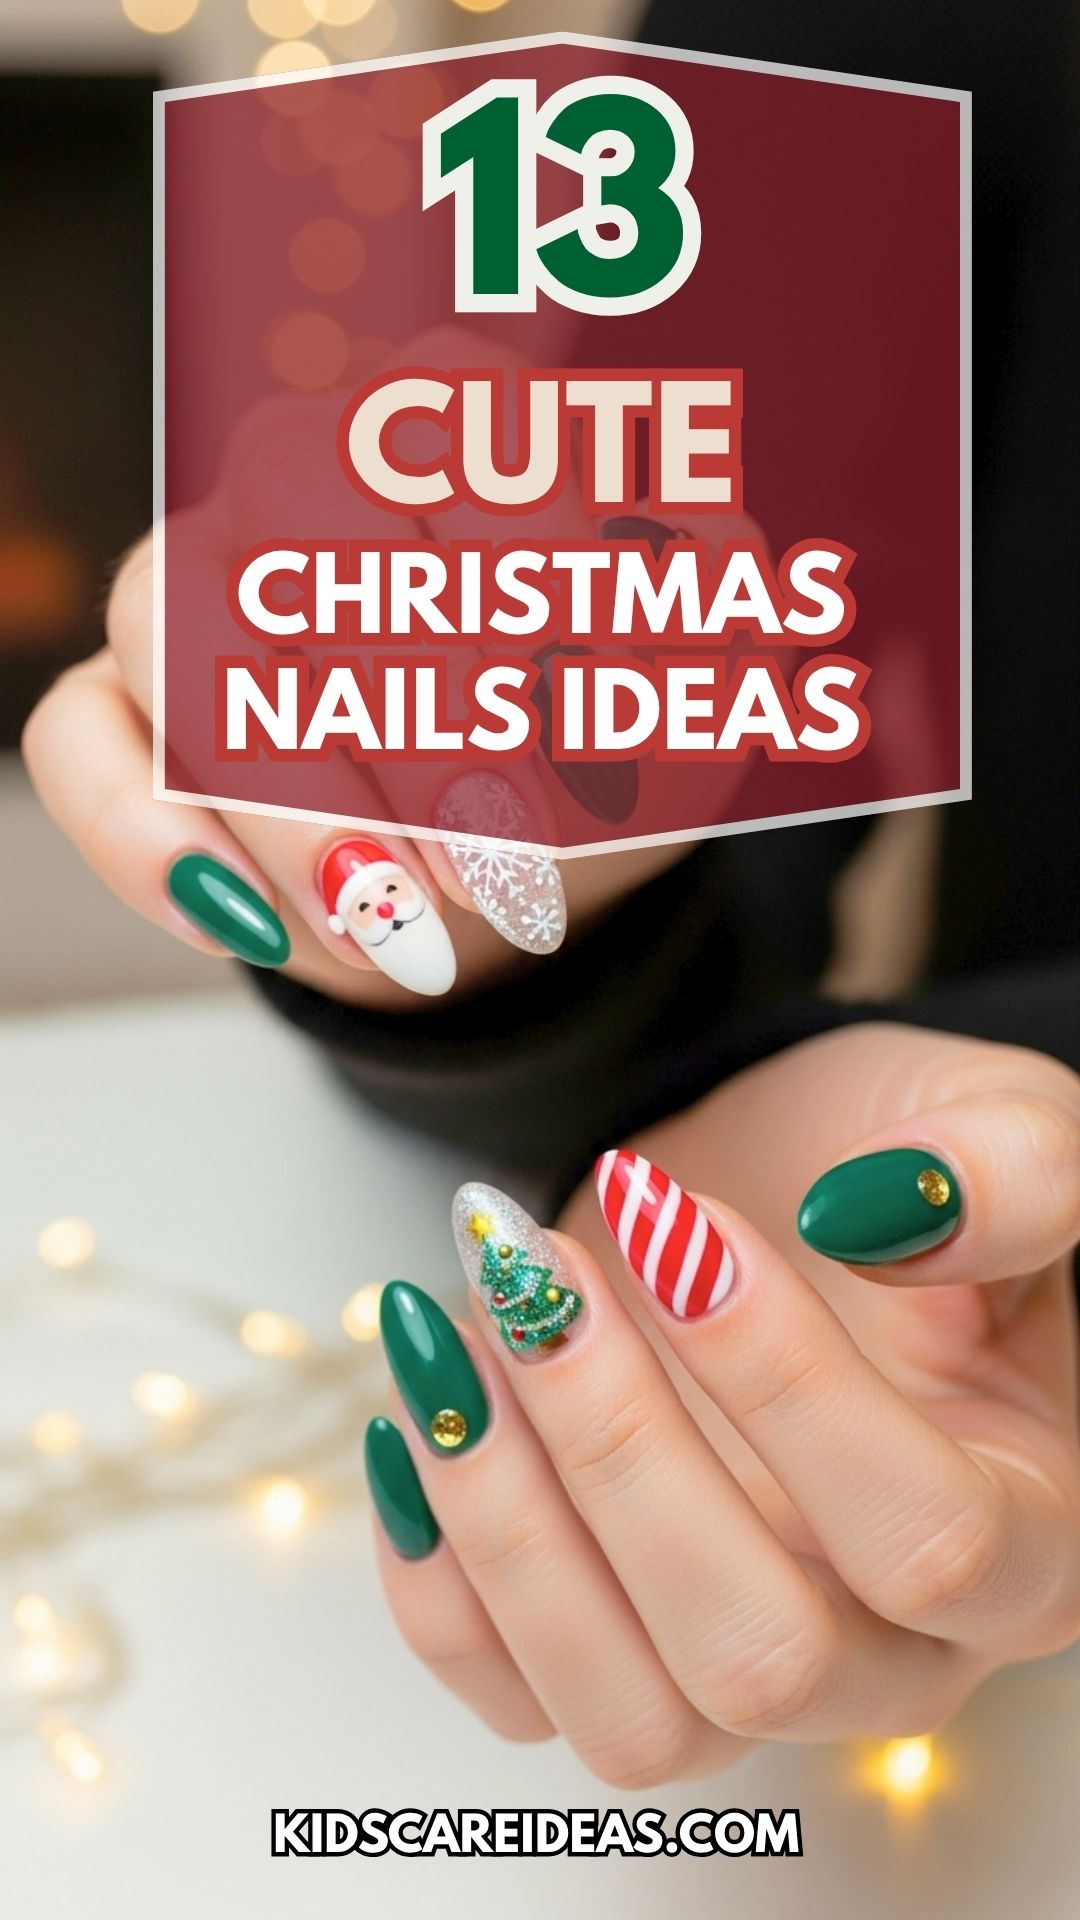
There are so many cute, simple ideas you can try—even if your hands shake like mine after too much coffee.
1. Candy Cane Stripes with Glitter Tips
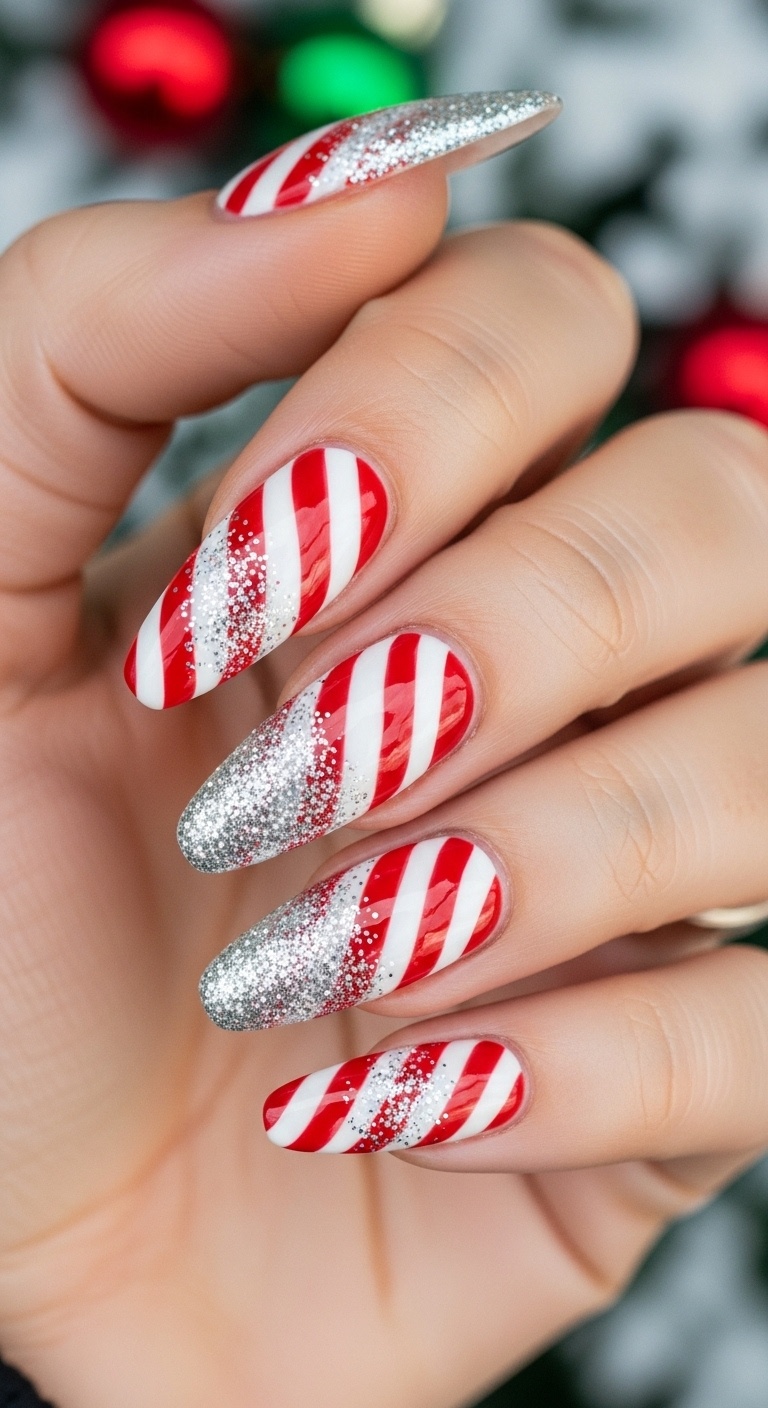
Candy cane stripes just scream Christmas, right? Start with white polish, then add thin red stripes using a nail art brush or, if you’re like me and can never find one, a toothpick works too.
Don’t stress about perfection—the charm is in those wobbly lines. When you’re done, dab a little glitter on the tips for that extra festive sparkle.
This look mixes classic with a bit of shine. Swipe on a clear top coat so your masterpiece doesn’t chip before the party.
Expert Tip from KidsCareIdeas: “If your hands get shaky, use striping tape for straighter lines. Let each layer dry before moving on, or you’ll end up with a sticky mess.”
2. Snowman Faces on Accent Nails

Painting snowman faces on just one or two nails can be super cute. Use white polish for the face, then add black dots for eyes and a little orange for the carrot nose.
Keep the rest of your nails a solid color like blue or red so the snowman really stands out. If you’re feeling fancy, try painting on a tiny scarf with a thin brush.
Honestly, it’s pretty fun and not too hard to do at home.
Expert Tip from KidsCareIdeas: “A dotting tool or toothpick makes those tiny details easier. Top coat helps your snowman hang in there longer.”
3. Classic Red with White Polka Dots
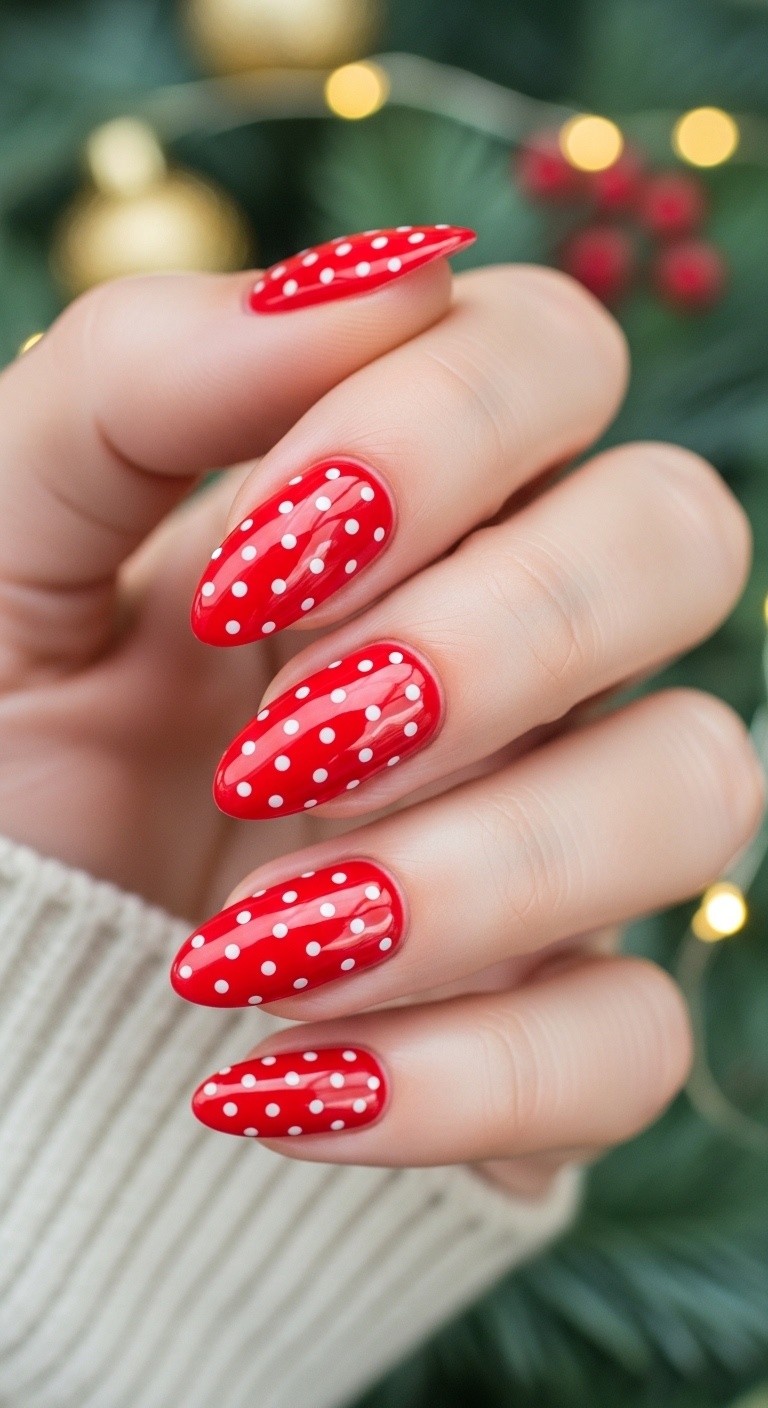
Red nails just feel like Christmas, don’t they? Paint on a bright red base, then add small white dots for a snowy, playful look.
The dots don’t have to be perfect—actually, the little quirks make them feel homemade. I usually use a toothpick, but a dotting tool works too.
This design is quick, works on any nail shape, and is perfect if you’re running late but still want cute nails.
Expert Tip from KidsCareIdeas: “A clear topcoat keeps your dots safe. Make sure each layer dries, or you’ll end up with smears instead of dots.”
4. Reindeer Silhouettes on Nude Base
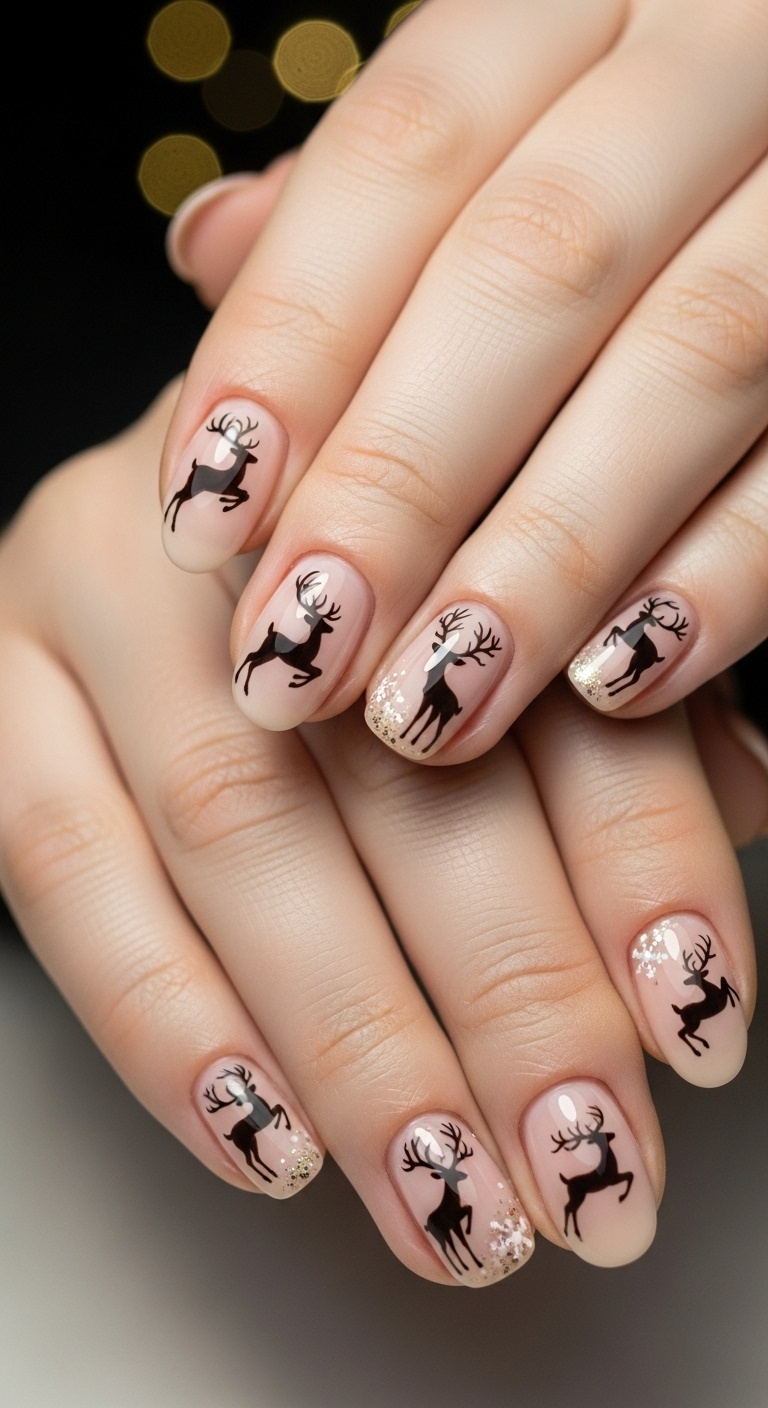
If you want something festive but not too loud, reindeer silhouettes on a nude base are a win. The nude polish keeps things clean, and the reindeer really pop.
Paint tiny black or brown reindeer shapes on one or two nails for a subtle look. Or, if you’re in a “go big or go home” mood, add them to every nail.
The neutral base makes this look match just about any outfit. It’s festive without being in-your-face.
Expert Tip from KidsCareIdeas: “A thin brush helps with those tricky antlers. Try a matte topcoat for a soft, cozy finish.”
5. Metallic Green with Gold Snowflakes
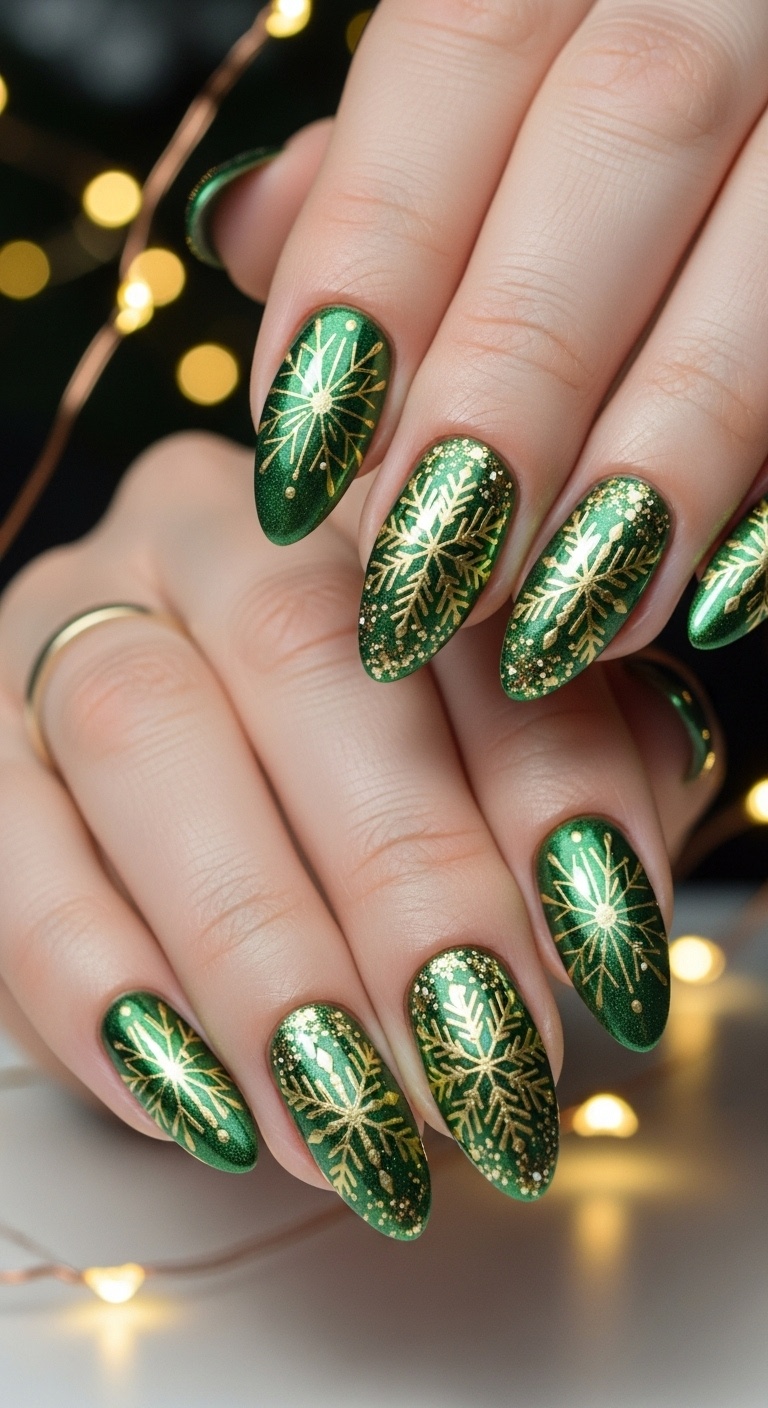
Metallic green polish brings instant holiday vibes. It’s shiny, bright, and just feels like Christmas.
Add gold snowflakes on top for a bit of sparkle and contrast. If you’re not up for painting, snowflake stickers work just fine.
You can do snowflakes on every nail or just a couple if you like things simple. Either way, this look pops.
Expert Tip from KidsCareIdeas: “A thin brush or toothpick makes painting snowflakes way easier. Top coat keeps your nails shiny and chip-free.”
6. Plaid Patterns in Red and Green
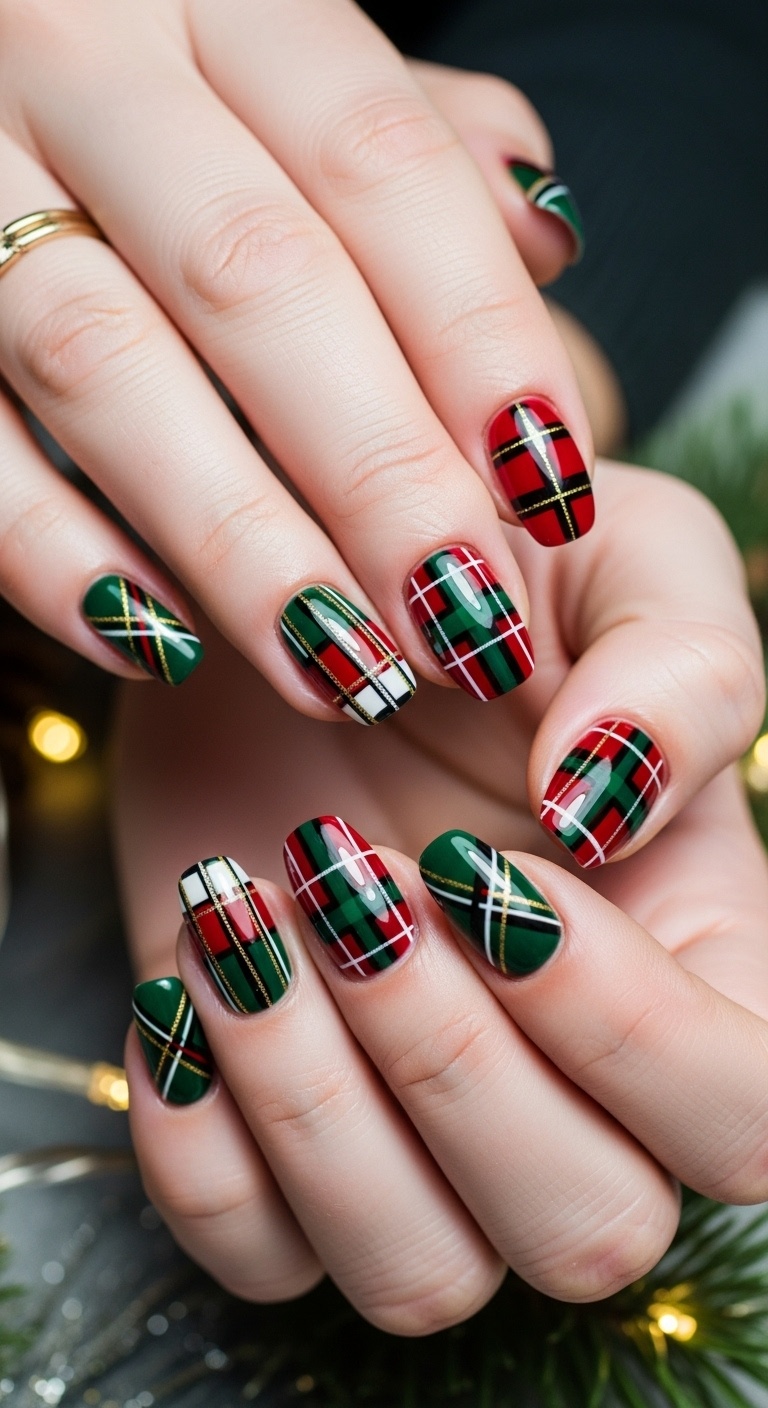
Plaid nails are like the cozy flannel shirt of Christmas manicures. Use red and green together for a festive look that isn’t too flashy.
You can keep the lines thin and neat, or go chunky if you’re feeling bold. Layering different shades adds a cool effect, and a little white or gold line really makes the pattern stand out.
Plaid nails just look right with a big mug of cocoa and a sweater.
Expert Tip from KidsCareIdeas: “A thin brush or nail tape helps keep your lines straight. Trust me, it makes the plaid look so much sharper.”
7. Santa Hat French Tips
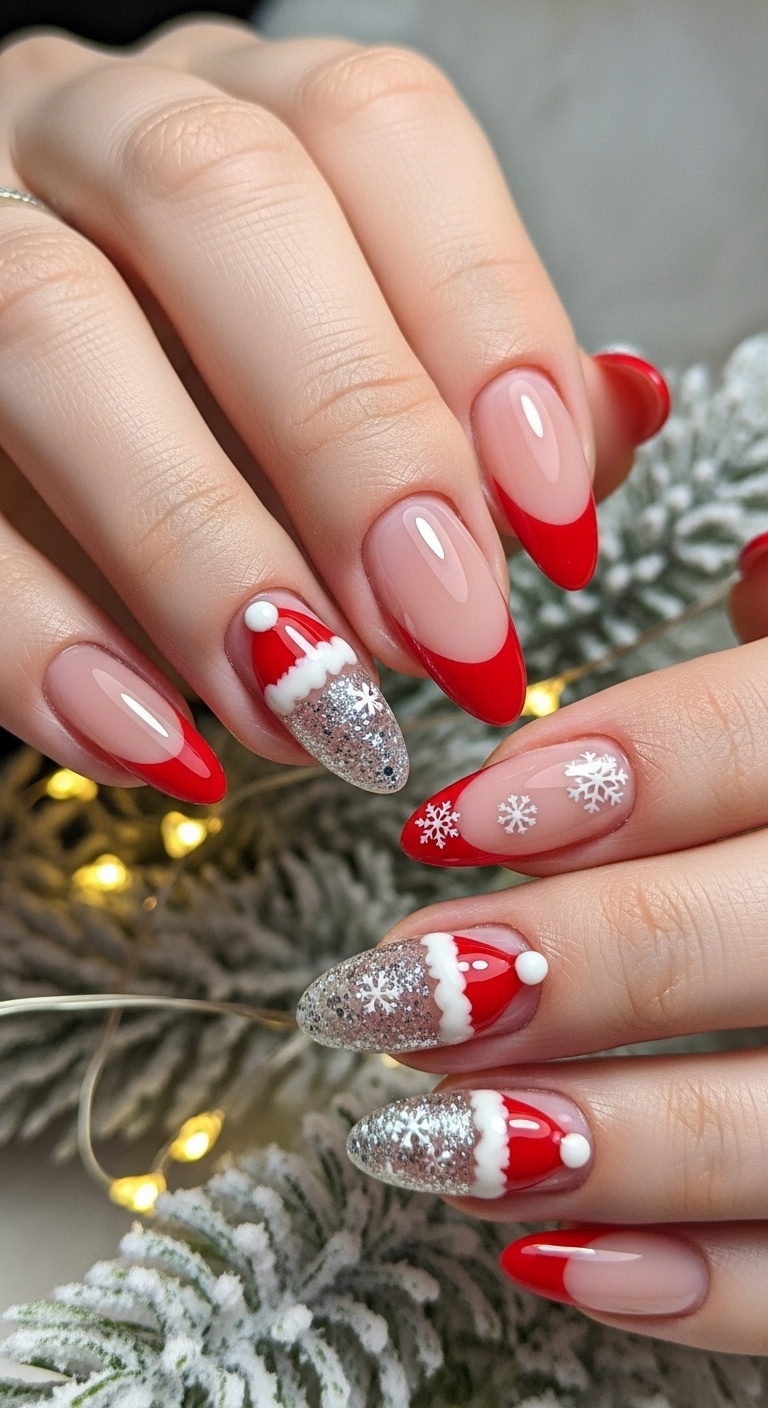
Give the classic French tip a holiday twist by painting the tips red like Santa’s hat. Add a little white dot at the end for the pom-pom.
You can even draw a thin white line under the red tip to look like the fluffy hat brim. This one’s super easy and works on any nail length.
It’s a great pick for beginners and doesn’t need a lot of fancy tools or colors.
Expert Tip from KidsCareIdeas: “A fine brush keeps those white details neat. Your Santa hats will look cozy and cute!”
8. Frosty Blue Ombre with Silver Sparkles
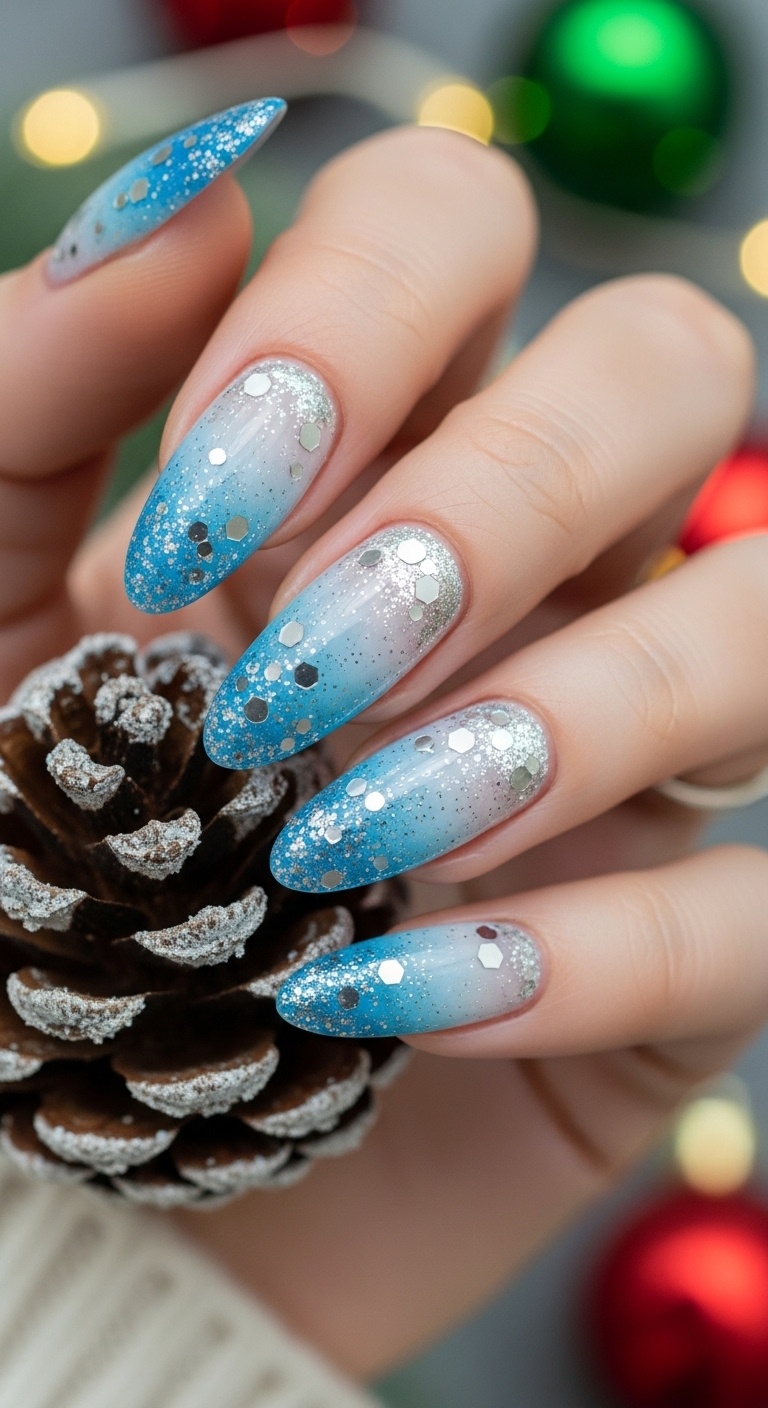
Start with a blue gradient that goes from dark at the tips to lighter by your cuticles. Ombre nails just feel cool and wintry, don’t they?
Sprinkle on some silver sparkles for a frosty, icy effect. It’s not too over-the-top, but it definitely catches the light.
You can do this look on every nail or just one for a little accent. Short or long nails—doesn’t matter.
I use a makeup sponge to blend the blue shades. It works like magic.
Expert Tip from KidsCareIdeas: “Seal in the sparkles with a clear topcoat, or you’ll leave glitter everywhere you go.”
9. Christmas Tree with Tiny Ornaments
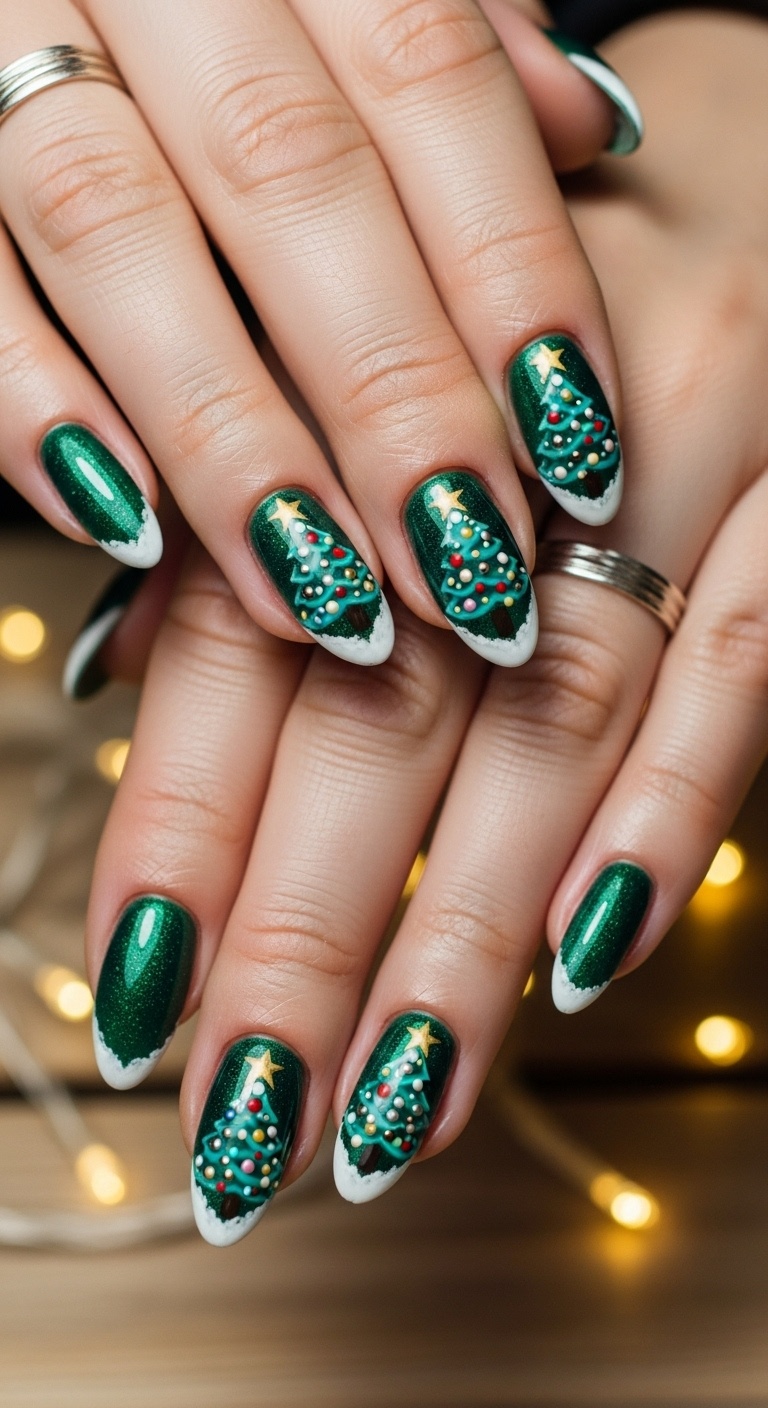
Paint a small green Christmas tree on your nail and add little red, gold, or silver dots for ornaments. It’s festive, but not too busy.
Use a dotting tool or toothpick for those tiny ornaments. It keeps things tidy and cute.
A clear top coat will make your tree shine and help your art last through all the cookie baking.
Expert Tip from KidsCareIdeas: “Quick-dry polish saves you from smudging your ornaments. Let each color dry before adding the next one.”
10. Gingerbread Man Nail Art
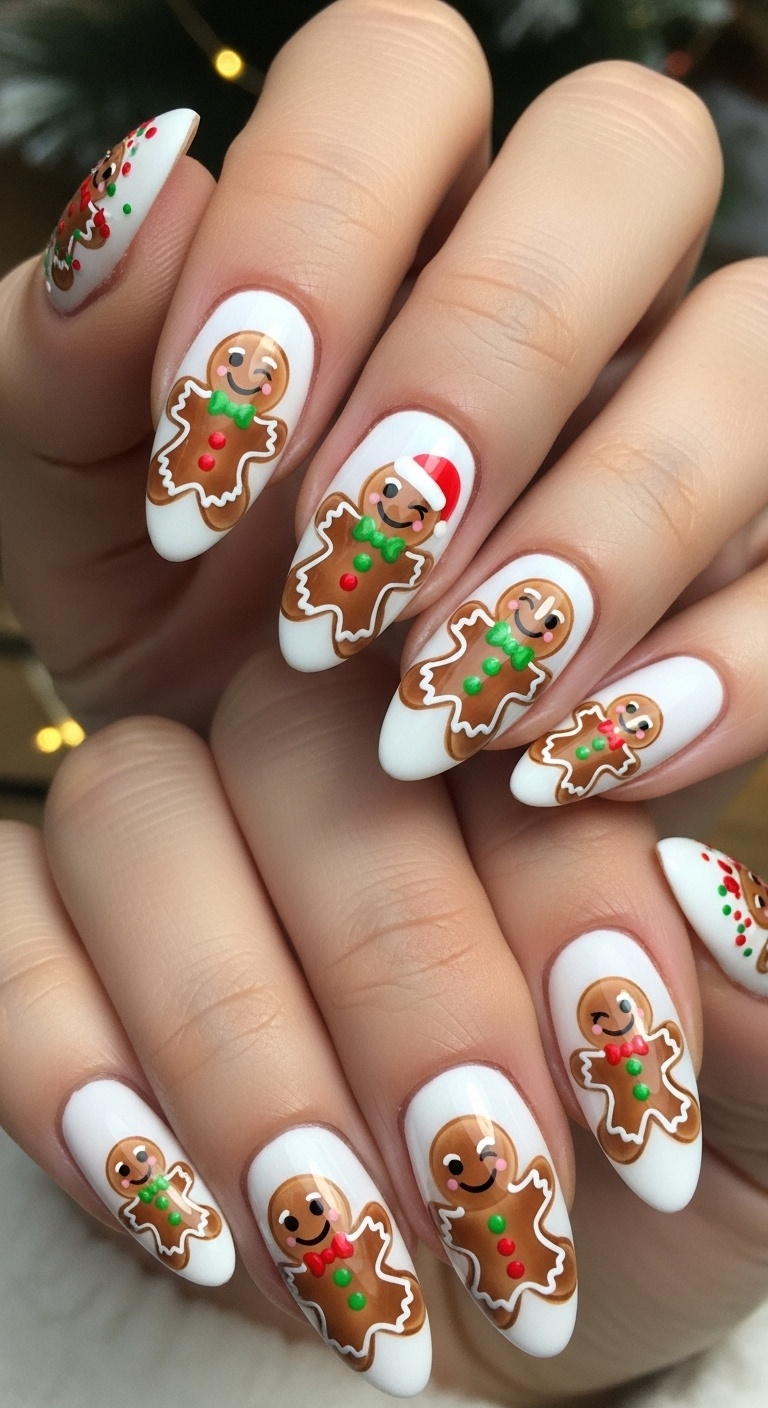
Gingerbread men on your nails? Yes, please. Paint tiny brown gingerbread men and add white icing details. Toss on some red or green dots for buttons.
You can go big with one gingerbread man or sprinkle small ones on every nail. A fine brush or dotting tool helps with the details—trust me, shaky hands need all the help they can get.
Expert Tip from KidsCareIdeas: “A clear topcoat keeps your gingerbread men looking fresh. If you make a mistake, a toothpick with a bit of remover does wonders.”
11. Sparkling White Snowflake Stencils
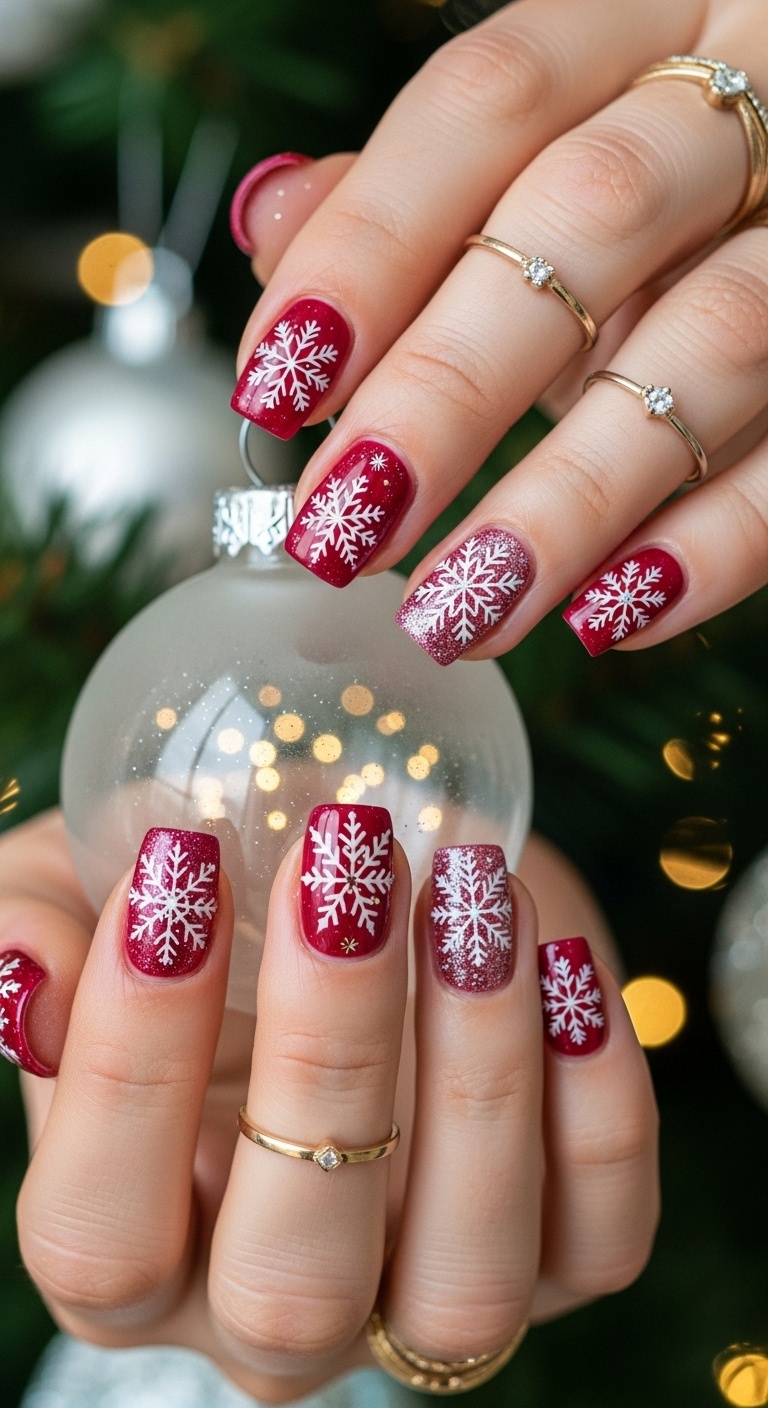
For a crisp, wintery look, try sparkling white snowflake stencils. It’s like having fresh snow on your nails—minus the cold.
Start with a light glitter polish so the snowflakes really stand out. Stencils let you place the snowflakes exactly where you want, and you won’t have to stress about freehand painting.
Mix up the stencil sizes for variety. A clear topcoat seals the look and keeps your snowflakes sparkling.
Expert Tip from KidsCareIdeas: “Use thin polish for stencils to avoid smudges. Let each layer dry before moving on for sharp, clean snowflakes.”
12. Cozy Sweater Knit Texture Nails
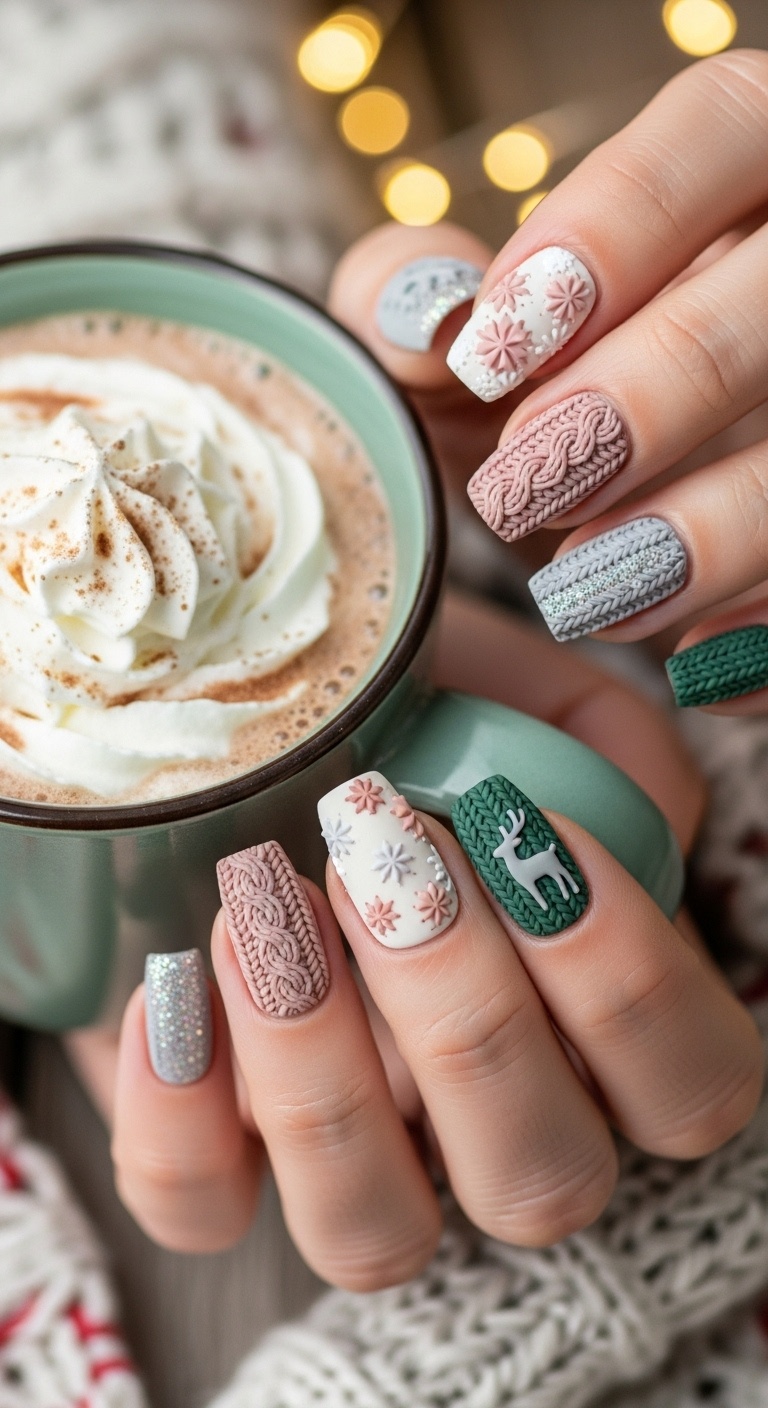
If you want nails that look as cozy as your favorite sweater, try the knit texture trend. It copies those classic sweater patterns—cables, ribs, you name it.
Use gel polish and a dotting tool to make the raised, bumpy design. The end result? Nails that look soft and totally winter-ready.
Pick colors like cream, gray, or pastel pink for the ultimate cozy feel. These nails look awesome with all your winter outfits.
Expert Tip from KidsCareIdeas: “A matte topcoat makes the texture pop. Your nails will look just like a real sweater, but without the itch.”
13. Bright Red with Tiny Gift Box Decals
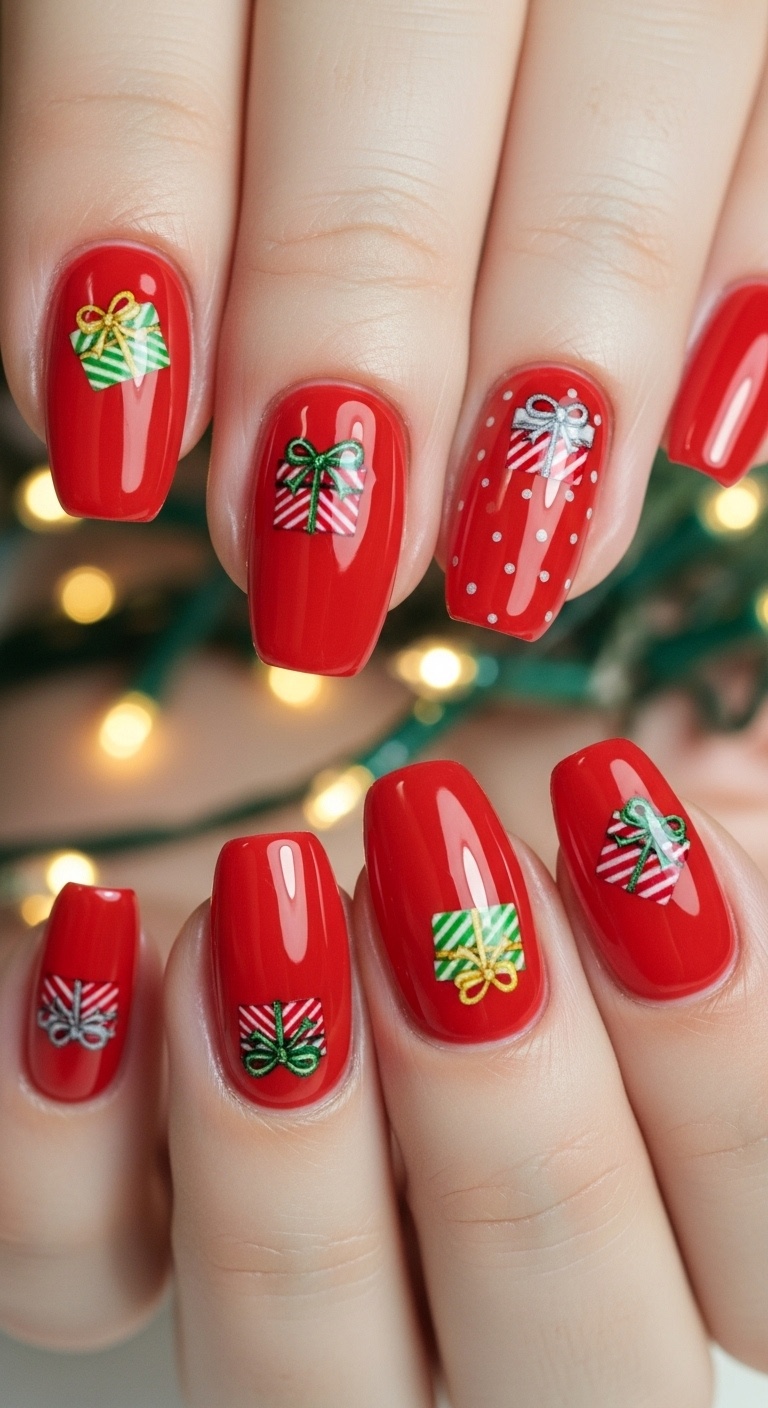
Honestly, bright red nails just scream Christmas, don’t they? It’s that classic, cheery color that never goes out of style.
If you’re feeling a little extra, toss on some tiny gift box decals. They’re adorable and add a playful twist without making your nails look over-the-top.
I like to stick the little gift boxes on just one or two nails. That way, things stay fun but not too busy.
This look totally works whether your nails are short or long. No need to stress about nail length here.
A shiny top coat really makes the red and those decals pop. Plus, your nails will survive all the cookie baking and gift wrapping.
Expert Tip from KidsCareIdeas: “Use nail stickers for perfect tiny gift box designs every time. They save time and look neat.”
