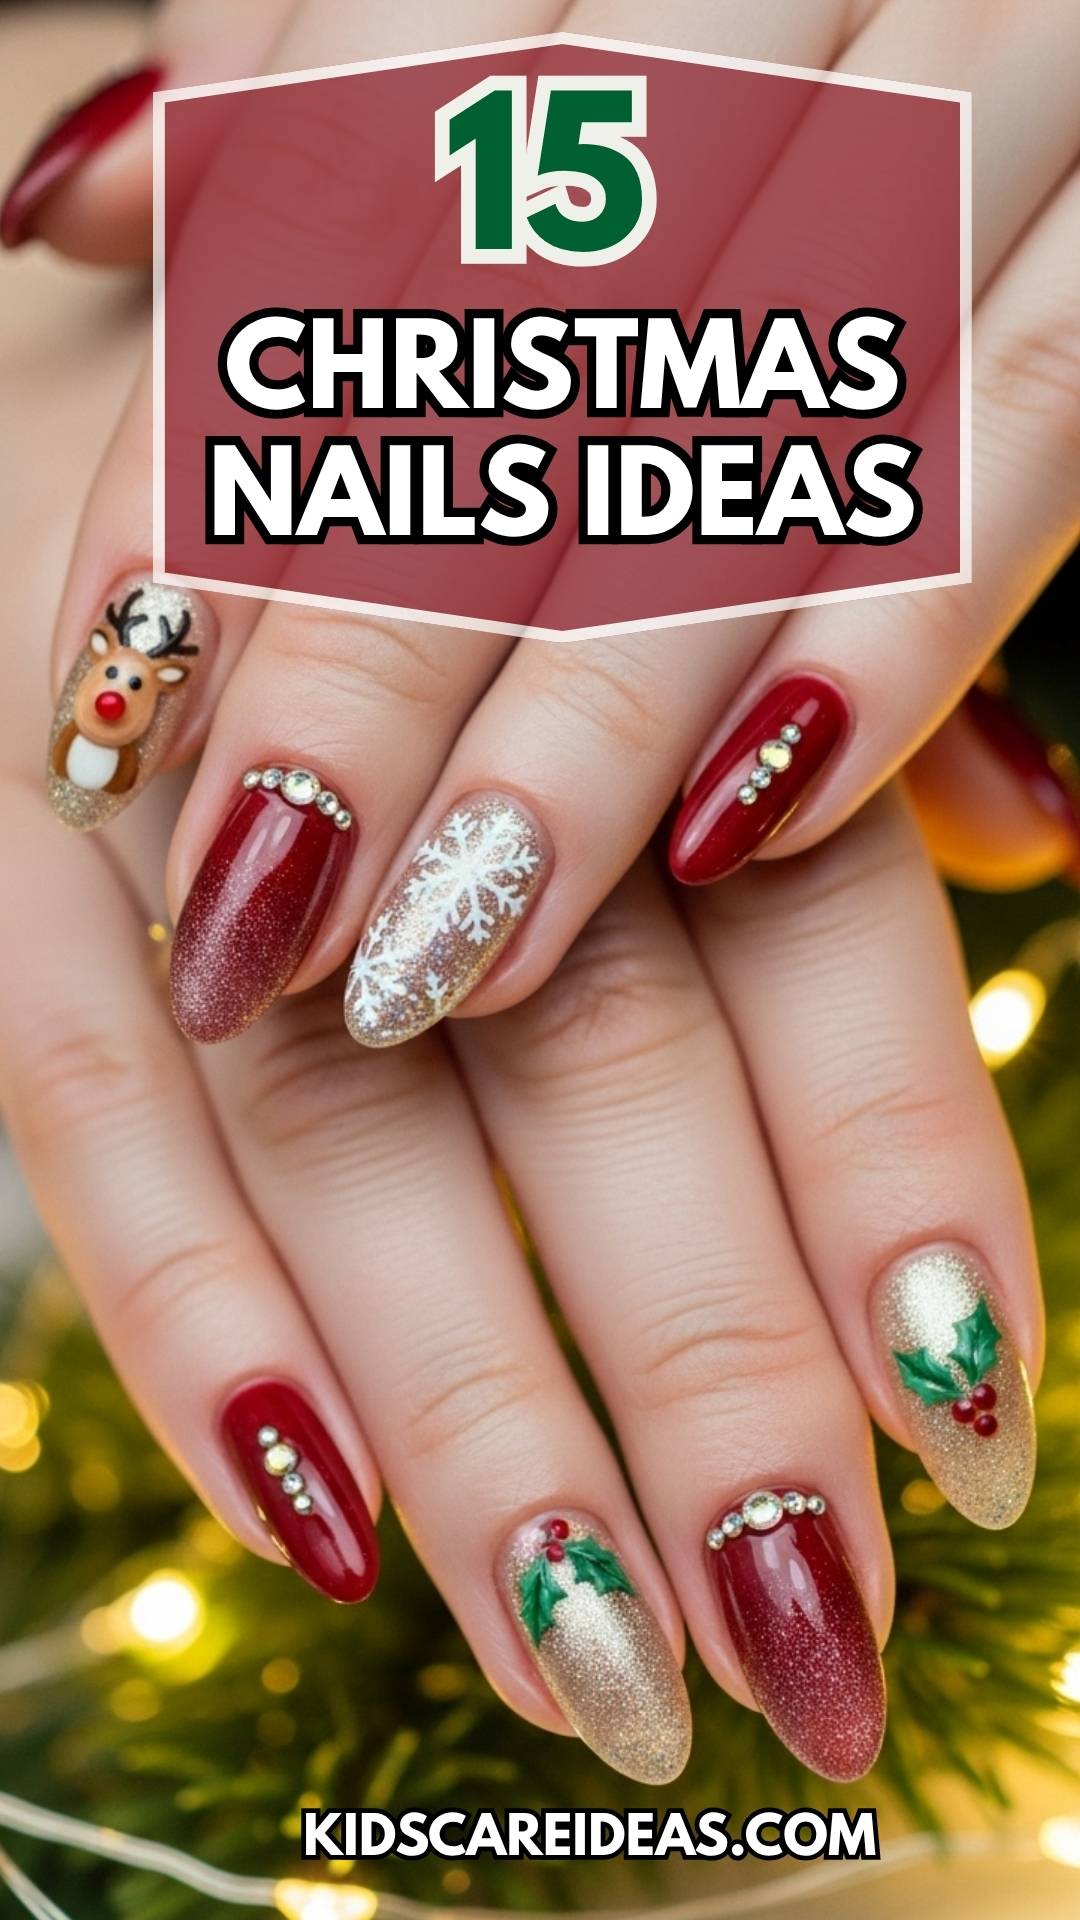
Honestly, the holidays are the best excuse to go wild with your nails. Who doesn’t want something bright and festive to match the season?
If you’re hunting for fun Christmas nail ideas, I’ve got you covered. Let’s get those fingertips in the holiday mood.
You don’t need to be a nail pro to pull these off.
Some are super easy, and a few are a little more detailed, but hey, you’ll find something that fits your vibe.
1. Classic Red with White Snowflakes
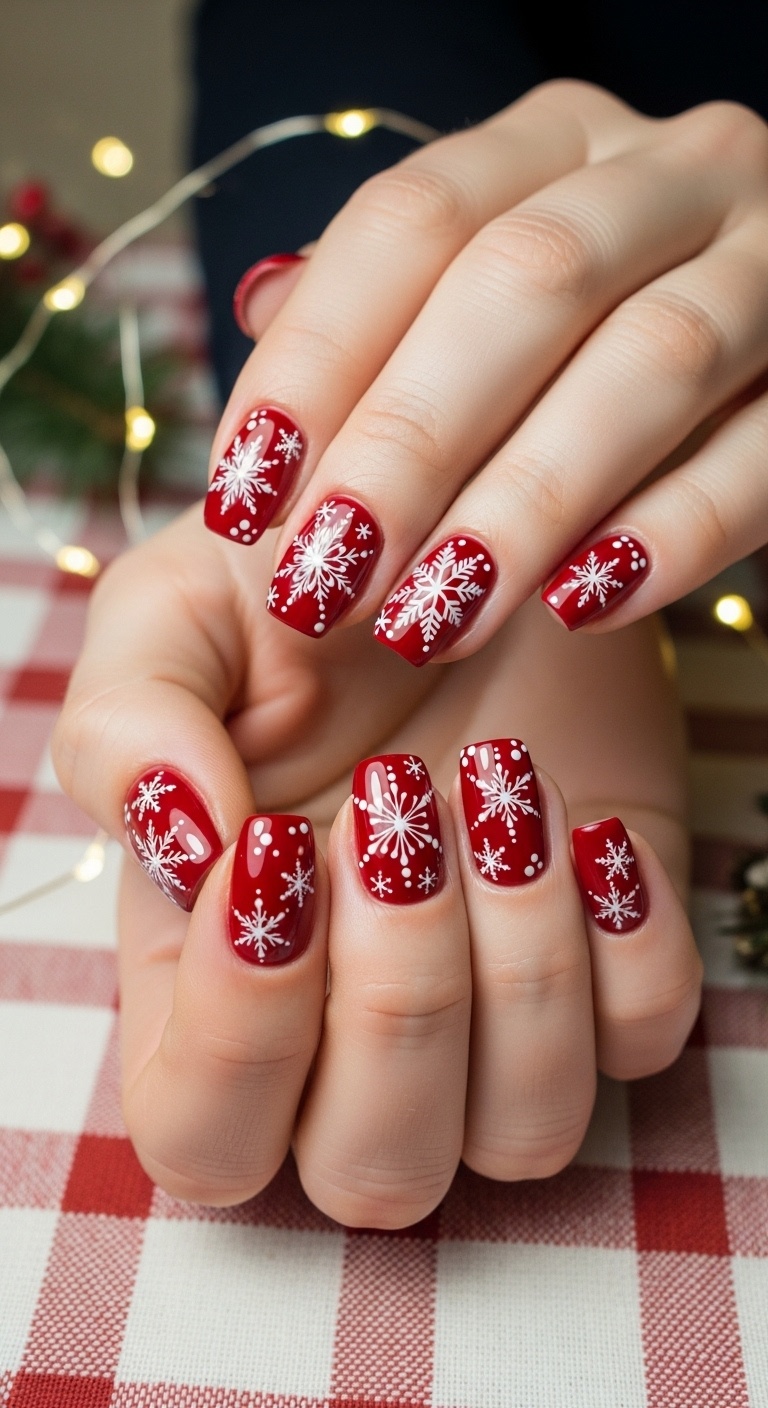
Classic red nails just scream Christmas, right? They’re bold, festive, and somehow match every holiday outfit you own.
I like to add white snowflakes for that extra wintery feel. You can paint them or use cute stickers—either way, they look adorable.
Try doing one snowflake per nail or just sprinkle them around. It’s up to you.
This design looks good on any nail length or shape. Short, long, square, round—it all works.
Expert Tip from KidsCareIdeas: “Use a thin brush for snowflakes. Let your base dry first so you don’t smudge everything.”
2. Glittery Green Christmas Tree Tips
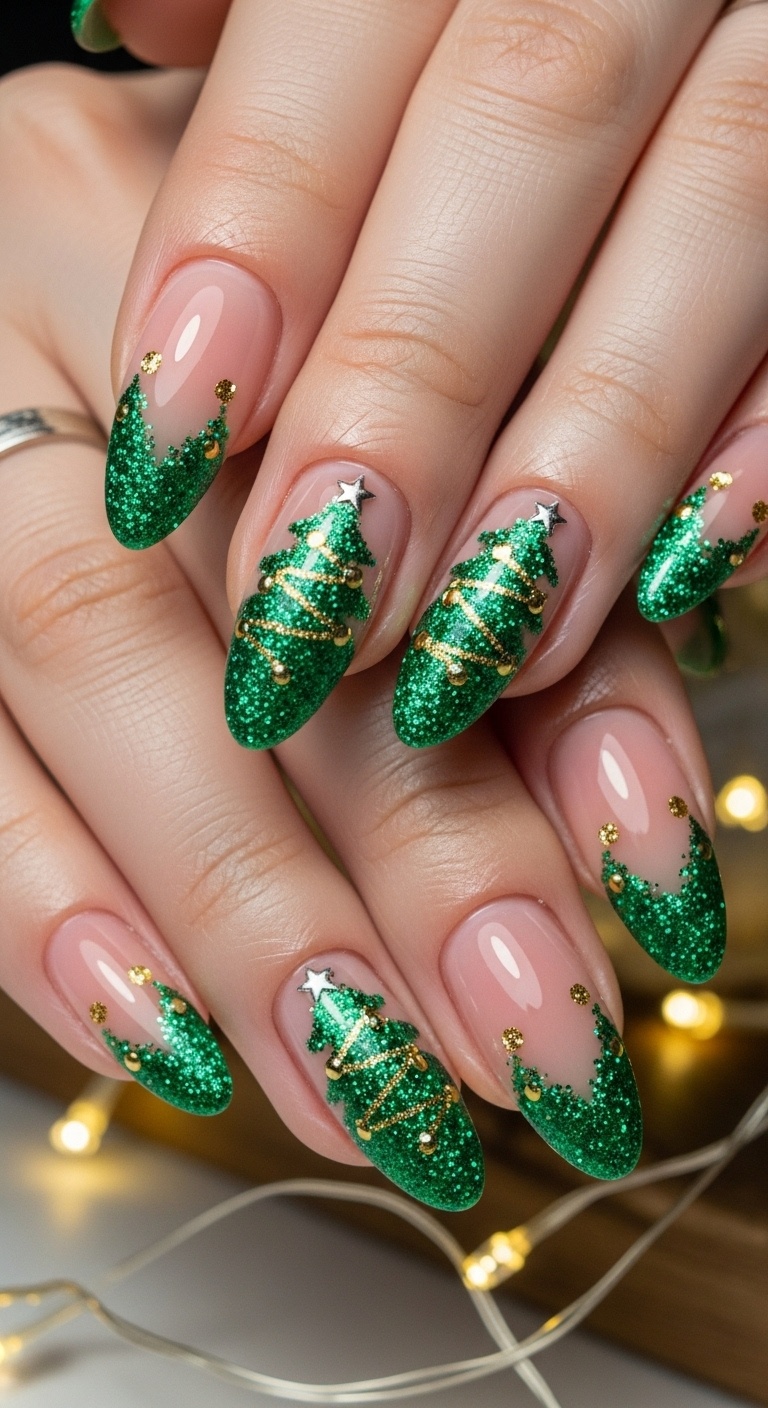
Turn your nails into little Christmas trees with green glitter at the tips. Start with a green base, then dab glitter just on the ends to mimic sparkling tree lights.
Fine glitter keeps it tidy, not messy. I sometimes add tiny dots or stars for ornaments.
Finish with a clear top coat to lock in all that shine. Simple, but it really pops.
Expert Tip from KidsCareIdeas: “A small fan brush helps spread glitter neatly. Two layers of top coat keep it sparkling.”
3. Candy Cane Stripes on Nails
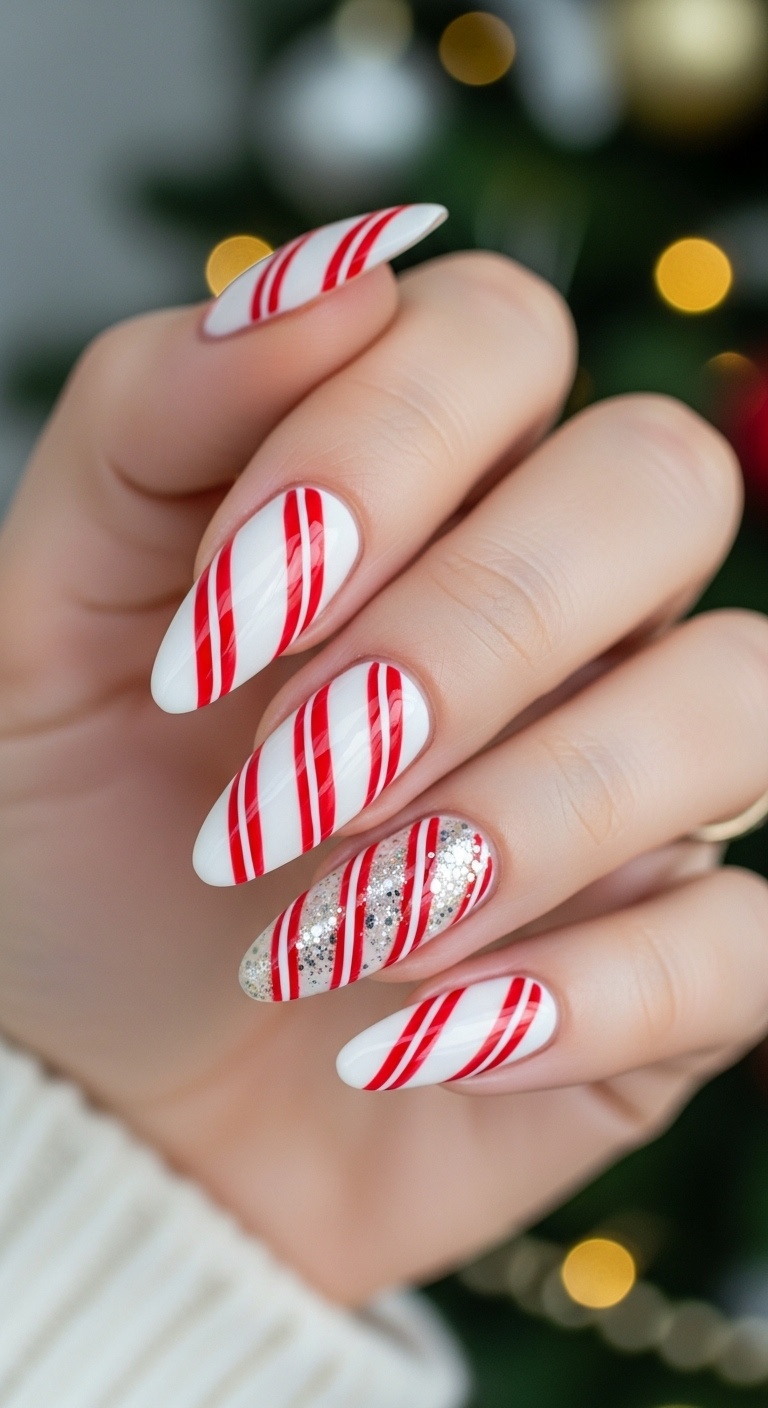
Candy cane stripes are classic and so easy. Start with a white base so the red stripes really stand out.
Use a thin brush or striping tape for the stripes. Alternate red and white lines, and keep them thin for that real candy cane look.
This one’s eye-catching but not over-the-top. Works on any nail shape.
Expert Tip from KidsCareIdeas: “Quick-dry top coat keeps stripes sharp. If you don’t have striping tape, a toothpick works for fine lines.”
4. Snowman Face Accent Nail
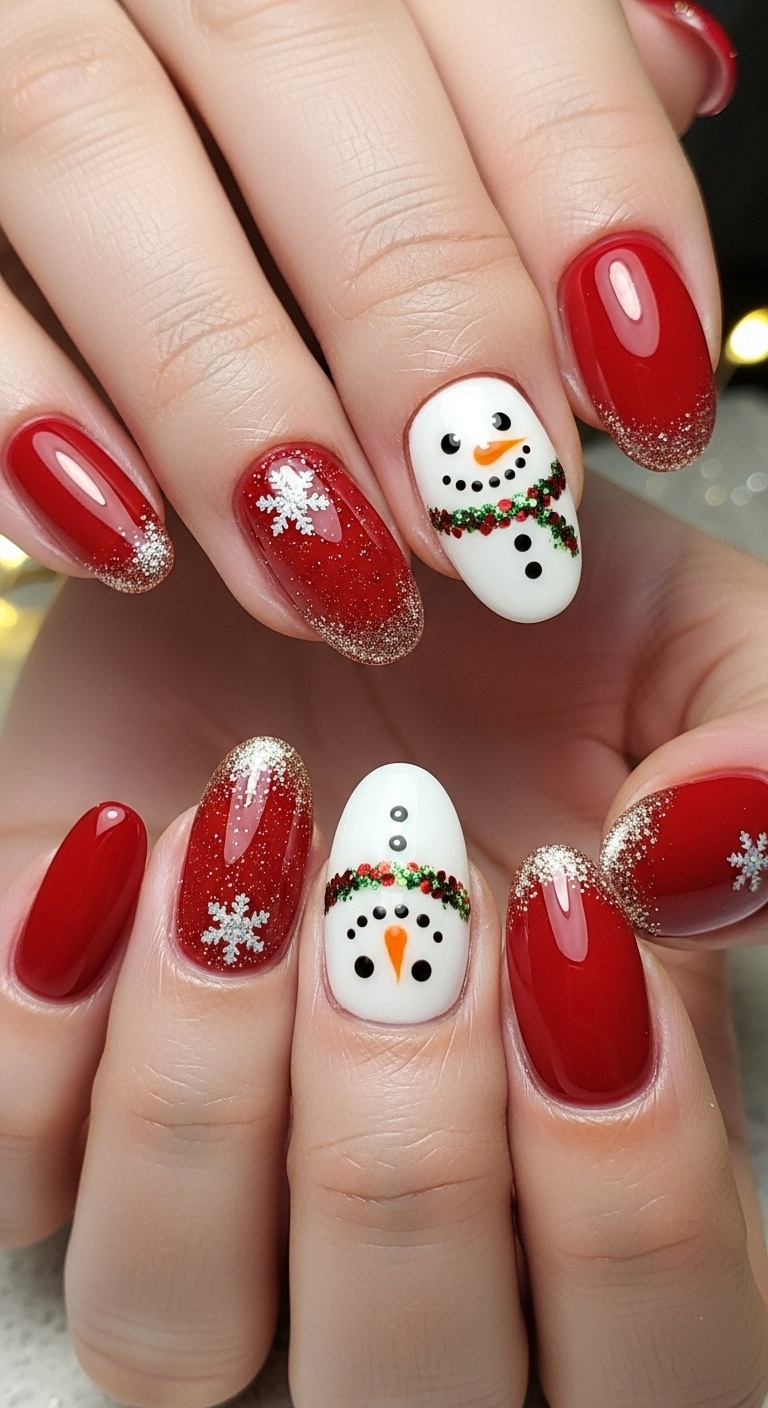
A snowman face on one nail? Yes, please. Paint the base white, then add black dots for eyes and an orange triangle for the nose.
Keep it simple so it stands out. This one always gets compliments and doesn’t take much time.
Seal it with a clear topcoat so your snowman doesn’t chip away.
Expert Tip from KidsCareIdeas: “A toothpick is perfect for those tiny details. Way easier than a brush.”
5. Matte Gold with Holly Berries
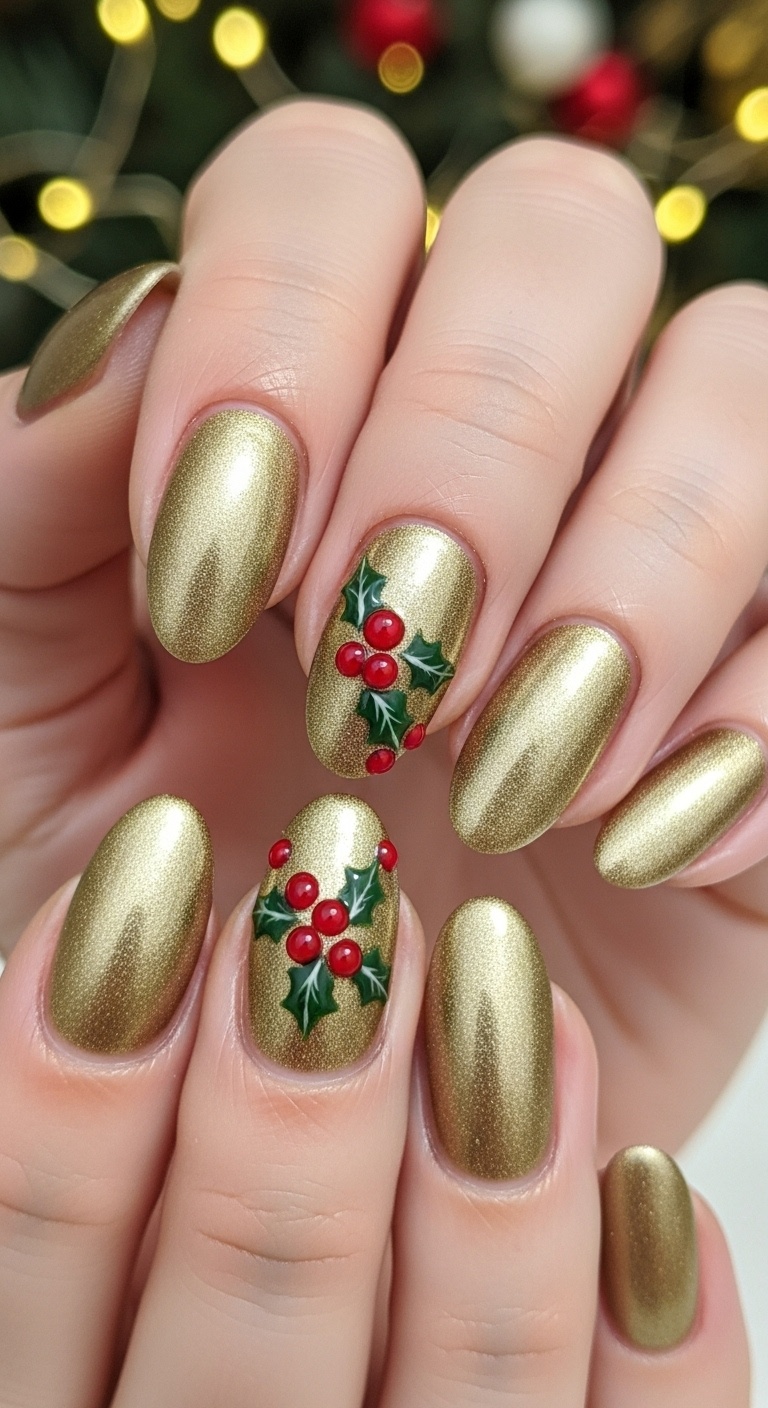
Matte gold nails look so classy and a little unexpected for Christmas. The flat finish keeps it from being too flashy.
Add tiny red dots and green leaves on a couple nails for holly berries. It’s festive but not too much.
You can use a small brush or dotting tool for the berries and leaves. The rest of the nails can stay plain matte gold for balance.
Expert Tip from KidsCareIdeas: “Only put top coat on the berries if you want them to shine. It’s a cool contrast with the matte gold.”
6. Frosted Silver with Snowflakes
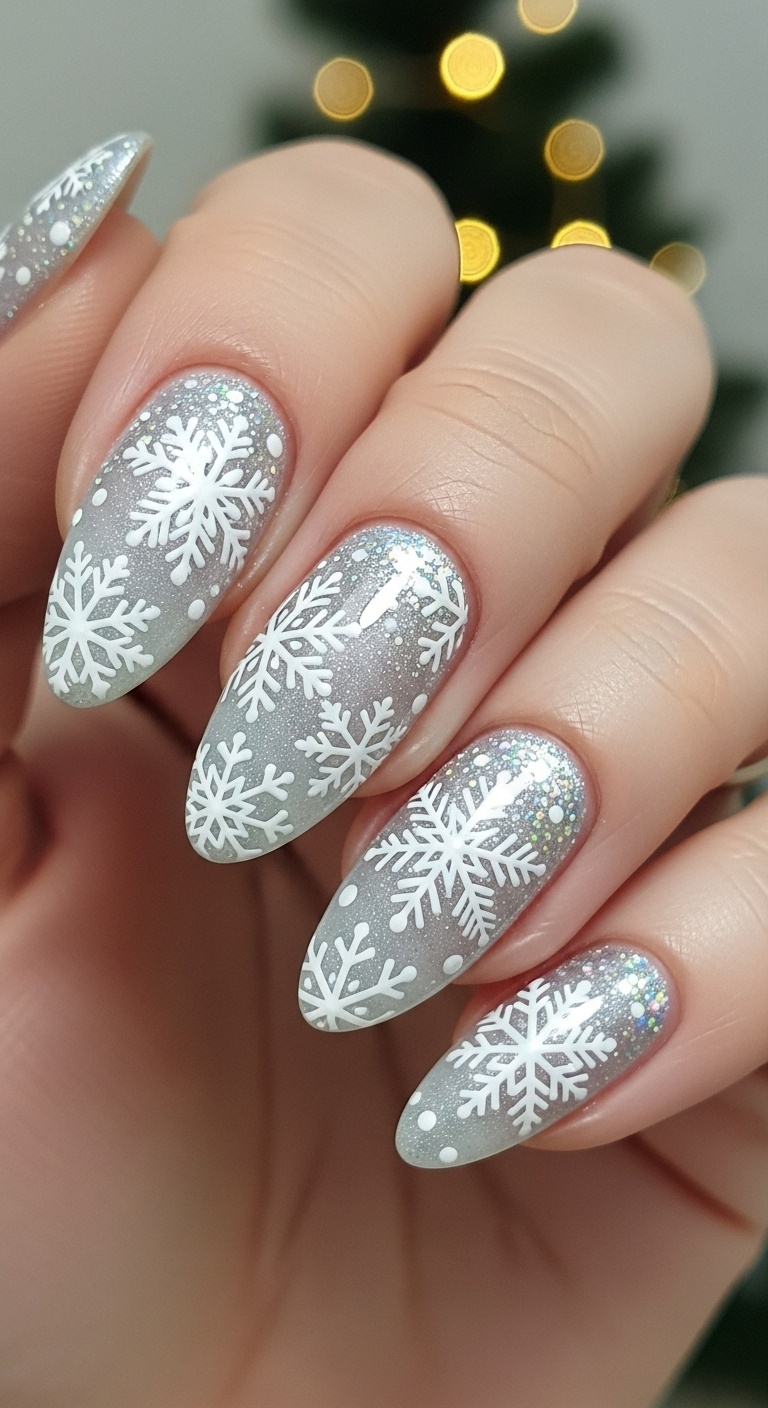
Frosted silver nails just feel like winter. The shimmer reminds me of fresh snow.
Add white snowflakes—either paint them or use stickers. Super easy, but they look fancy.
This style is perfect for parties or just because. If you want to keep it simple, skip extra designs.
Expert Tip from KidsCareIdeas: “A thin brush makes snowflakes look delicate. Top coat keeps everything from chipping.”
7. Plaid Pattern in Red and Black
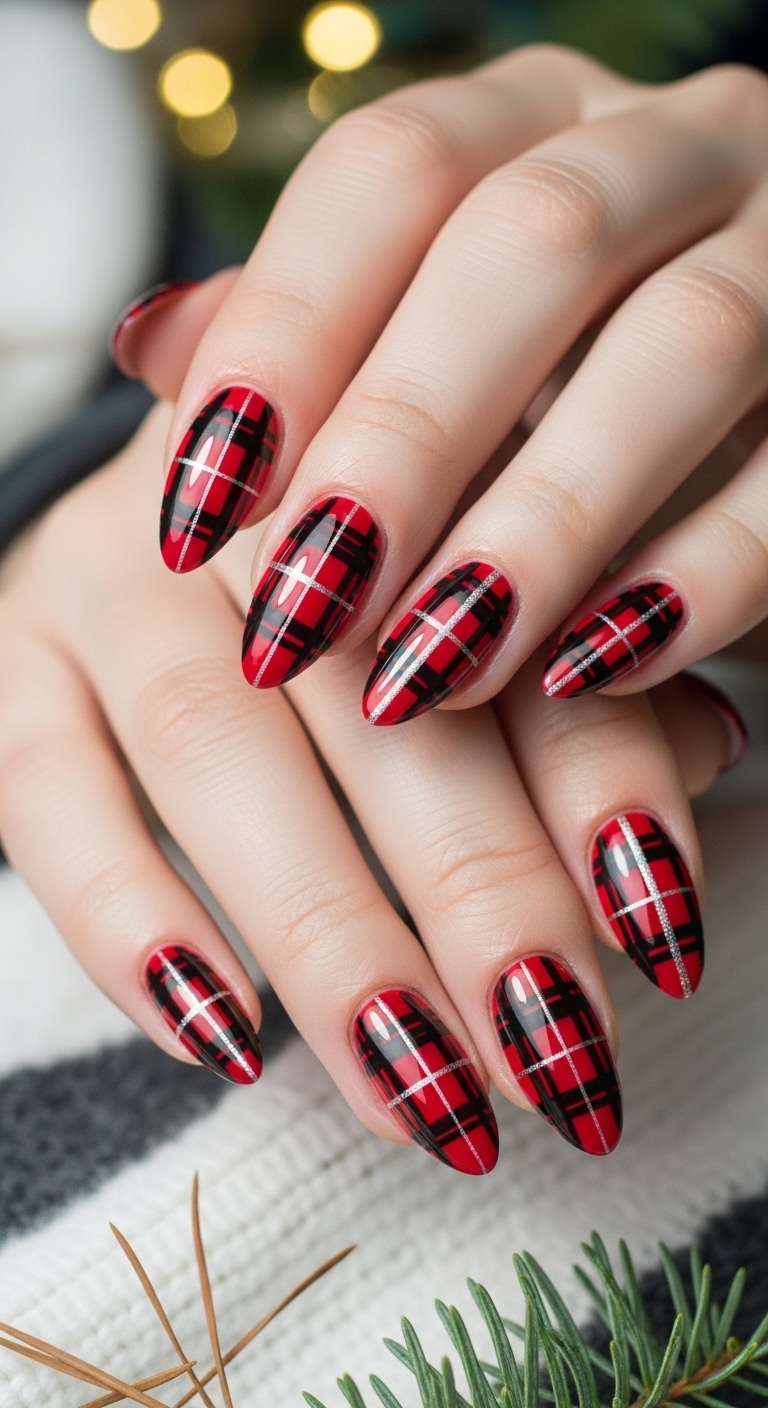
Plaid nails are like wearing your favorite flannel shirt—so cozy. Red and black together just feel like the holidays.
Start with a red base, then add thin black lines crossing each other. Use a brush or striping tape for clean lines.
Plaid works on any nail shape or length. It’s fun but still looks put-together for parties.
Expert Tip from KidsCareIdeas: “Matte top coat makes plaid nails look just like flannel. Super soft and cozy.”
8. Reindeer Silhouette on Nude Base
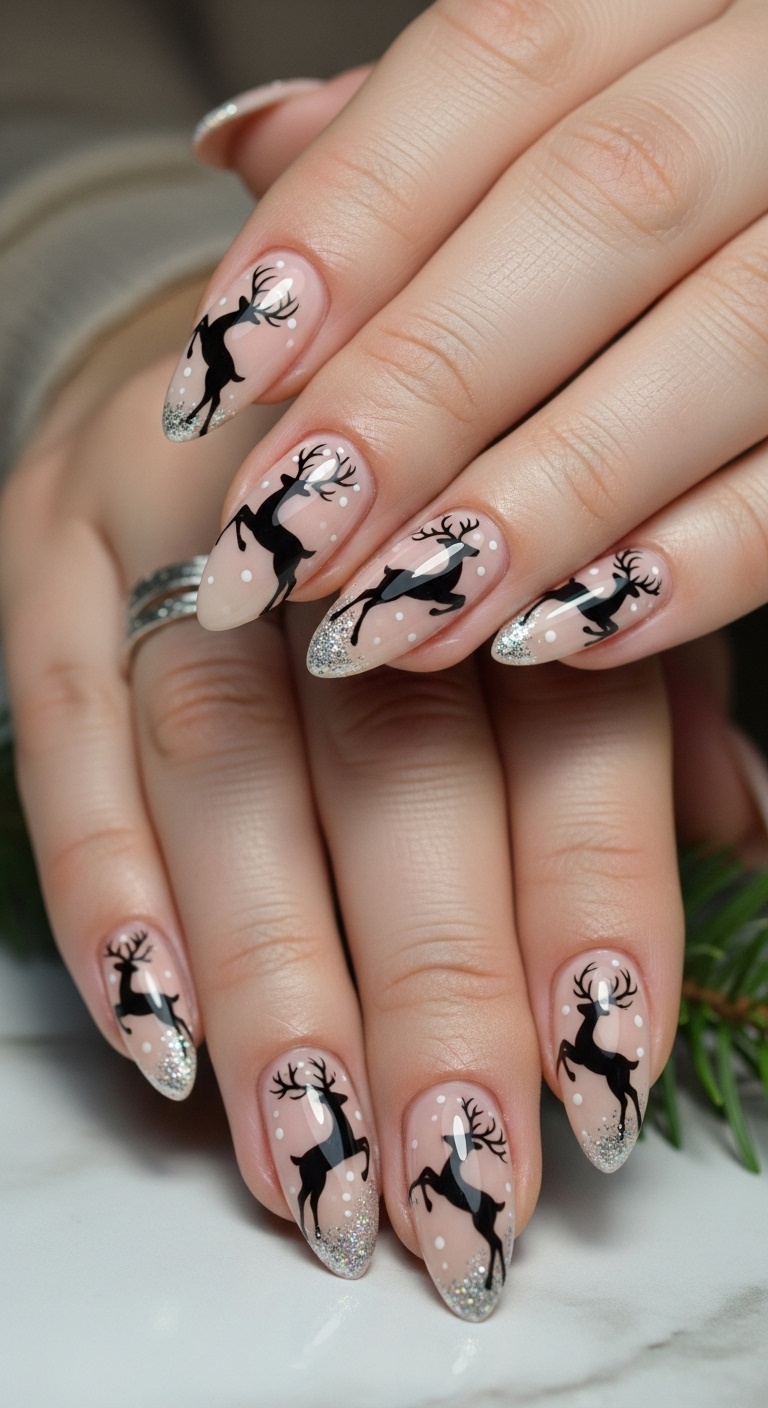
Go for a nude base and add a tiny black reindeer silhouette on one or two nails. It’s festive without being too in-your-face.
The nude color matches everything, and the reindeer is just a cute little surprise.
If you want, add a red dot for a Rudolph nose. Why not?
Expert Tip from KidsCareIdeas: “A toothpick or fine brush keeps the reindeer neat. Try it on paper first if you’re nervous.”
9. Metallic Blue with Snowflake Decals
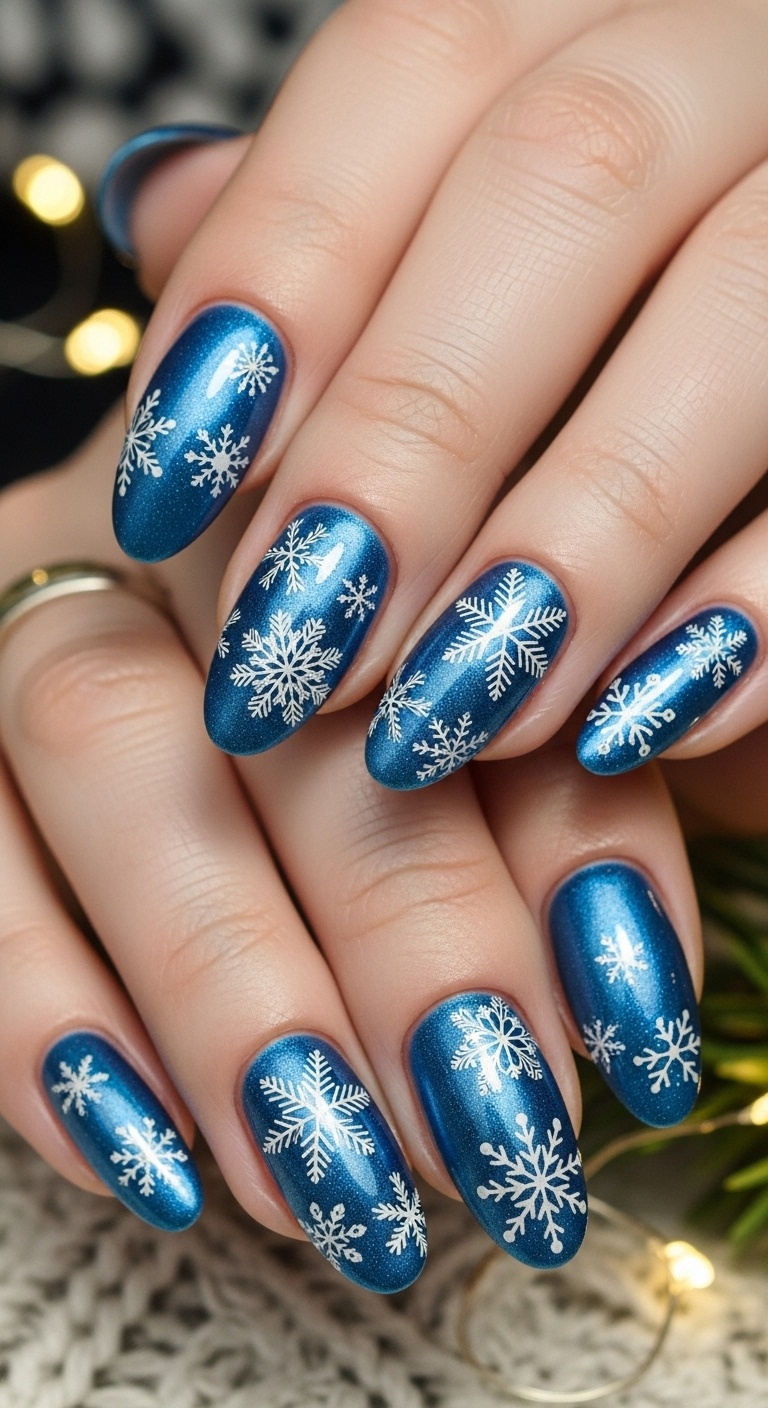
Metallic blue nails look icy and bright—perfect for winter. Add white snowflake decals for a quick, frosty touch.
This combo works on both short and long nails. It’s simple but feels special, like your nails are wearing a fancy sweater.
If you’re short on time, decals save the day.
Expert Tip from KidsCareIdeas: “Seal decals with a clear top coat. It keeps the snowflakes sharp and your polish lasting longer.”
10. Santa Hat Designs on Thumbs
Santa hats on your thumbs are just plain fun. Paint a red tip, add a white band, and finish with a little white pom-pom.
It’s easy and stands out, even if the rest of your nails are plain or glittery.
You can use stickers or freehand with a brush. Either way, it’s a cheerful touch.
Expert Tip from KidsCareIdeas: “Quick-dry topcoat keeps your Santa hat neat. Steady your hand on a table for best results.”
11. Sparkling White with Icicle Tips
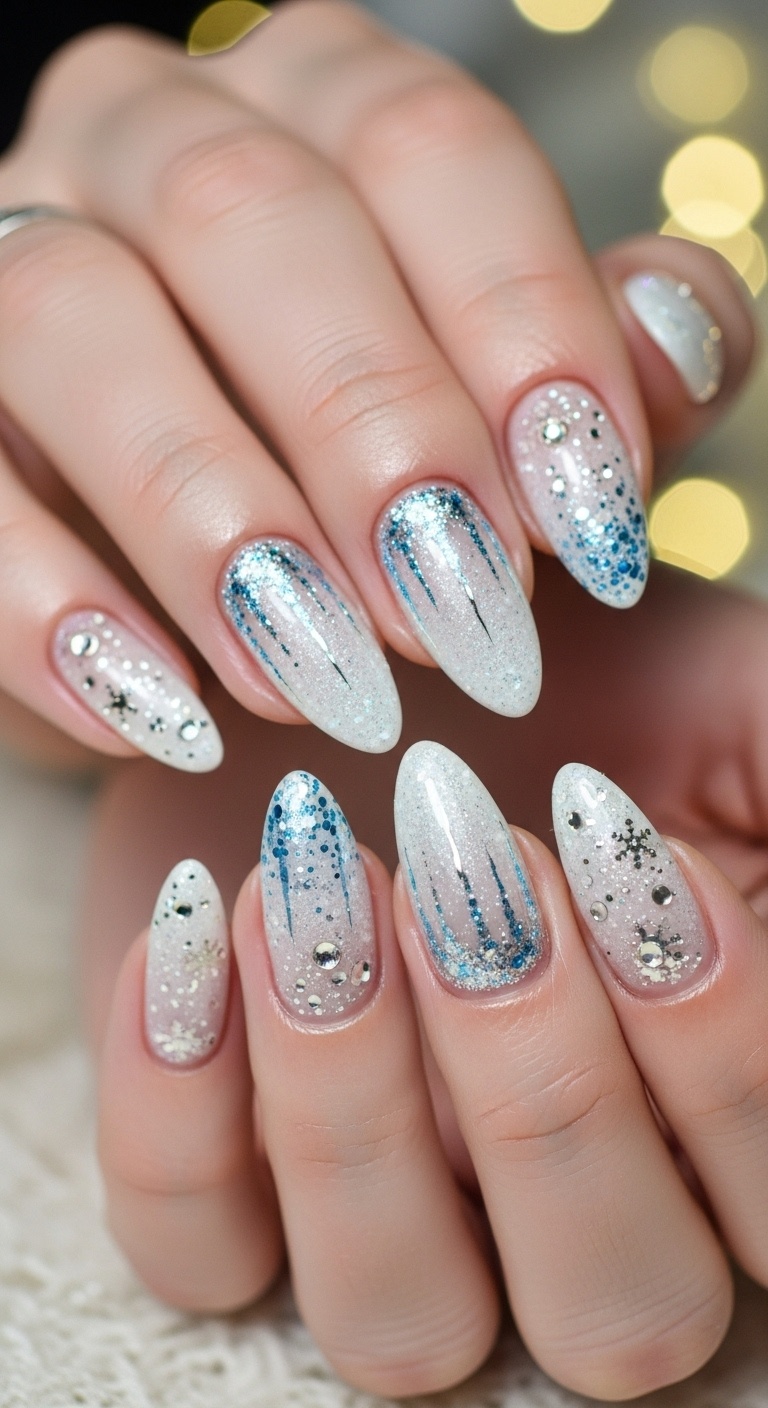
Make your nails look icy with a sparkling white base. Add silver glitter in pointy shapes at the tips for icicles.
The glitter catches the light and feels super wintery. It’s easy but looks like you put in a ton of effort.
This design matches almost any outfit because it’s clean and bright.
Expert Tip from KidsCareIdeas: “A thin brush keeps icicle tips sharp. Topcoat makes the sparkle last.”
12. Christmas Lights String Wrap
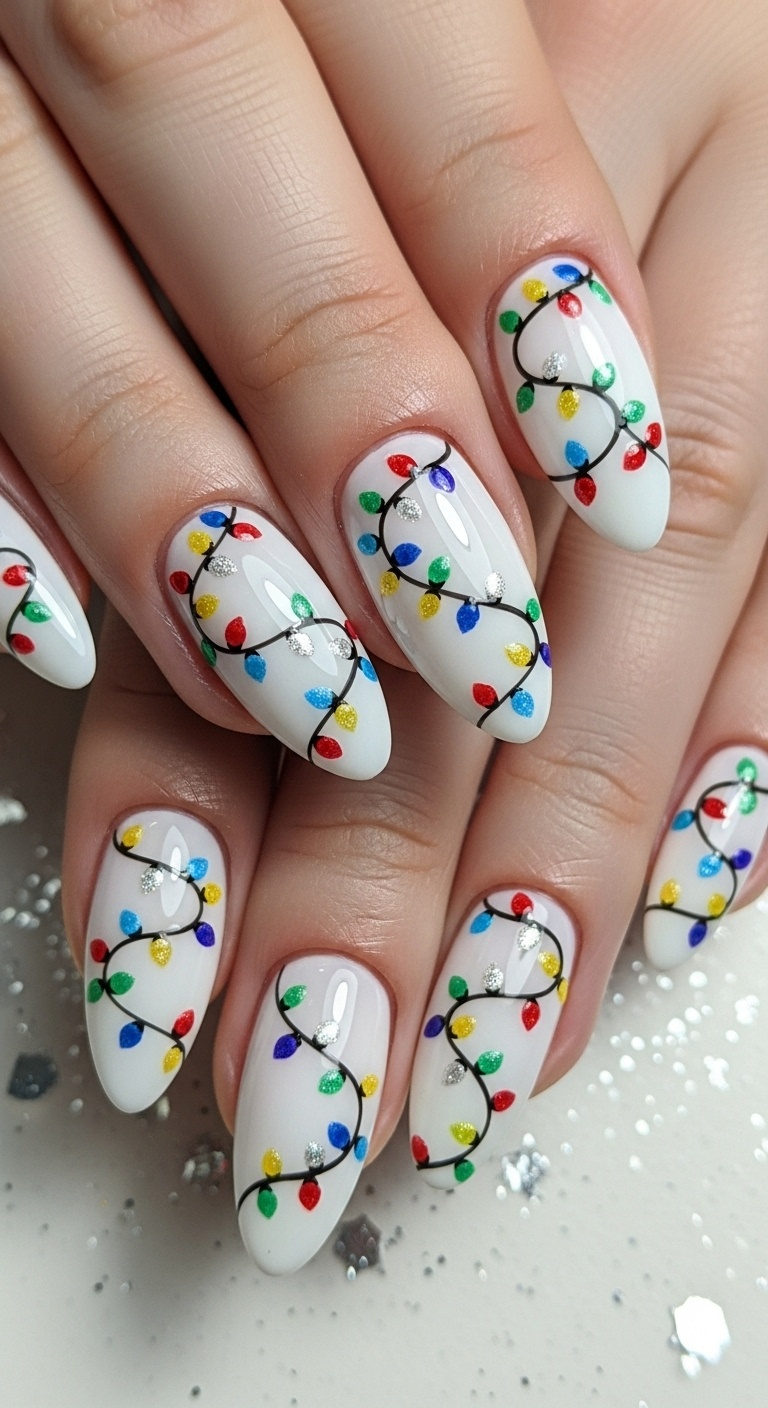
Draw tiny Christmas lights wrapping around your nails with thin, colorful lines. Start with a light base so the bulbs pop.
Dot on red, green, yellow, and blue for the bulbs. Connect them with a thin black or brown line for the string.
It’s a playful design that looks like you have mini glowing lights on your fingers.
Finish with a clear topcoat for shine and protection.
Expert Tip from KidsCareIdeas: “Use a toothpick for tiny light dots. Strong topcoat stops chips during holiday fun.”
13. Ombre Green to Red Gradient
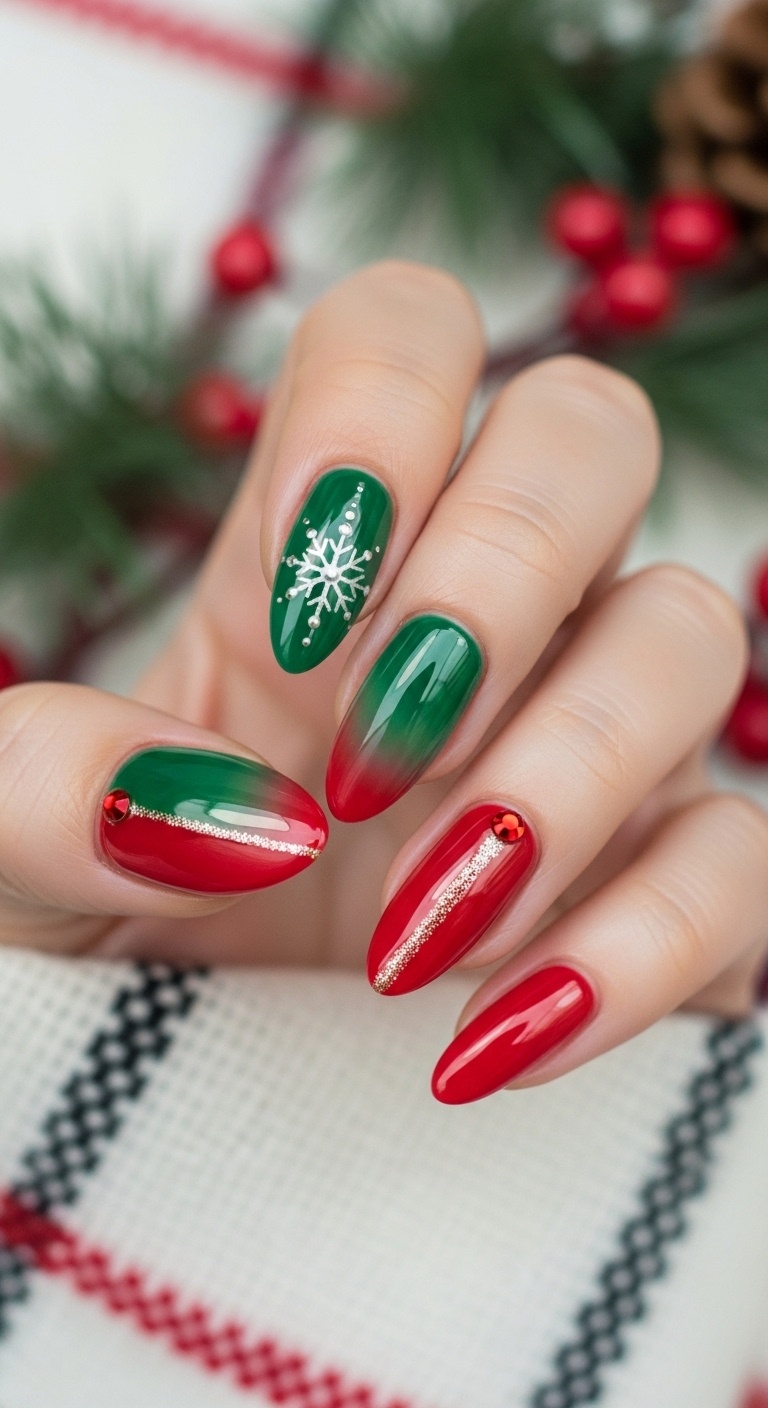
Start with soft green at the base and blend into bright red at the tip. This ombre fade gives your nails a smooth, Christmasy look.
A makeup sponge helps blend the colors for a natural effect. Add a little sparkle if you’re feeling extra festive.
Keep it shiny with a good top coat.
Expert Tip from KidsCareIdeas: “A dry sponge blends colors best. Two thin top coat layers help it last.”
14. Gingerbread Man Nail Art

Gingerbread man nails are just plain cute. Paint your nails a light brown or tan to match the cookie.
Draw icing details with white polish—eyes, smile, buttons. Add tiny red or green dots for a festive touch.
It’s okay if it’s not perfect—the charm is in the homemade look.
Expert Tip from KidsCareIdeas: “A fine brush or toothpick helps with small details. Let each layer dry to avoid smudges.”
15. Wreath with Red Bow Accent

You know what’s fun? Turning your nails into tiny Christmas wreaths. Start off with a green polish—nothing fancy, just something that reminds you of pine needles.
Next, dab on a few dots or little shapes for leaves and berries. Don’t overthink it. If you mess up, it’ll still look cute.
Now, grab a thin brush and paint a bright red bow on one nail. Go bold! The bow doesn’t have to be perfect—just make it pop. It’s a quick way to make your nails look festive without spending hours.
This idea works for any nail length, honestly. Try it on every nail if you’re feeling extra, or just pick one for a simple accent.
Expert Tip from KidsCareIdeas: “Use a thin brush for the red bow to keep it neat. Seal with a top coat to make your design last longer.”
