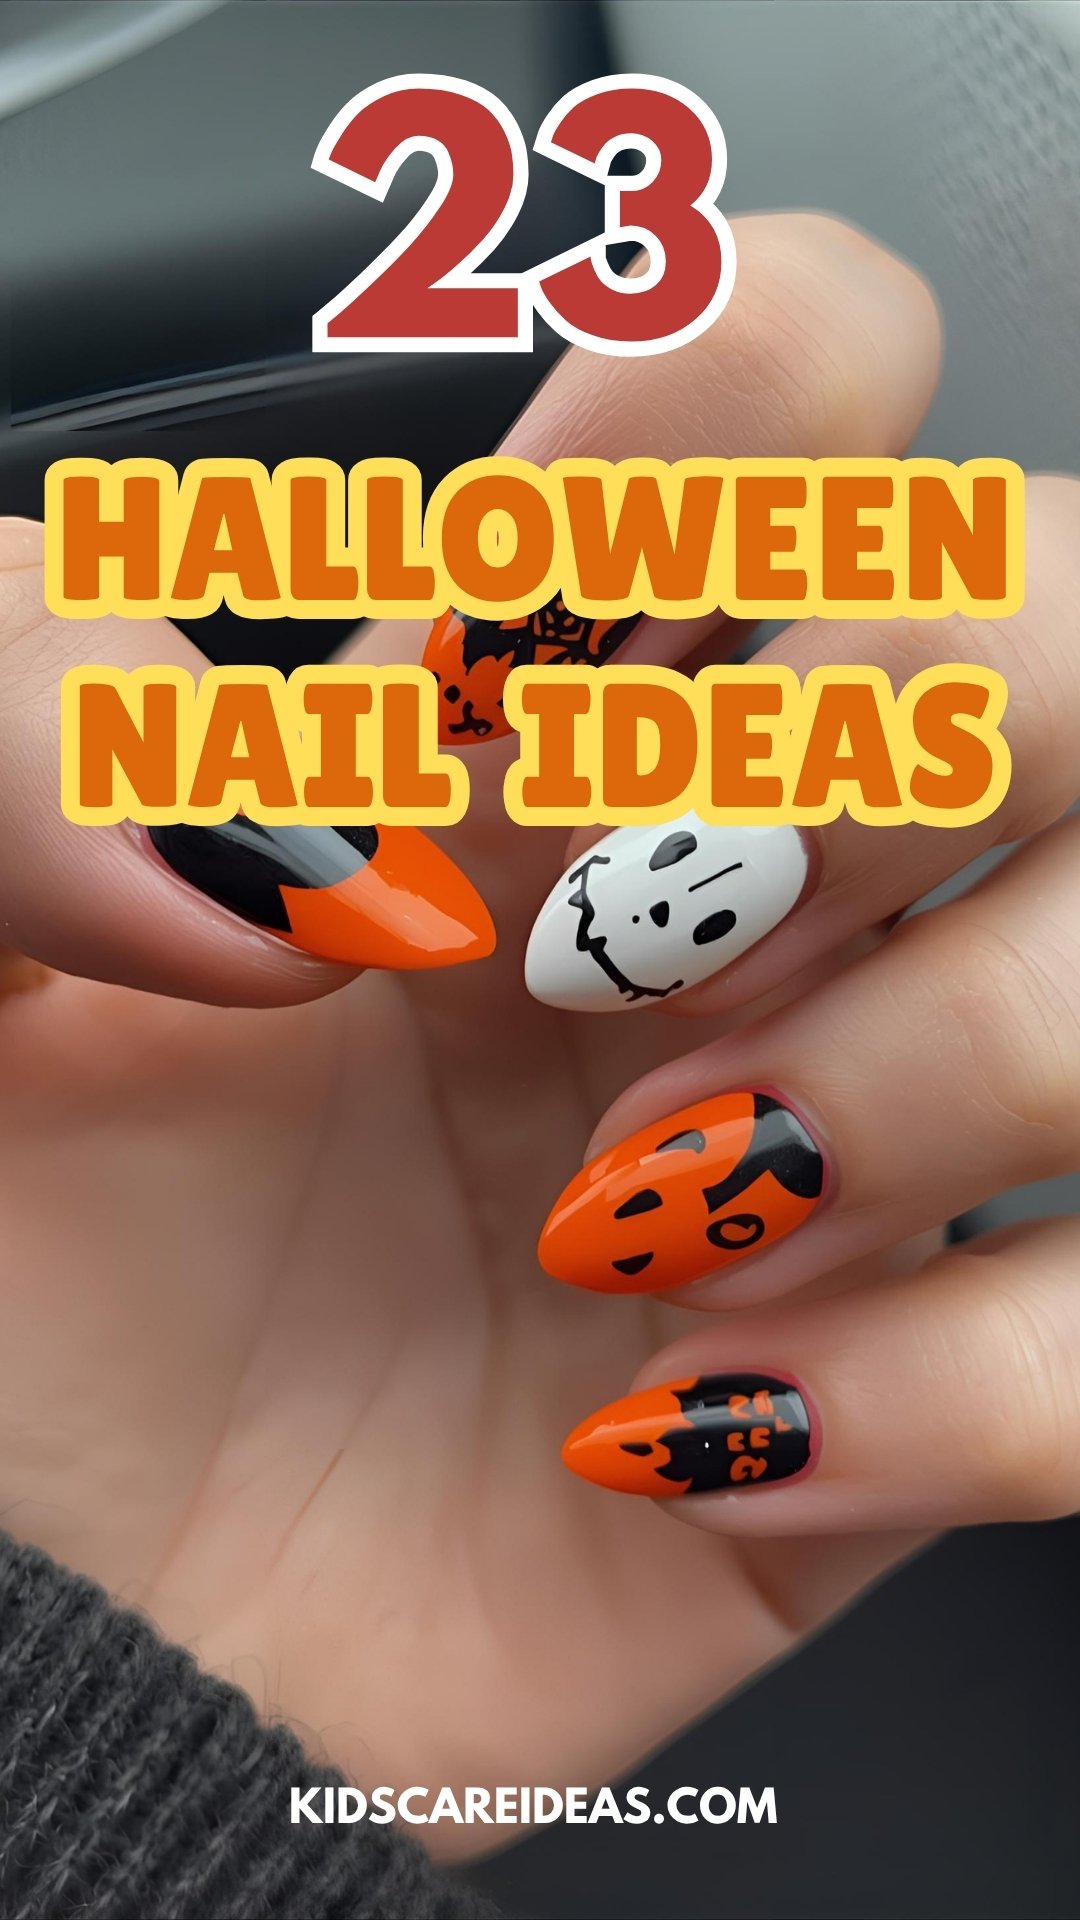
Halloween nails are honestly one of my favorite ways to get into the spooky spirit.
Whether you’re into cute pumpkins or freaky spiders, your nails can totally tell their own Halloween story.
You’ll find plenty of easy and creative ideas here to help your nails look awesome for the season.
Getting your nails ready can actually be part of the Halloween fun, and it’s not as tricky as you might think.
1. Classic Orange and Black Combo
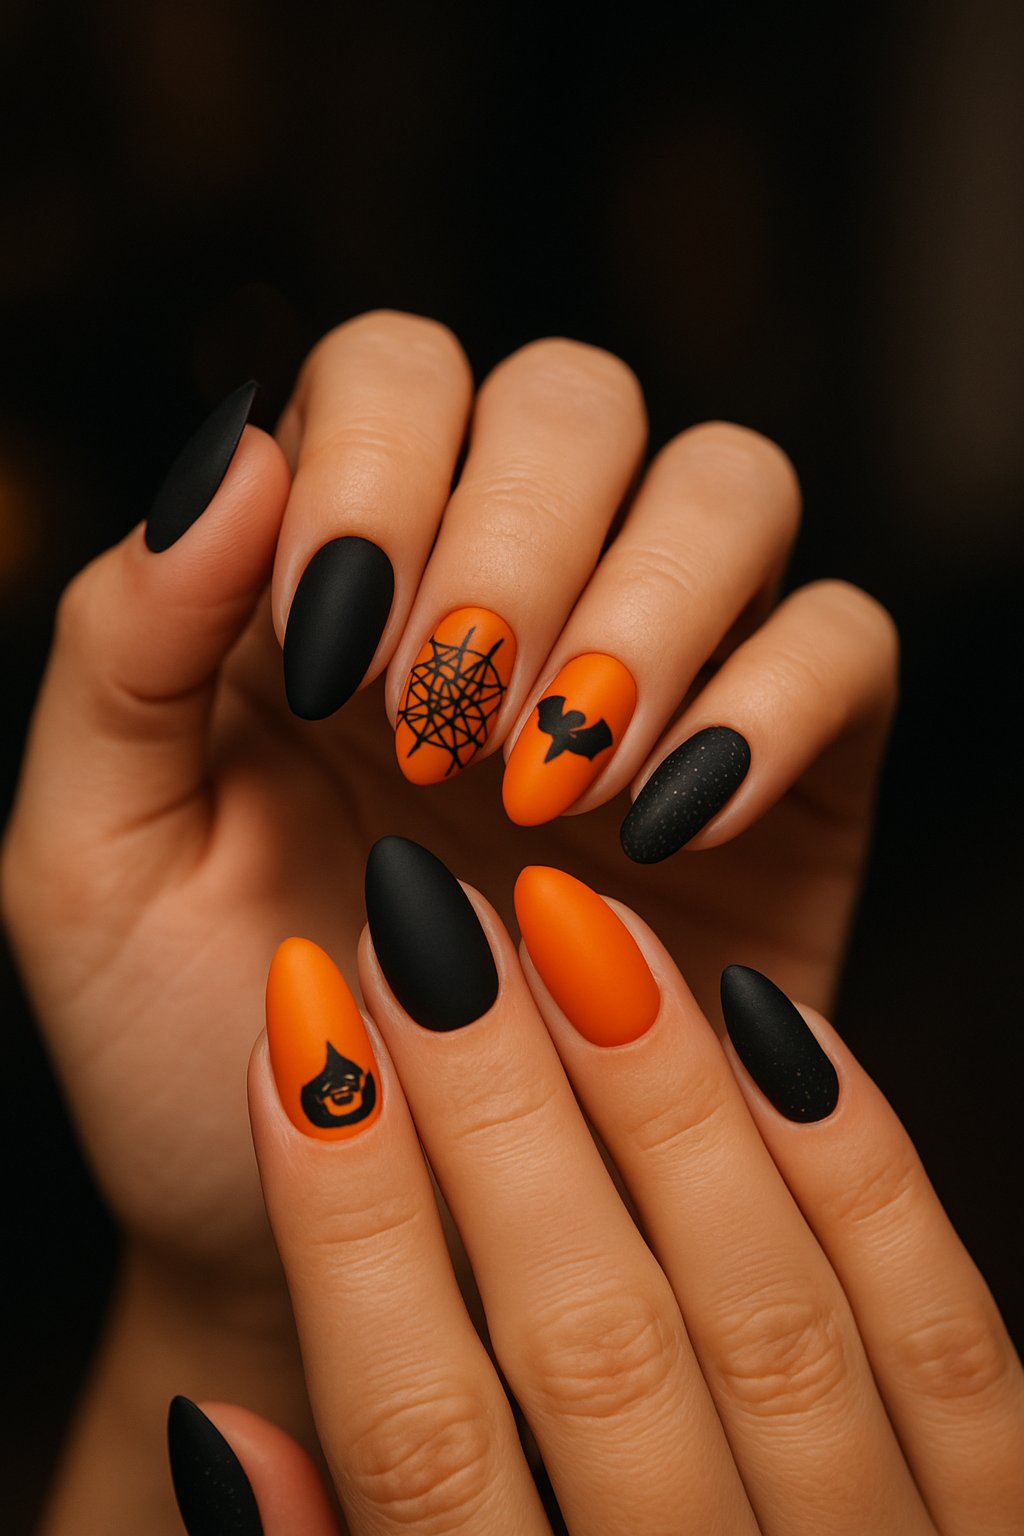
Let’s be real—orange and black nails just scream Halloween. These colors are bold yet simple, so your nails stand out without you having to do a lot.
You can go with solid colors or mix in stripes and dots if you’re feeling playful. Orange nails remind everyone of pumpkins, while black adds that perfect spooky edge.
Expert Tip from KidsCareIdeas: “Use a matte topcoat on black nails for a sleek touch. Add tiny orange dots to create a pumpkin-like pattern effortlessly.”
2. Glittery Spider Web Art
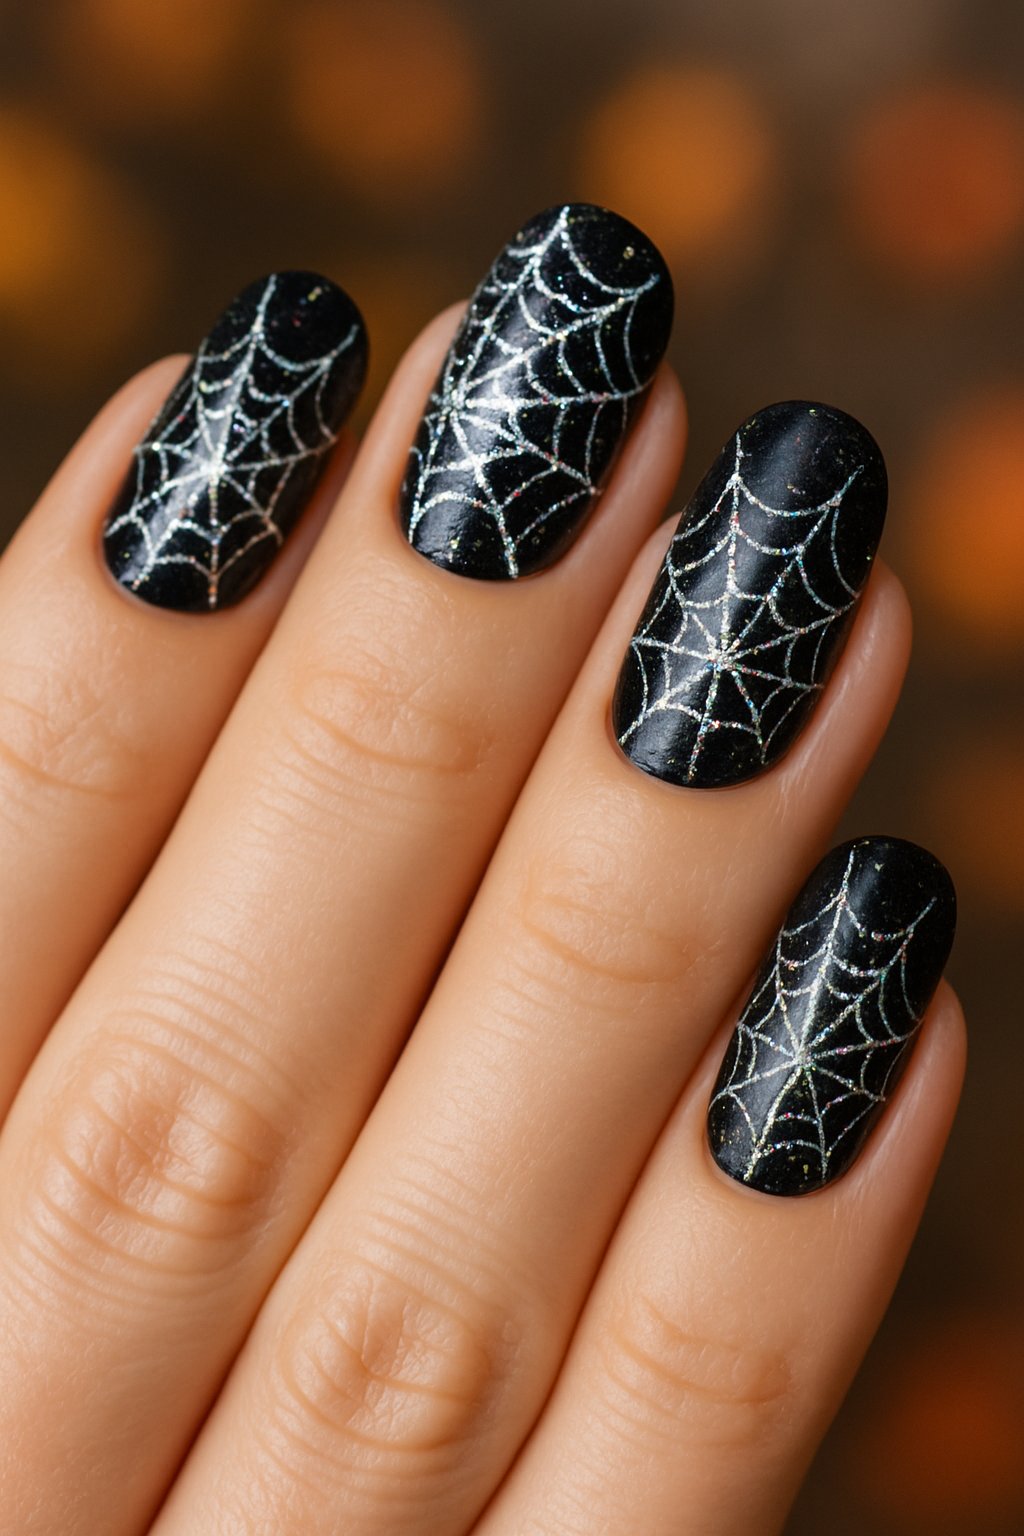
Spider web designs with glittery polish always catch the eye. I usually start with a dark base, like black or deep purple.
Then, I use a thin brush to paint shiny silver or white web lines. The glitter makes the web look like it’s sparkling—like you just stepped out under the moon.
If you want to get extra, add tiny dots or little spiders with a dotting tool. This look is perfect for parties or just showing off your Halloween mood.
Expert Tip from KidsCareIdeas: “Use a clear topcoat to protect the glitter and keep the design from chipping. Let each layer dry before adding the next for a neat finish.”
3. Glow-in-the-Dark Pumpkins
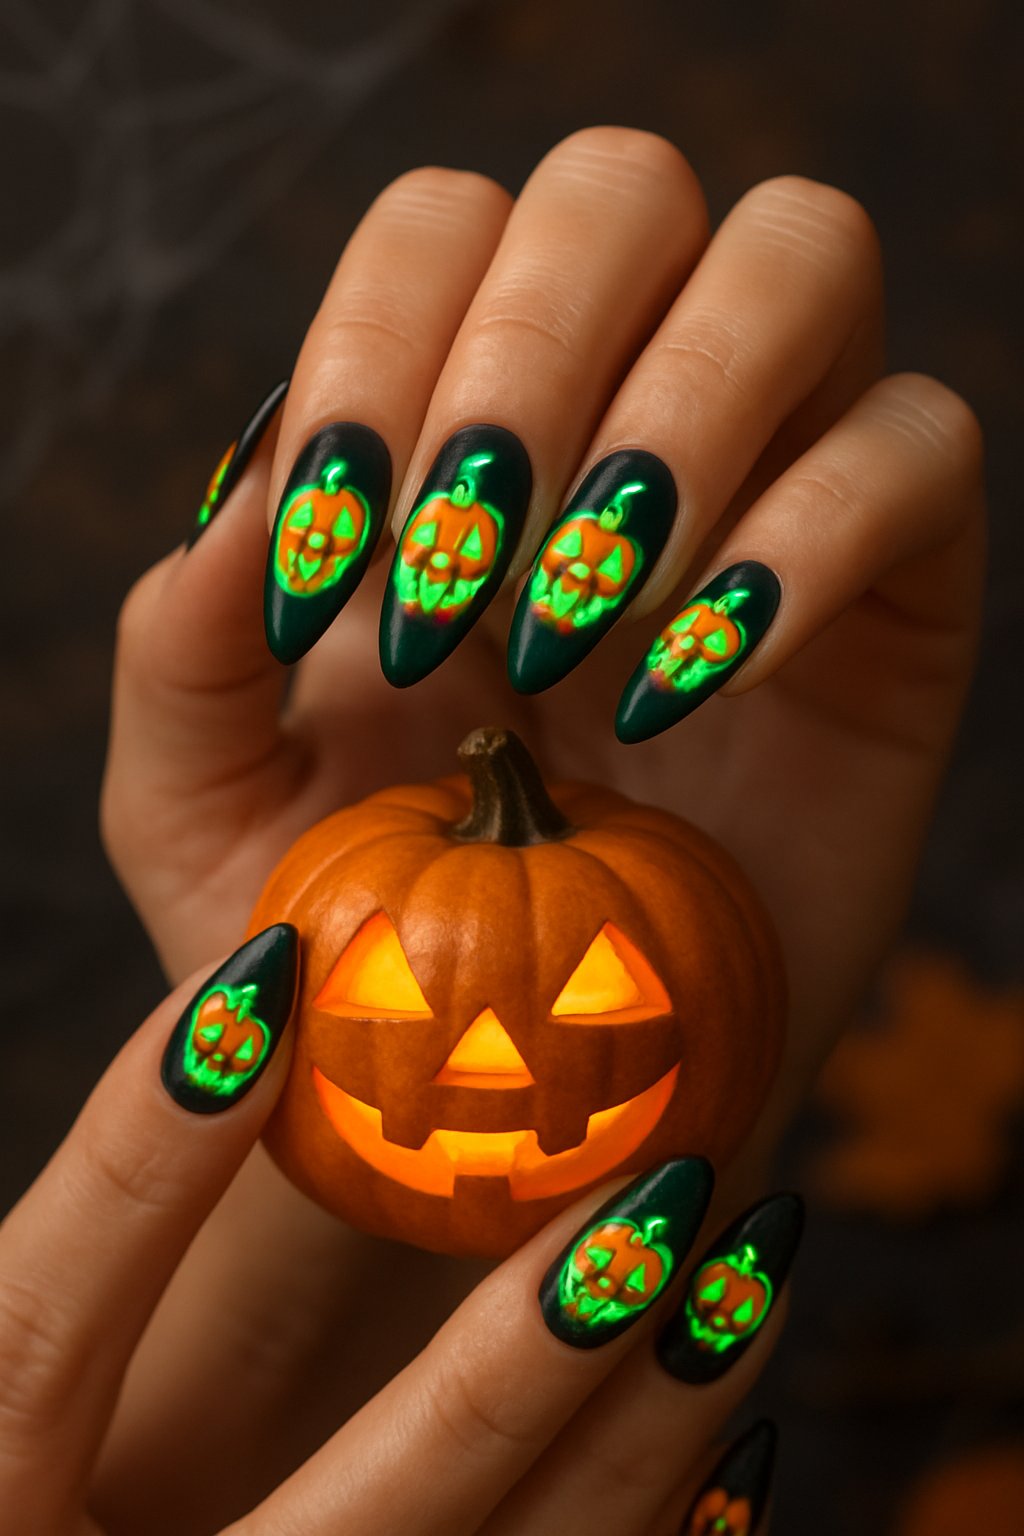
Glow-in-the-dark pumpkins are a total showstopper at night. I use special glow polish over orange and black pumpkin shapes for the best effect.
These nails look amazing in the dark and add a fun, spooky twist. Try layering on two coats of glow polish if you want your nails to really shine.
Expert Tip from KidsCareIdeas: “Charge your nails under a bright light for a few minutes before going in the dark. This helps them glow longer and brighter.”
4. Matte Black Matte Mystery
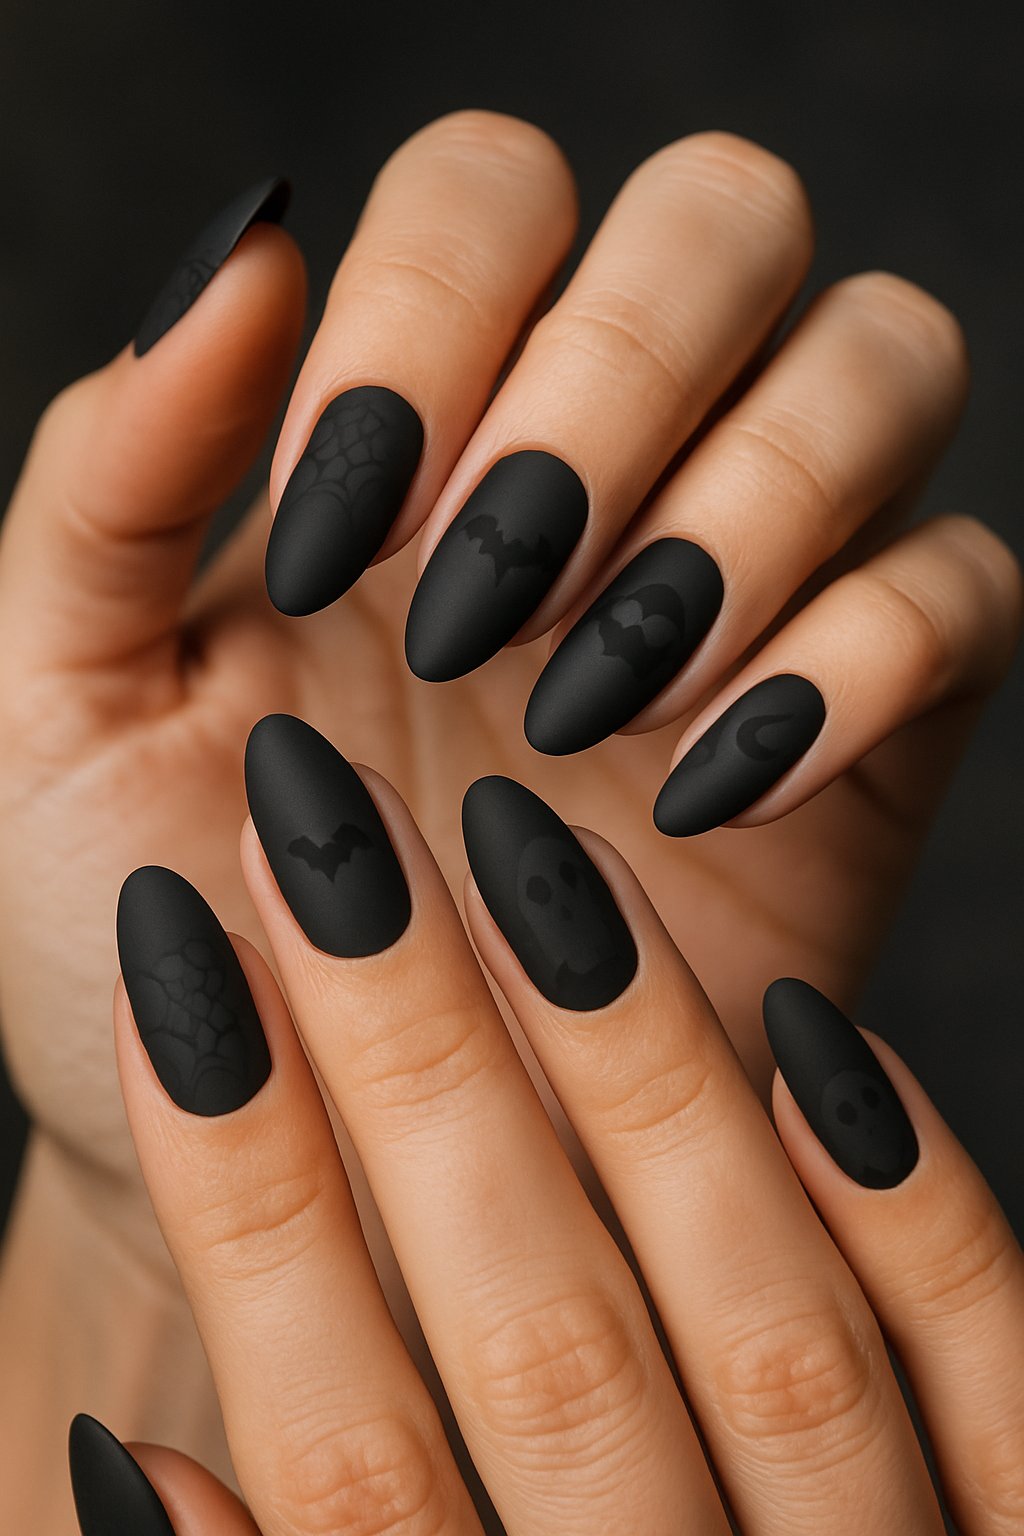
Matte black nails are like the little black dress of Halloween. They look simple but give off a strong, mysterious vibe.
You can keep all your nails matte black or add tiny shiny details for some contrast. This style is super easy but still bold, and it works with any Halloween outfit.
Expert Tip from KidsCareIdeas: “Use a matte top coat over black polish for a smooth, velvety finish. Avoid touching your nails until fully dry to keep the matte effect perfect.”
5. Candy Corn Color Block
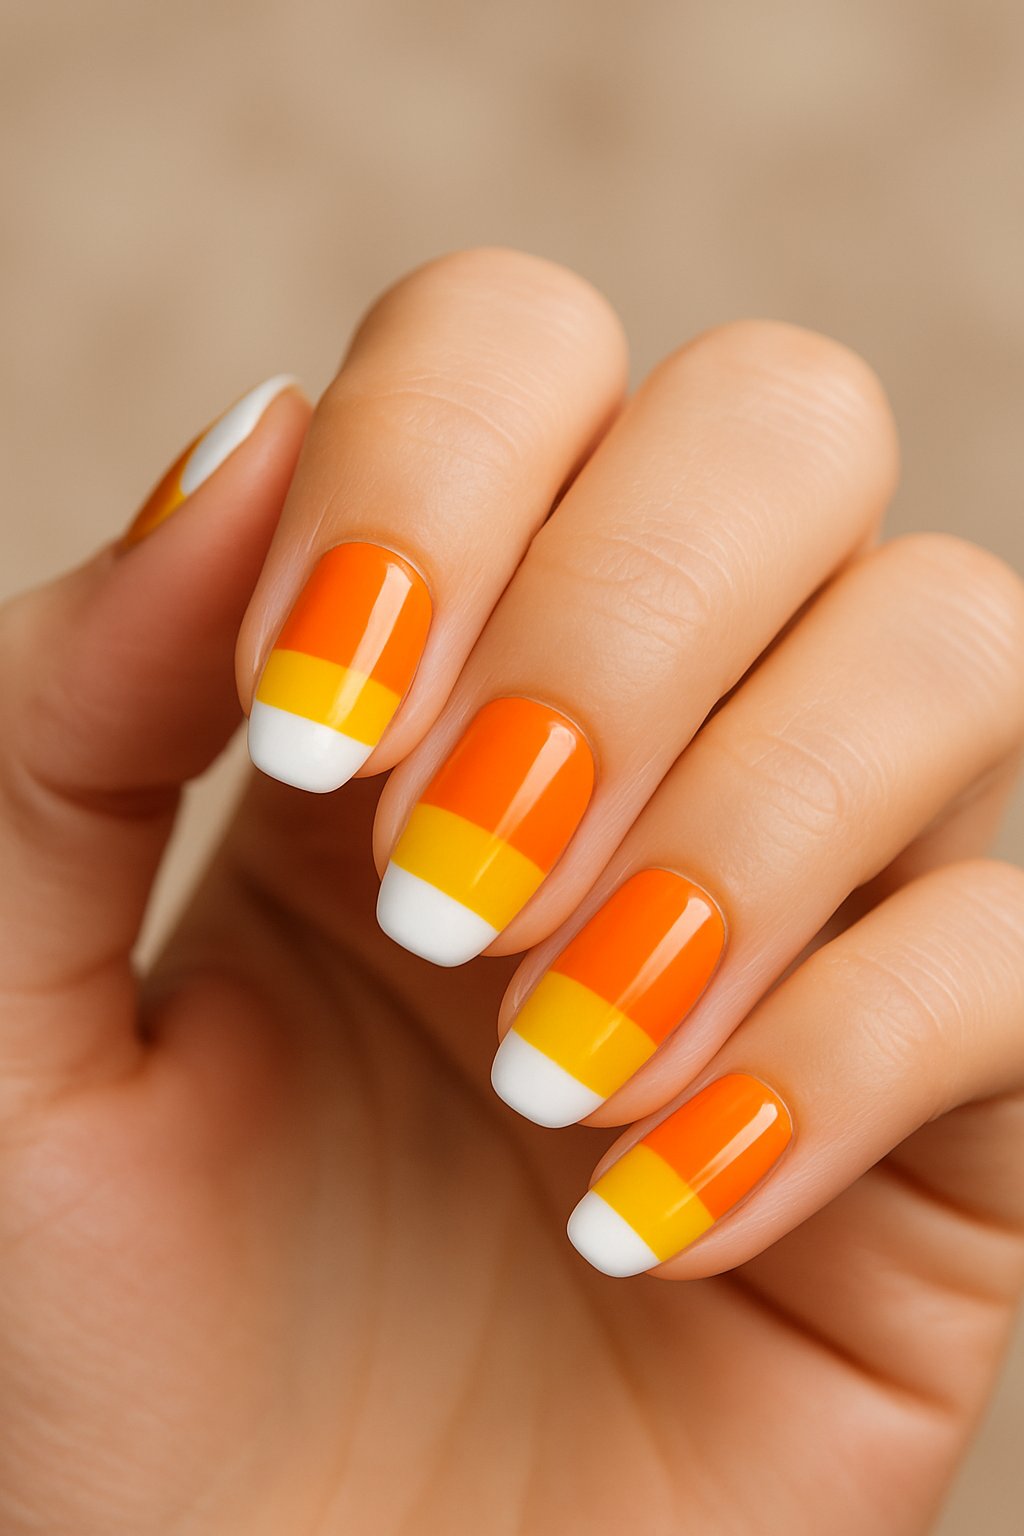
Candy corn nails are just plain fun and super festive. I stack white at the tip, orange in the middle, and yellow at the base.
Tape helps me keep the lines nice and clean between colors. This look works on short or long nails, and honestly, it’s a Halloween classic.
Expert Tip from KidsCareIdeas: “Use a quick-dry topcoat to keep your color blocks sharp and smudge-free. It helps your design last longer, especially after Halloween parties.”
6. Witch Hat Accent Nails
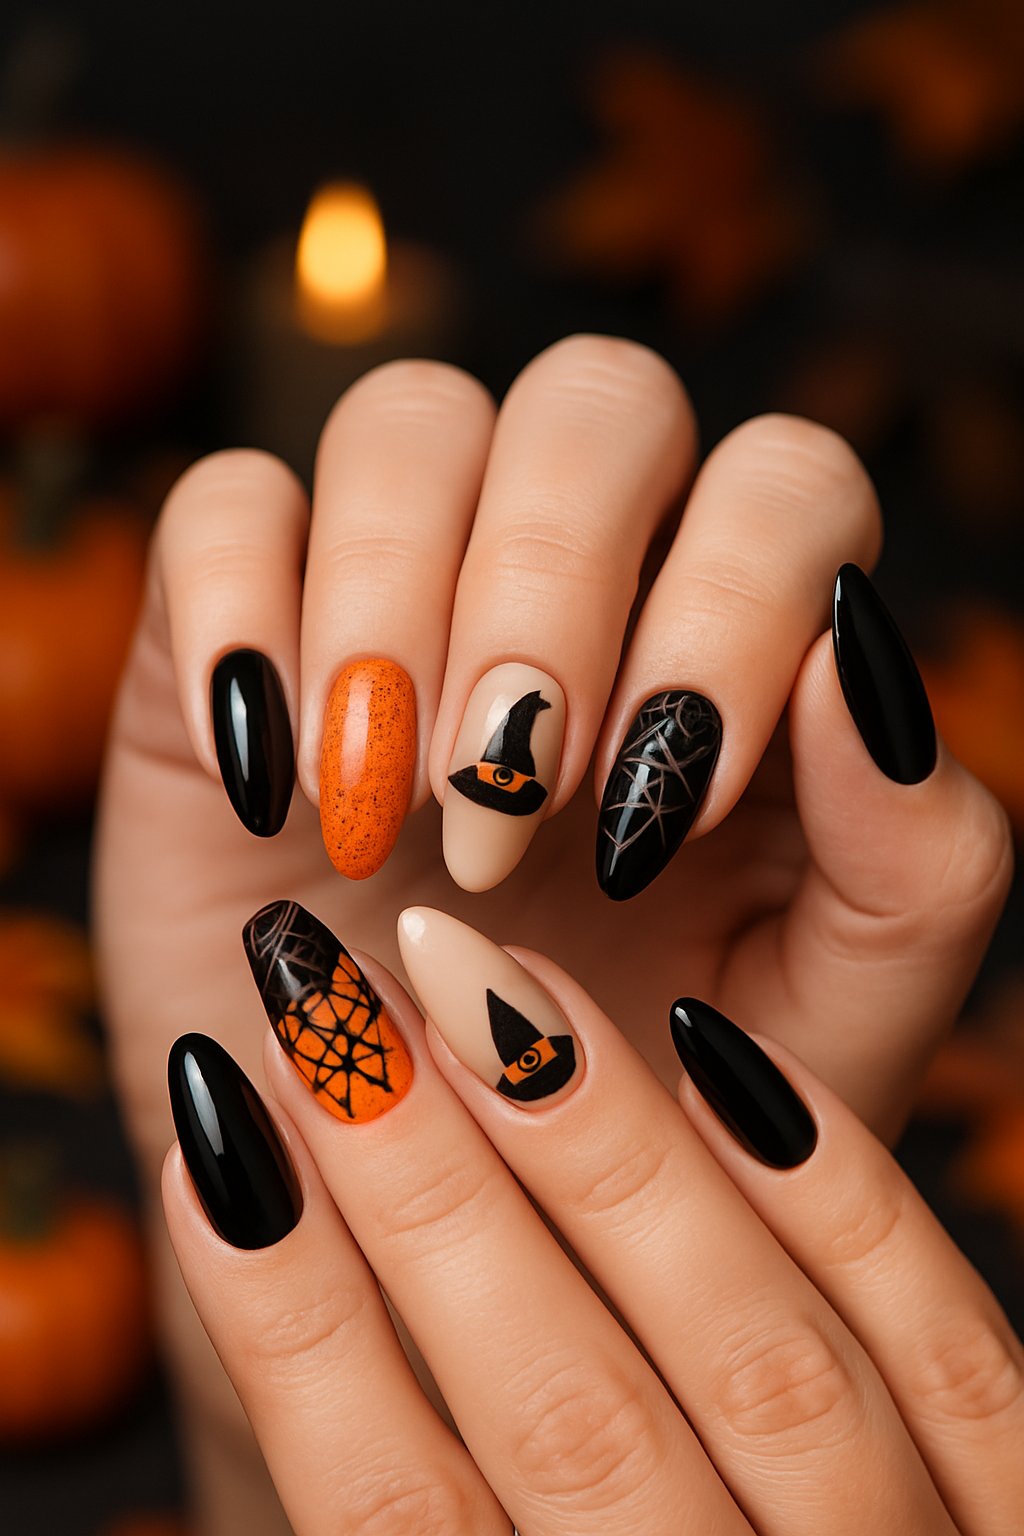
Witch hat accent nails are a cute way to make one or two nails stand out. I usually paint a black triangle for the hat and add a thin band in orange or purple.
The rest of my nails stay simple with plain black or dark purple polish. That way, the witch hat really pops.
Expert Tip from KidsCareIdeas: “Use a thin brush or toothpick to draw your hat details. It helps keep the lines sharp and neat for a clean look.”
7. Blood Drip Effects
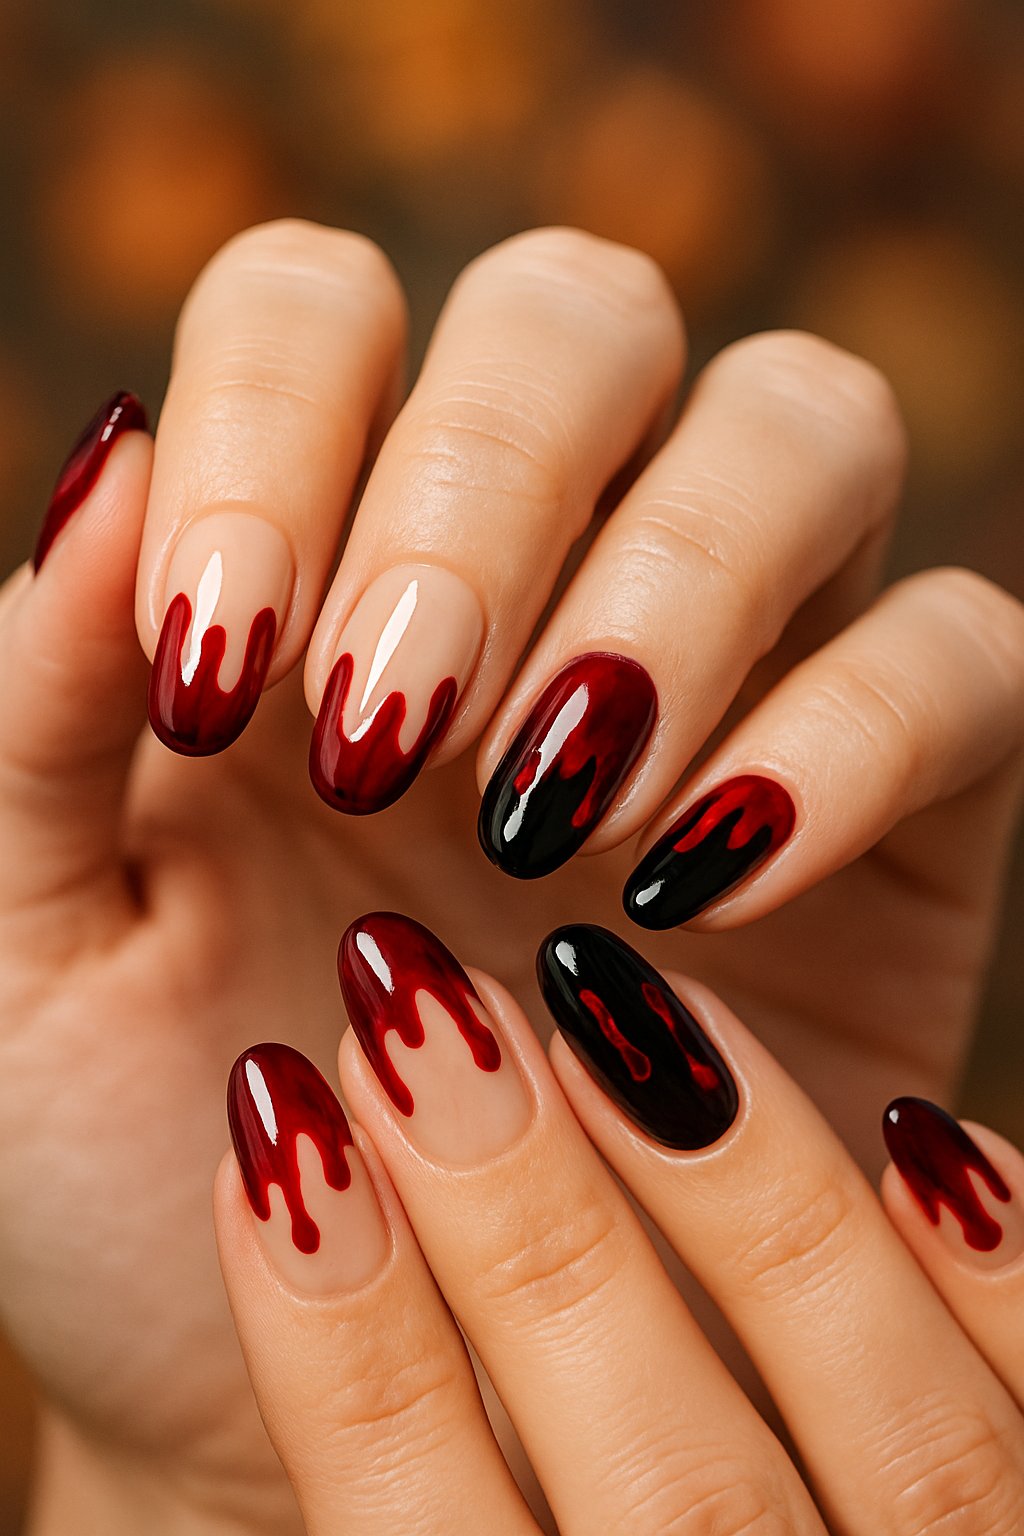
Blood drip nails are spooky but so easy to pull off. I start with a white or black base to make the red pop.
Using a thin brush or dotting tool, I make little drops near the tips, then drag them down into teardrop shapes. The result? A fun, creepy look that goes with any costume.
Expert Tip from KidsCareIdeas: “Use a glossy top coat to make the drips shine like real blood. Practice your drops on paper first to get smooth shapes.”
8. Cute Ghost Faces
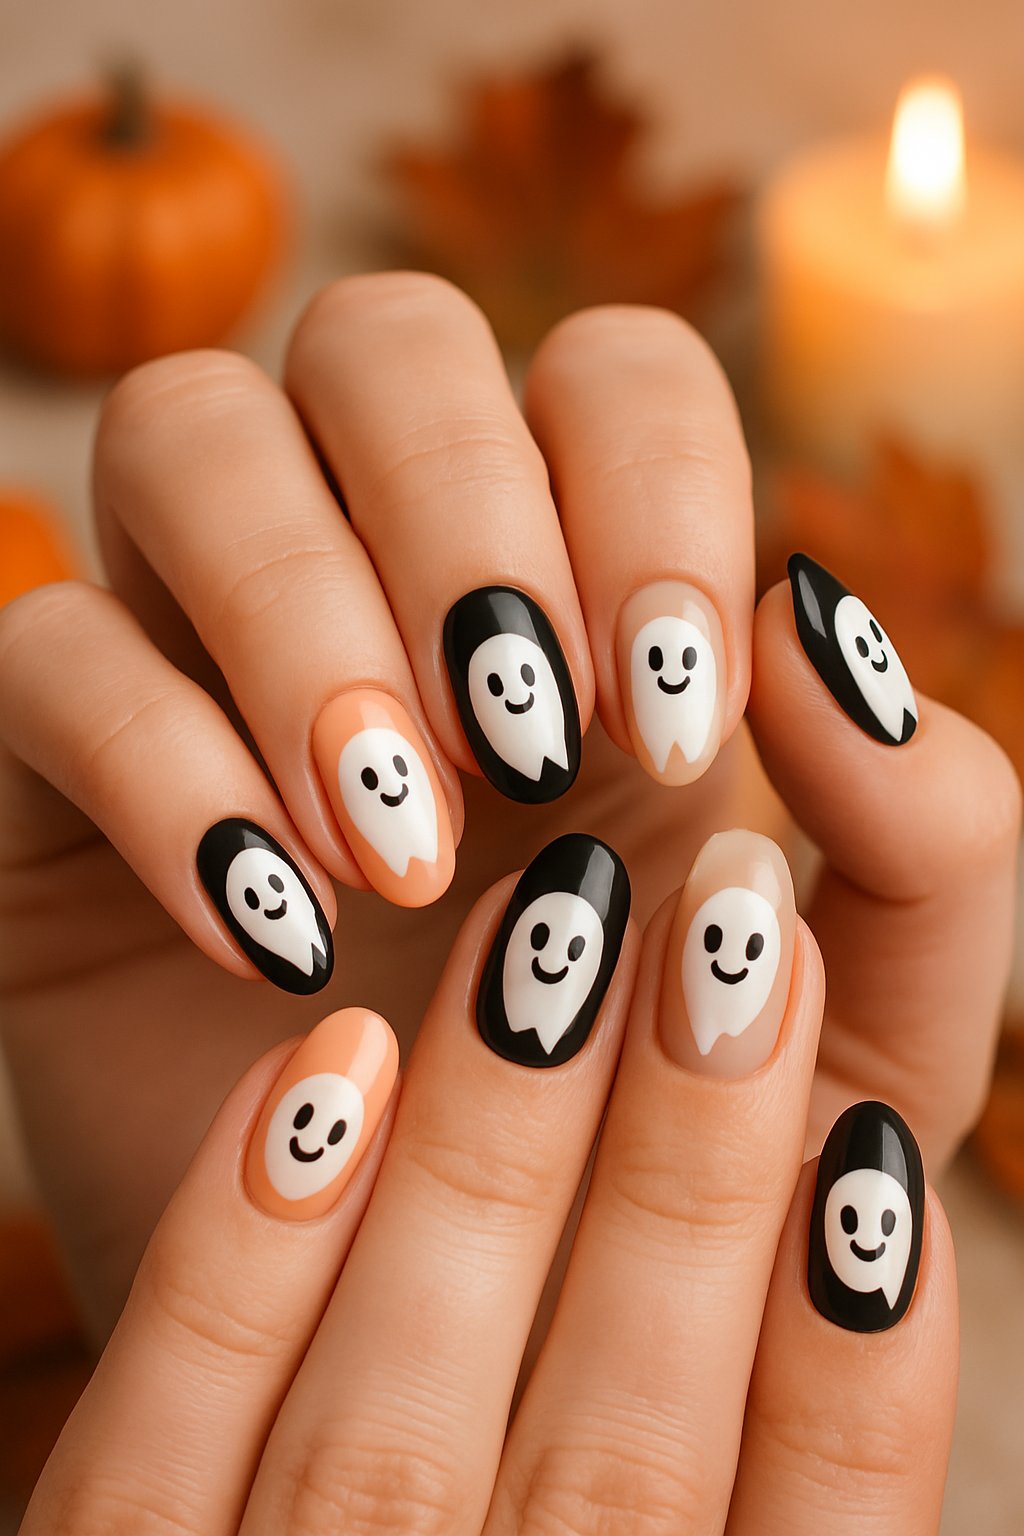
Tiny ghost faces are always a hit. I use white polish for the ghost and add two black dots for eyes.
A little smile or surprised mouth gives each ghost its own vibe. Try different expressions to make each nail unique.
Expert Tip from KidsCareIdeas: “Use a dotting tool or toothpick for perfect eyes and mouths. Let each layer dry before adding details to avoid smudges.”
9. Skeleton Hand Detailing
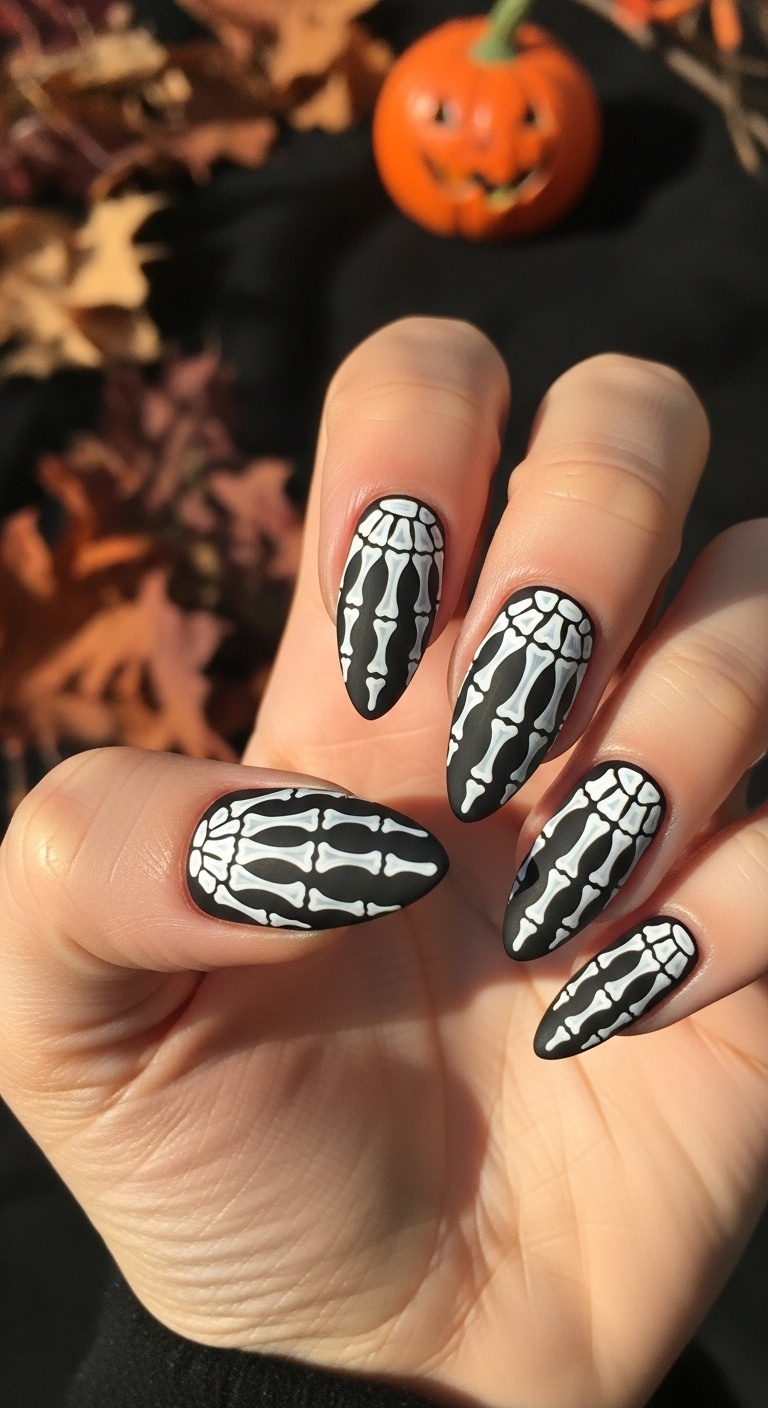
Skeleton hand nails look spooky and detailed but aren’t as hard as they seem. I start with a dark base and use a fine brush or nail art pen for the white bone shapes.
I try to match the bones to my finger joints for extra detail. A clear topcoat keeps everything looking sharp.
Expert Tip from KidsCareIdeas: “Use a dotting tool to make small bone joints easy and neat. Practice on paper first to get the shapes just right before you start on your nails.”
10. Vampire Fang Tips
Vampire fang tips are perfect if you want something dramatic. I start with a white base, then add two sharp black triangles at the tip for fangs.
A tiny red dot by the fangs looks like a drop of blood. Use a fine brush or toothpick to keep those lines crisp.
Expert Tip from KidsCareIdeas: “Use quick-dry topcoat to protect your fang design. It keeps your nails looking fresh longer without smudging.”
11. Pumpkin Patch Patterns
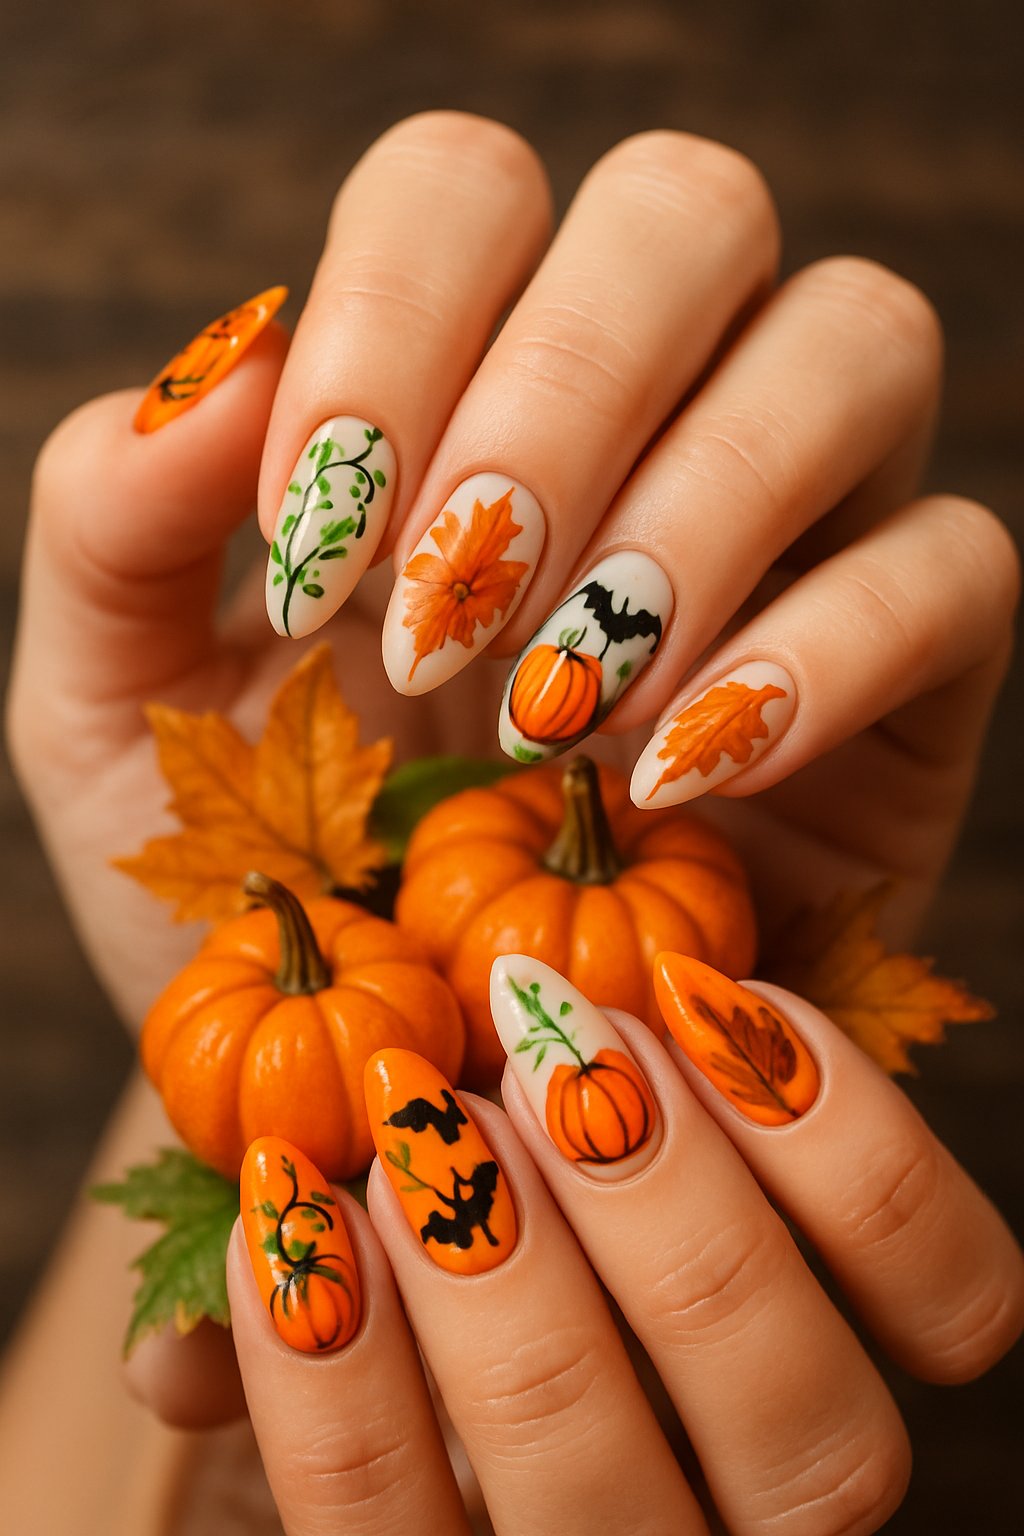
Pumpkin patch nails are just plain adorable. I use orange for the pumpkins and green for the stems.
A few tiny black dots or lines add texture and make the pumpkins pop. Sometimes I mix in dark green or brown nails for a more natural patch vibe.
Expert Tip from KidsCareIdeas: “Use a toothpick to make small pumpkin details. It helps you stay neat and precise.”
Expert Tip from KidsCareIdeas: “Let each layer dry before adding more paint to avoid smudging your pumpkin patch.”
12. Black Cat Silhouettes
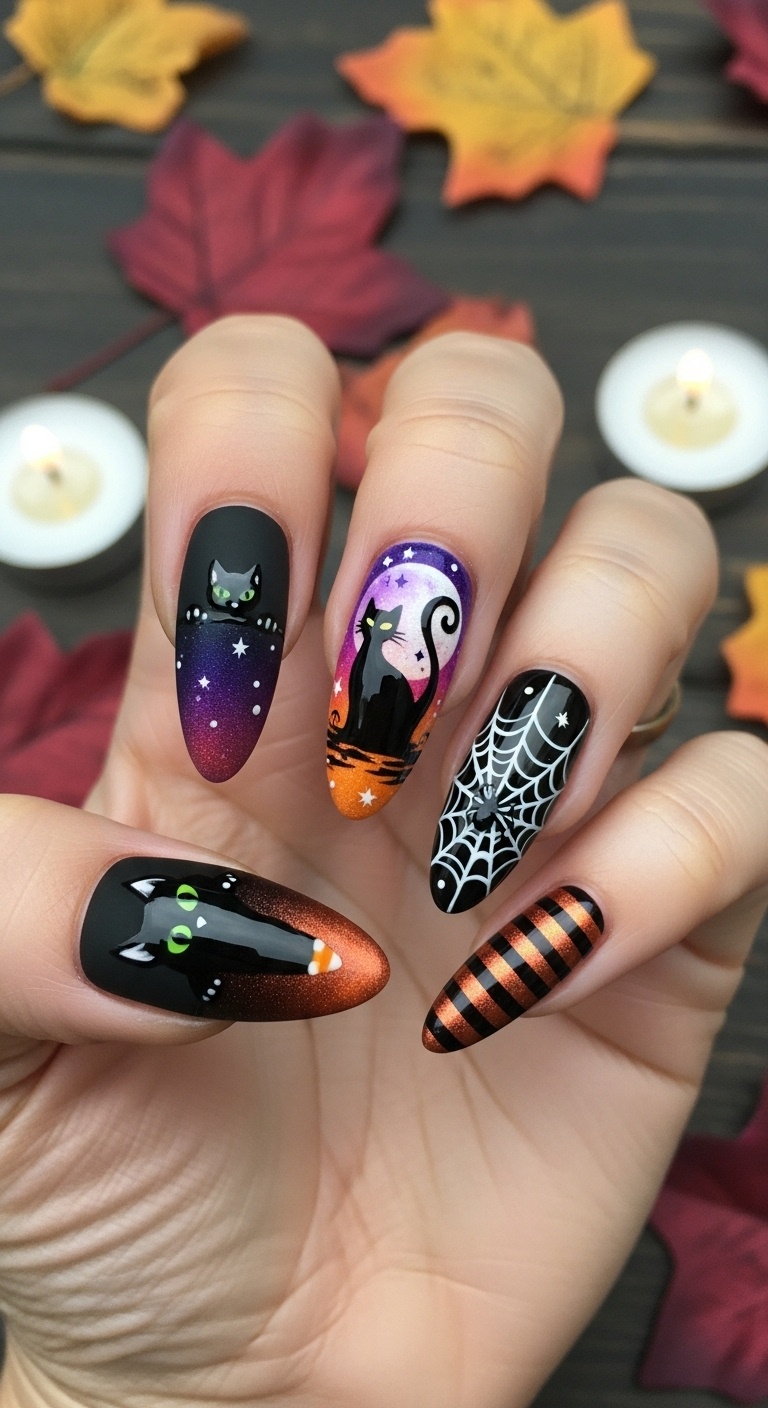
Black cat silhouettes are a Halloween classic. I paint little black cats on a light or orange background for contrast.
The shapes are simple with a thin brush or even nail stickers. I like to add glowing eyes to make them stand out.
Expert Tip from KidsCareIdeas: “Use a matte top coat to make the black cats stand out more. It also helps your design last longer without chips.”
13. Boo Text with Tiny Bats
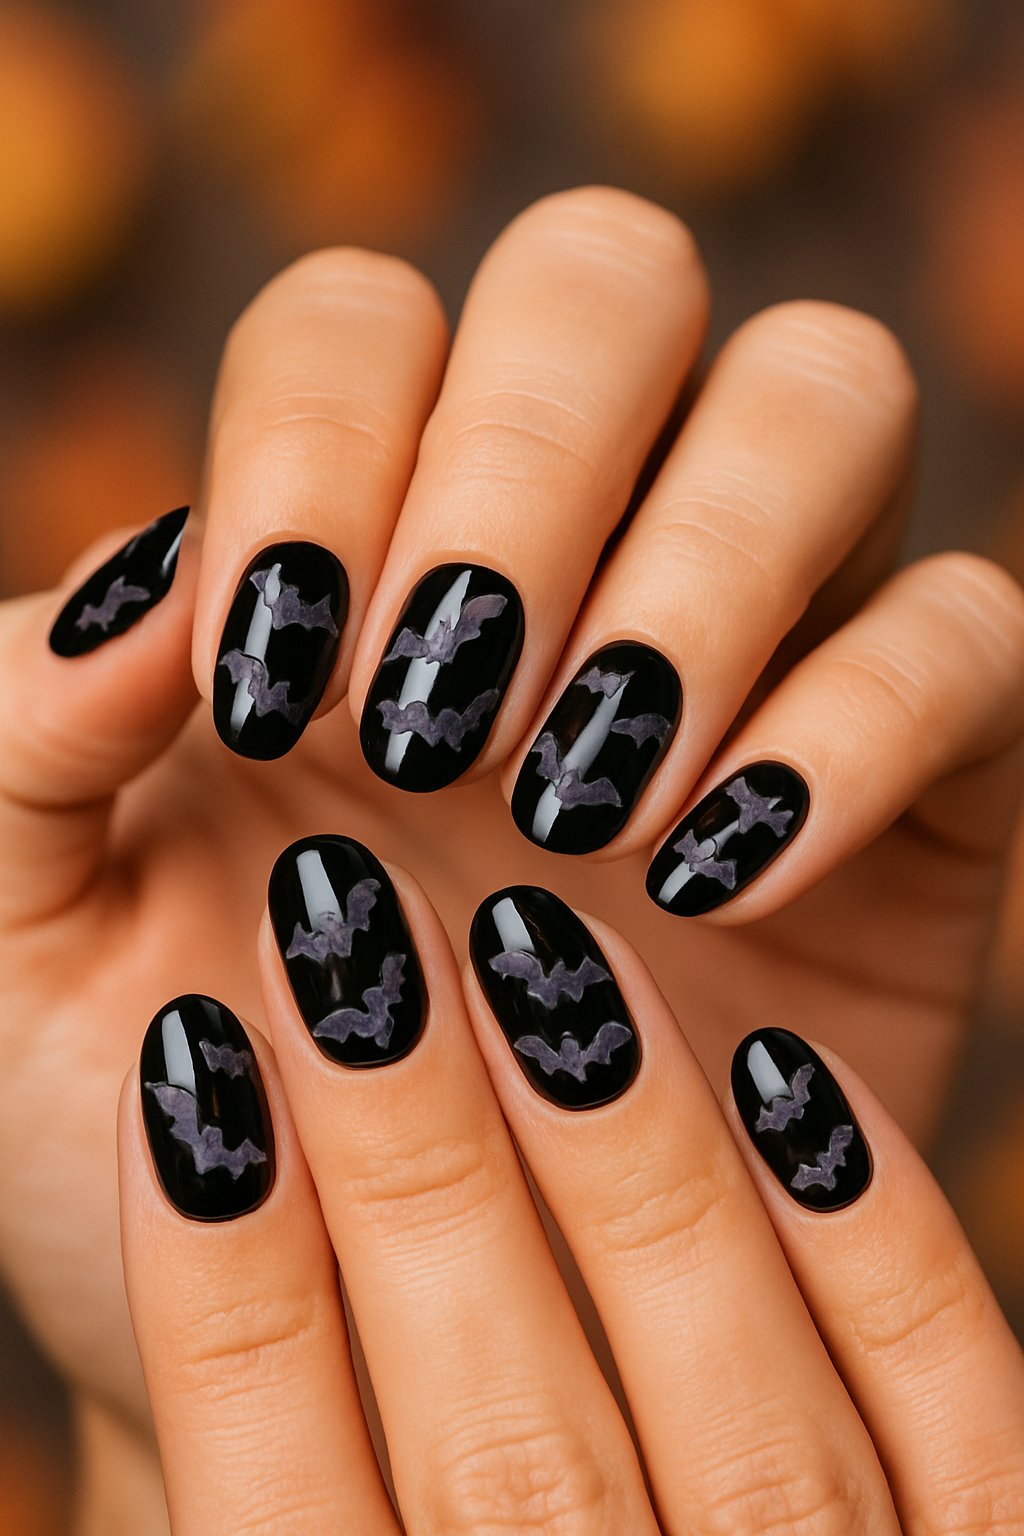
Painting “BOO” on your nails with tiny bats is simple but super cute. I usually add little black bats flying around the letters for that extra Halloween touch.
It works on any nail shape or length. I go for a light background so the text and bats really pop.
Expert Tip from KidsCareIdeas: “Use a thin brush or toothpick to draw the bats for clean, tiny details. Let each layer dry fully before adding more to avoid smudging.”
14. Cobweb and Crystal Studs
Cobweb nails with crystal studs look both spooky and a little fancy. I paint thin white webs over a dark base and stick on tiny crystal studs near the web.
The studs catch the light and make your nails sparkle, almost like dew drops. Keep the web lines thin—if you go too thick, it just looks messy.
Expert Tip from KidsCareIdeas: “Use a fine brush or nail pen for detailed webs. Place studs while polish is still wet to keep them secure.”
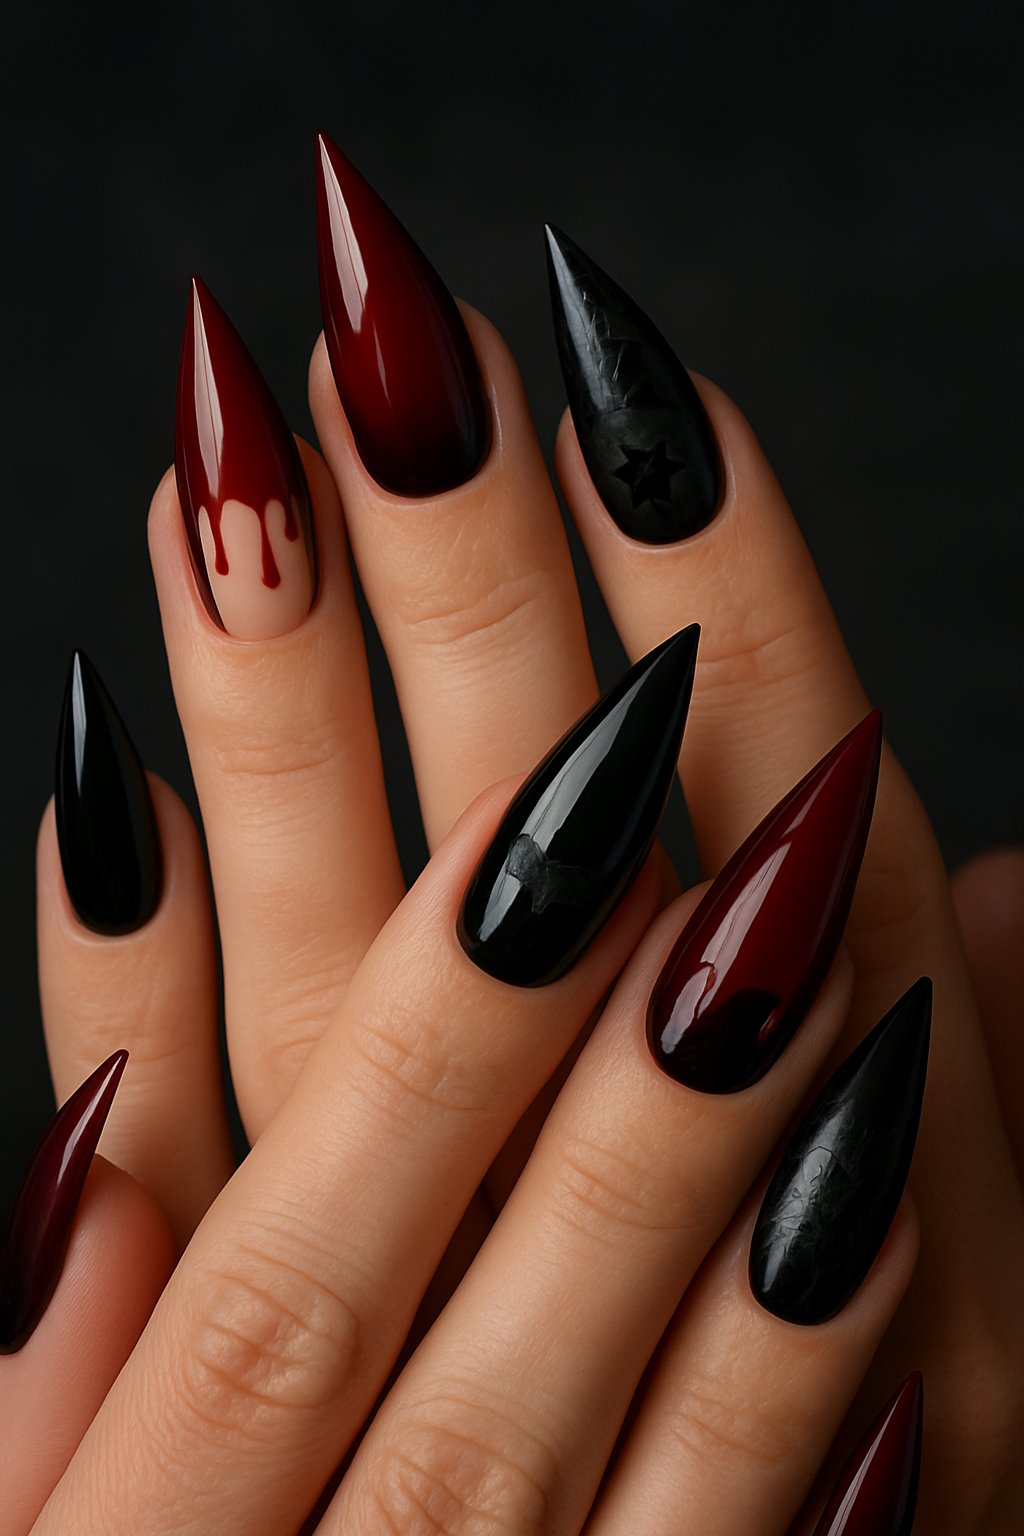
15. Faux Acrylic Claws
Faux acrylic claws give you that dramatic, witchy look without damaging your real nails. I just glue them on at home and pop them off when I’m done.
They’re perfect for Halloween because you can go wild with designs right on the claw shape. Try black, blood red, or toss on some glitter for extra sparkle.
Expert Tip from KidsCareIdeas: “Make sure to clean your nails before applying faux acrylics. This helps the glue stick better and keeps your nails healthy.”
16. Zombie Bite Marks
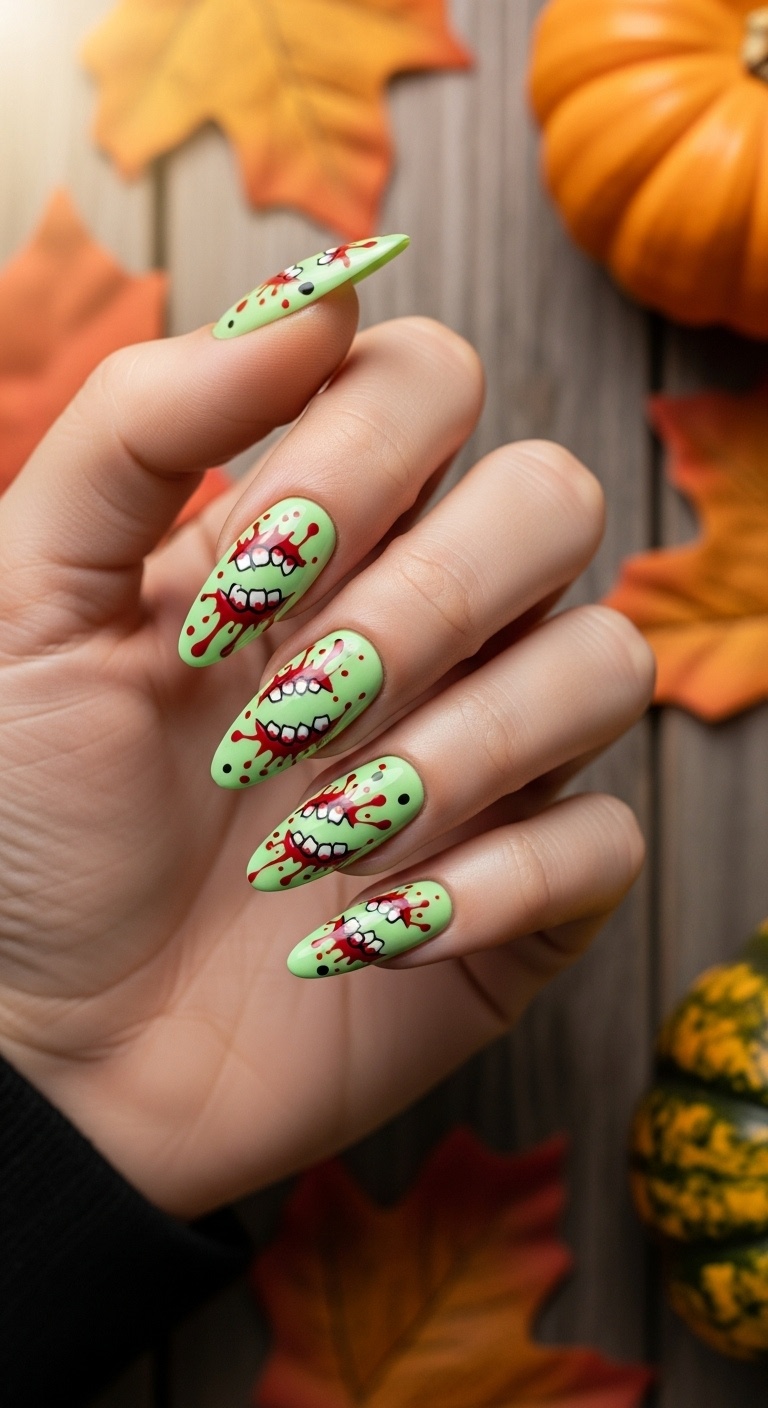
Zombie bite marks are easy and look super creepy. I use dark red and black polish to make little dots and uneven shapes for the bites.
A toothpick or thin brush helps me keep the marks looking rough and real. I finish with a clear top coat to seal everything in.
Expert Tip from KidsCareIdeas: “Use a sponge to dab on red polish for a more realistic bloody effect. Remember, less is more to keep it looking spooky, not messy.”
17. Halloween Candy Wraps
Ever looked at your favorite Halloween candy wrappers and thought, “Hey, I want those on my nails”? Go for it! Bright colors and bold stripes totally nail this look.
Try adding tiny dots or shapes to copy the candy details. You can change up the colors for every candy you love.
Expert Tip from KidsCareIdeas: “Use a thin brush or toothpick for small details on your candy wraps. This helps make your nail art look neat and clear.”
18. Frankenstein Green Base
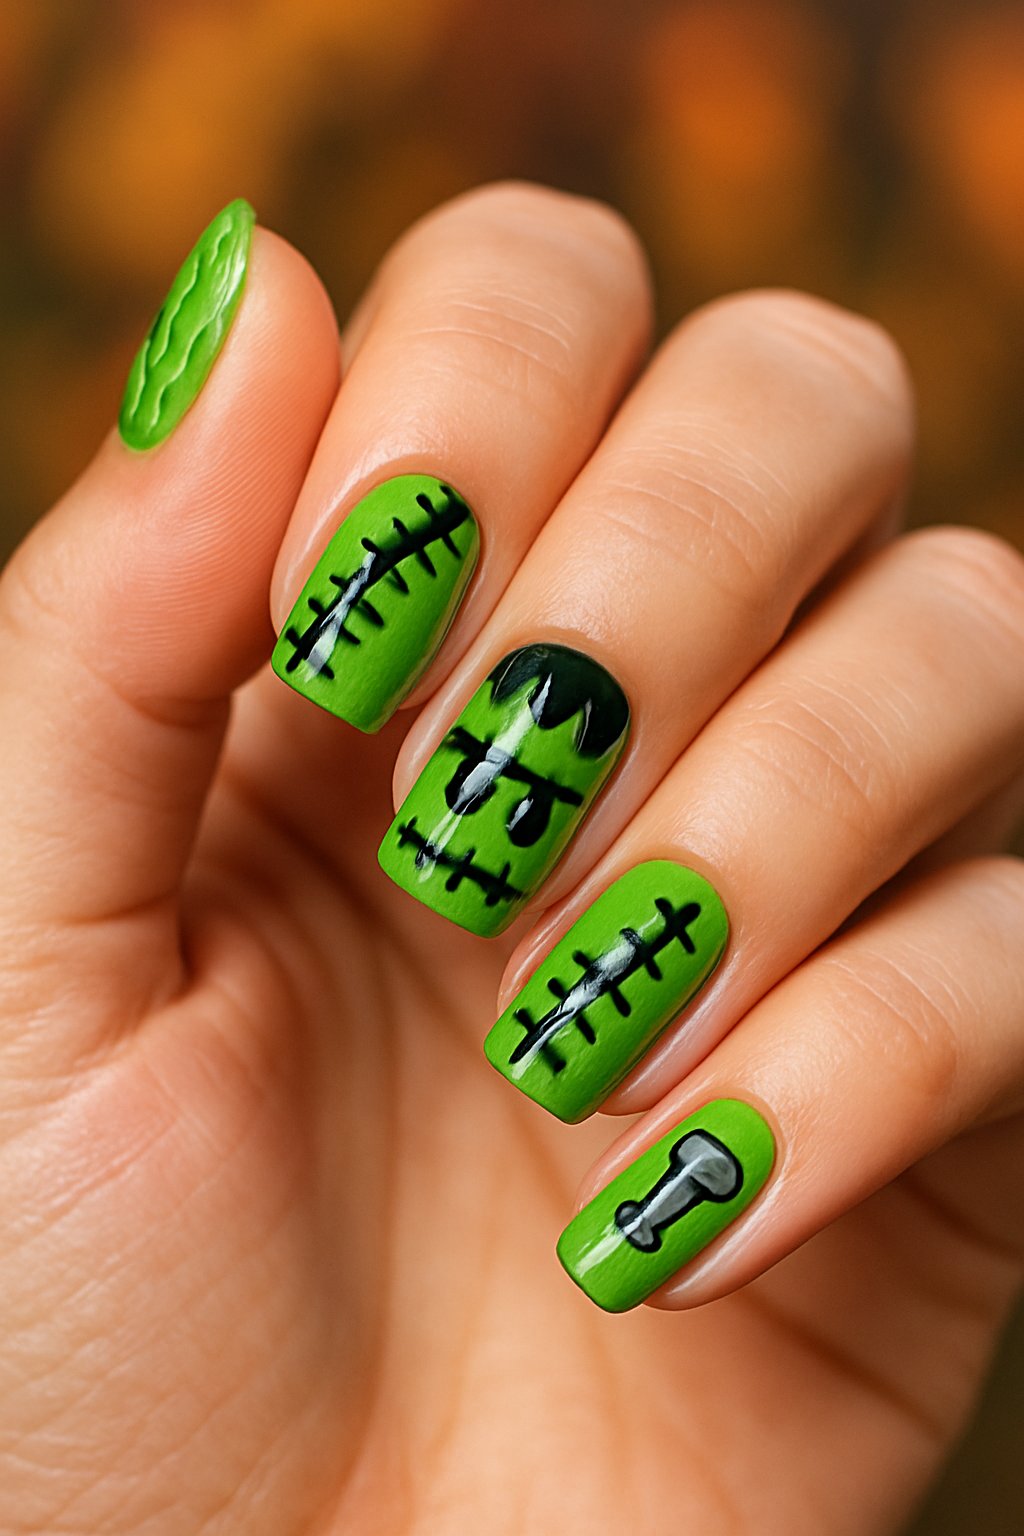
Start off with a bright, green base for that classic Frankenstein vibe. This color sets the stage for all the creepy stitches and bolts you want to paint.
Keep the green bold and smooth—it really makes the details pop. Black or white polish works great for those stitches.
Don’t forget a topcoat so your monster masterpiece survives the whole spooky season.
Expert Tip from KidsCareIdeas: “Use a sponge to blend different green shades for a textured skin look. Keep your peace of mind by applying a quick-dry topcoat.”
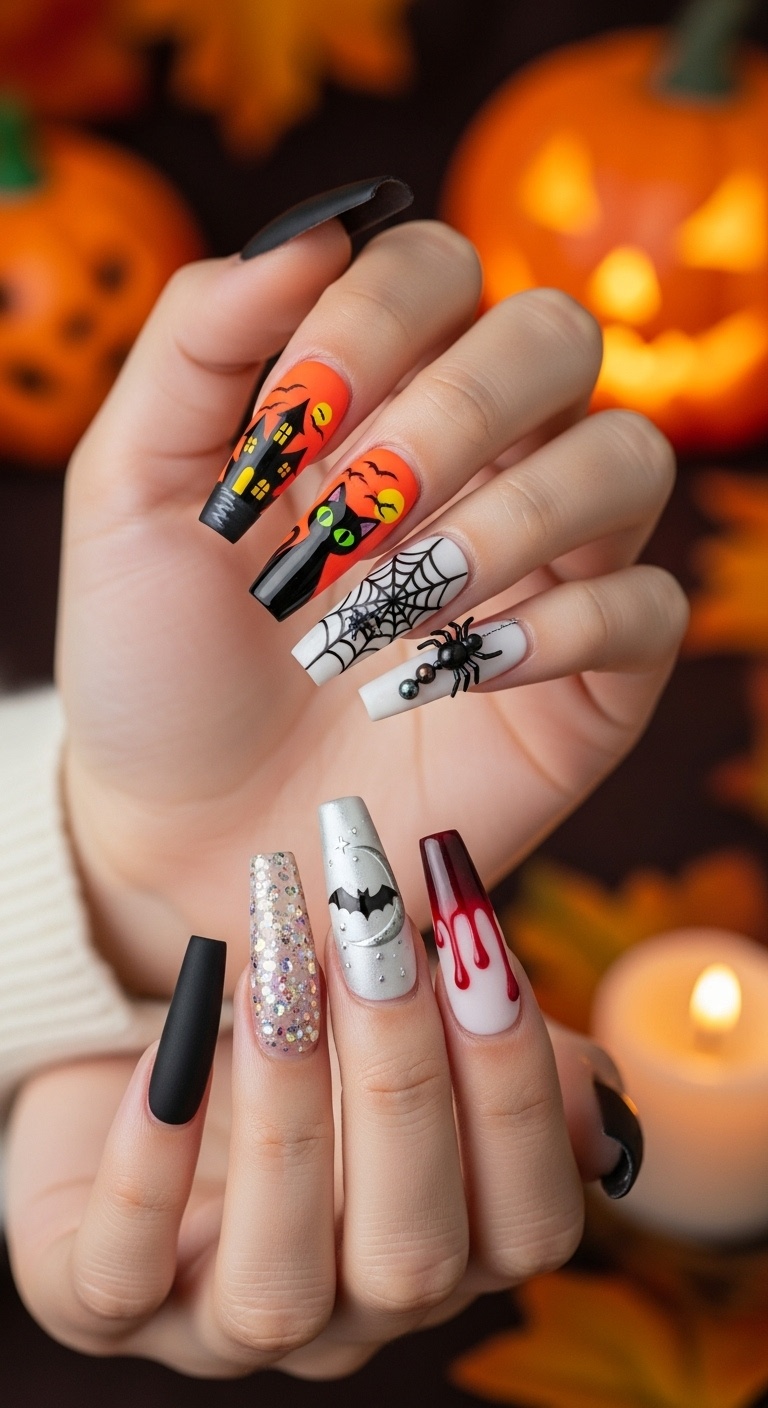
19. Haunted House Scene
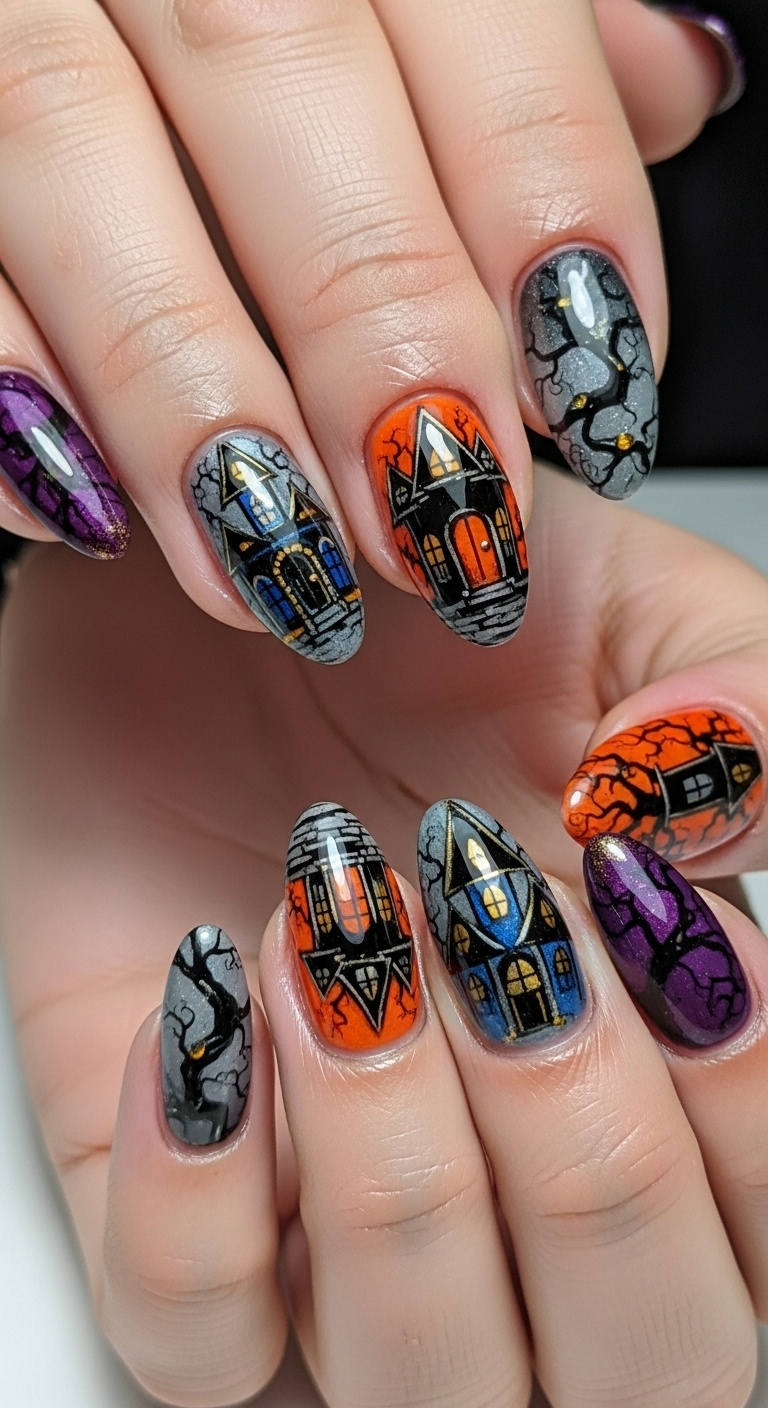
Turn your nails into a tiny haunted house scene—why not? Paint a dark background, then add little windows and doors in glowing yellow or orange.
Draw spider webs or bats with thin black lines for extra spookiness. This design looks awesome on just one or two nails.
Keep the rest simple with dark or glitter polish. That way, your haunted house really stands out.
Expert Tip from KidsCareIdeas: “Use a fine brush for tiny details to make the haunted house clear. Try a matte topcoat for a creepy, old look that lasts longer.”
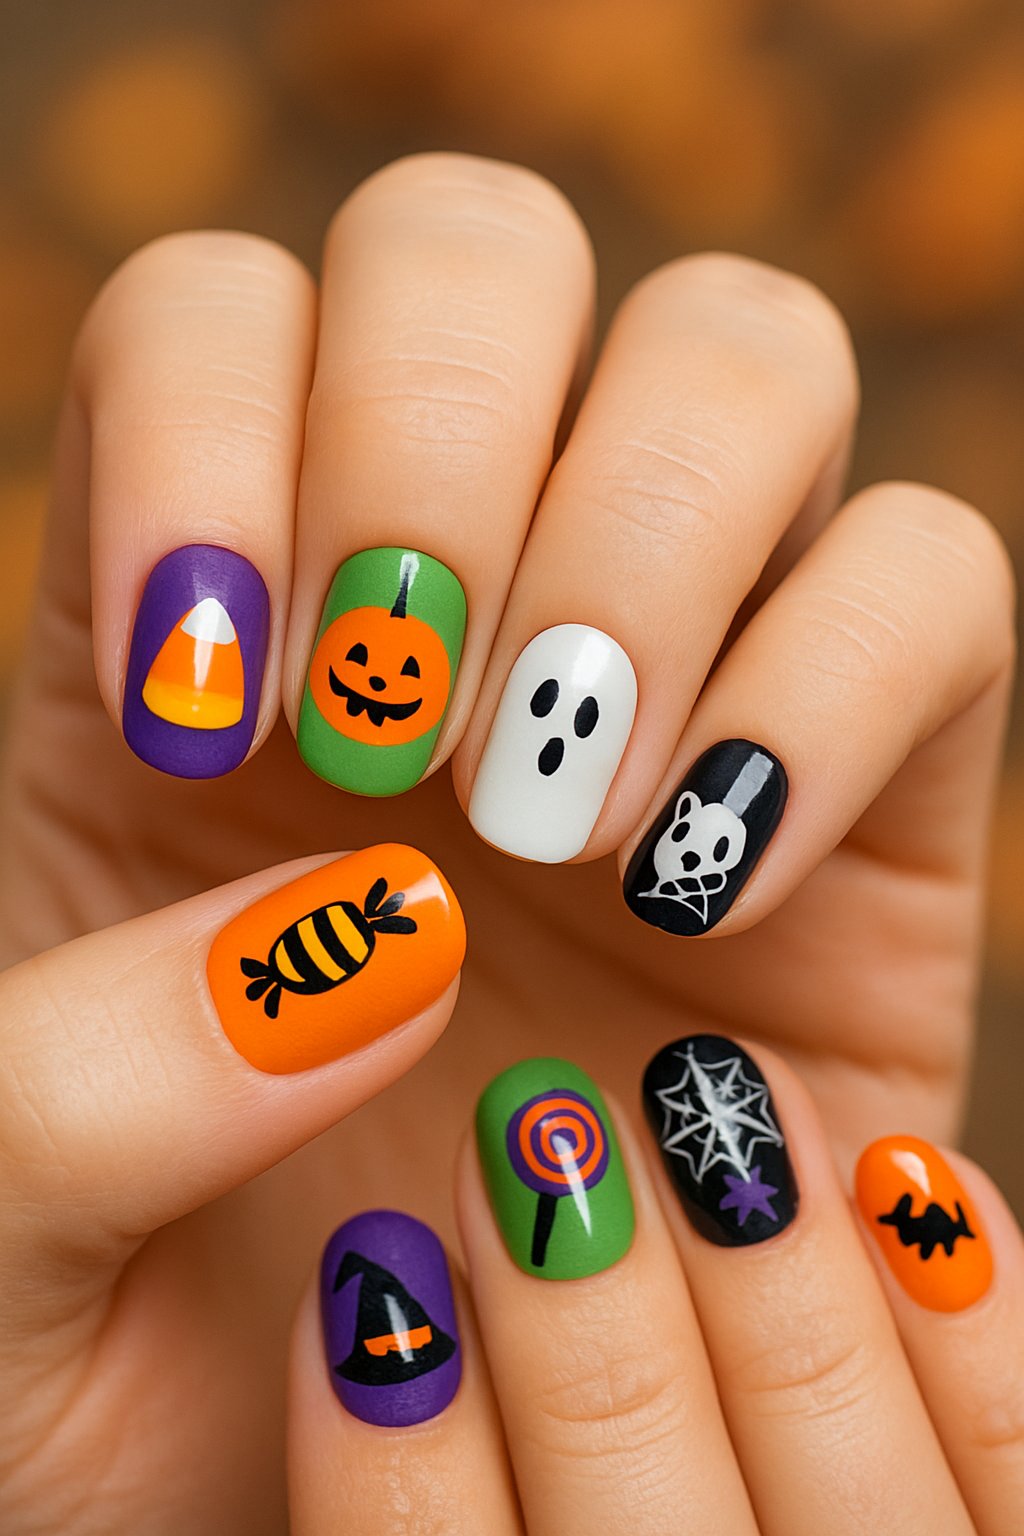
20. Jack-o’-Lantern Smiles
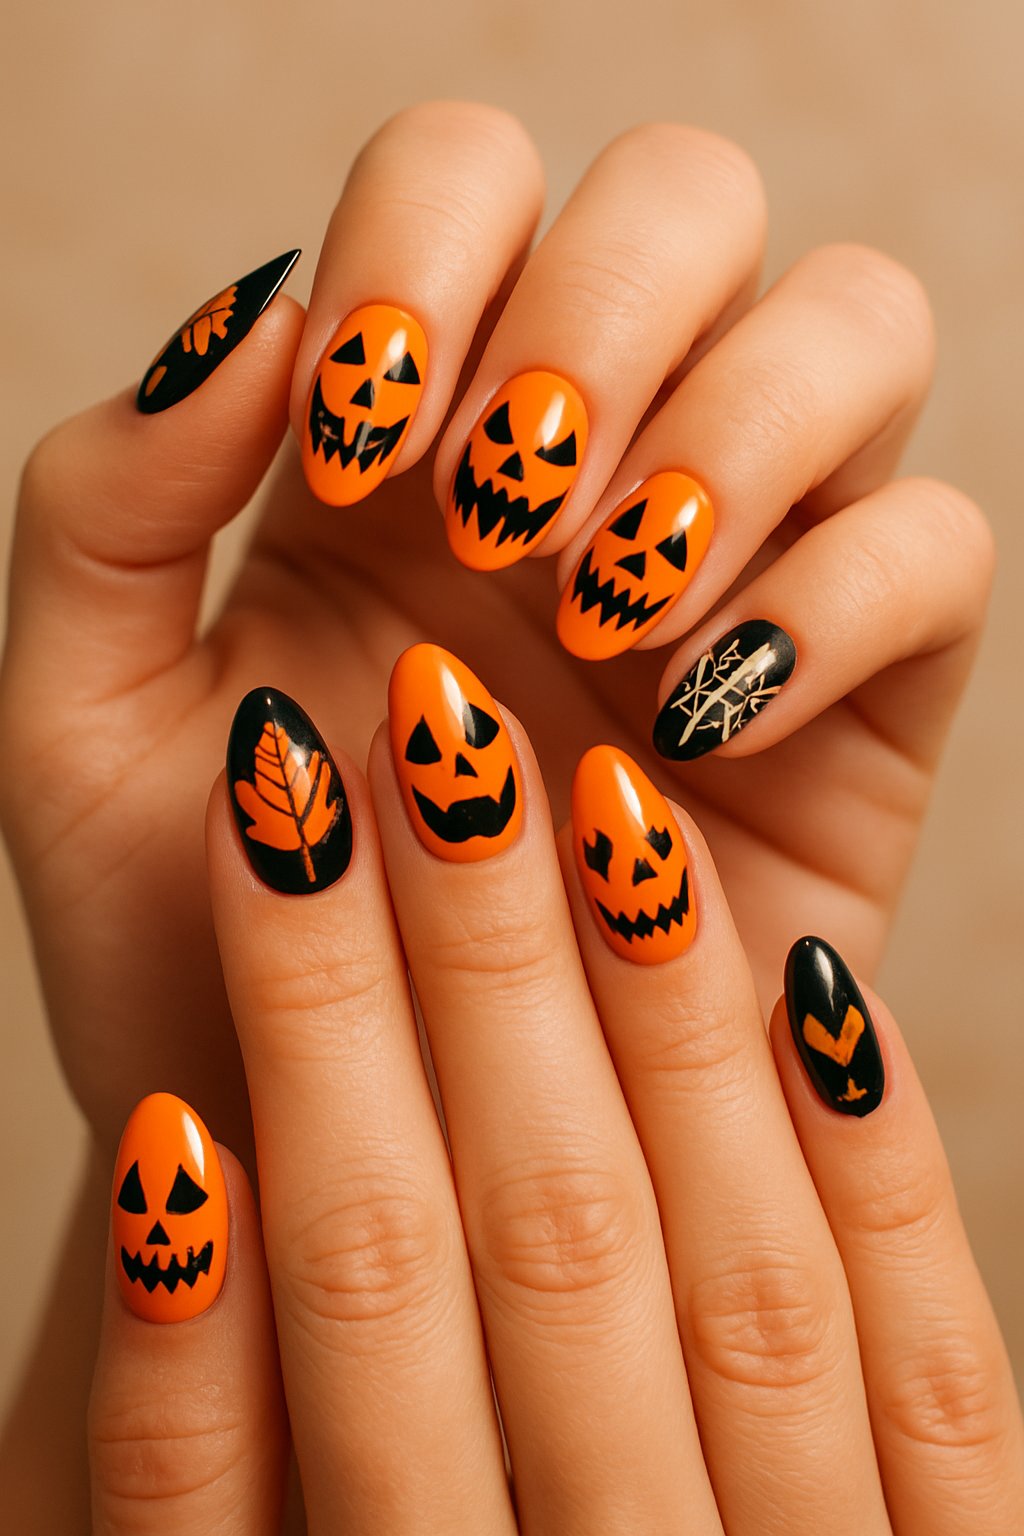
You really can’t go wrong with classic jack-o’-lantern faces. Bright orange polish, black triangles for eyes, and a goofy grin—suddenly, your hands are ready for Halloween.
Add a little glitter or some dots if you want extra sparkle. These pumpkin smiles are easy, bold, and always get noticed.
Expert Tip from KidsCareIdeas: “Use a fine brush for sharp pumpkin features. It helps keep the smile neat and clean with less mess.”
21. Orange Ombre Fade
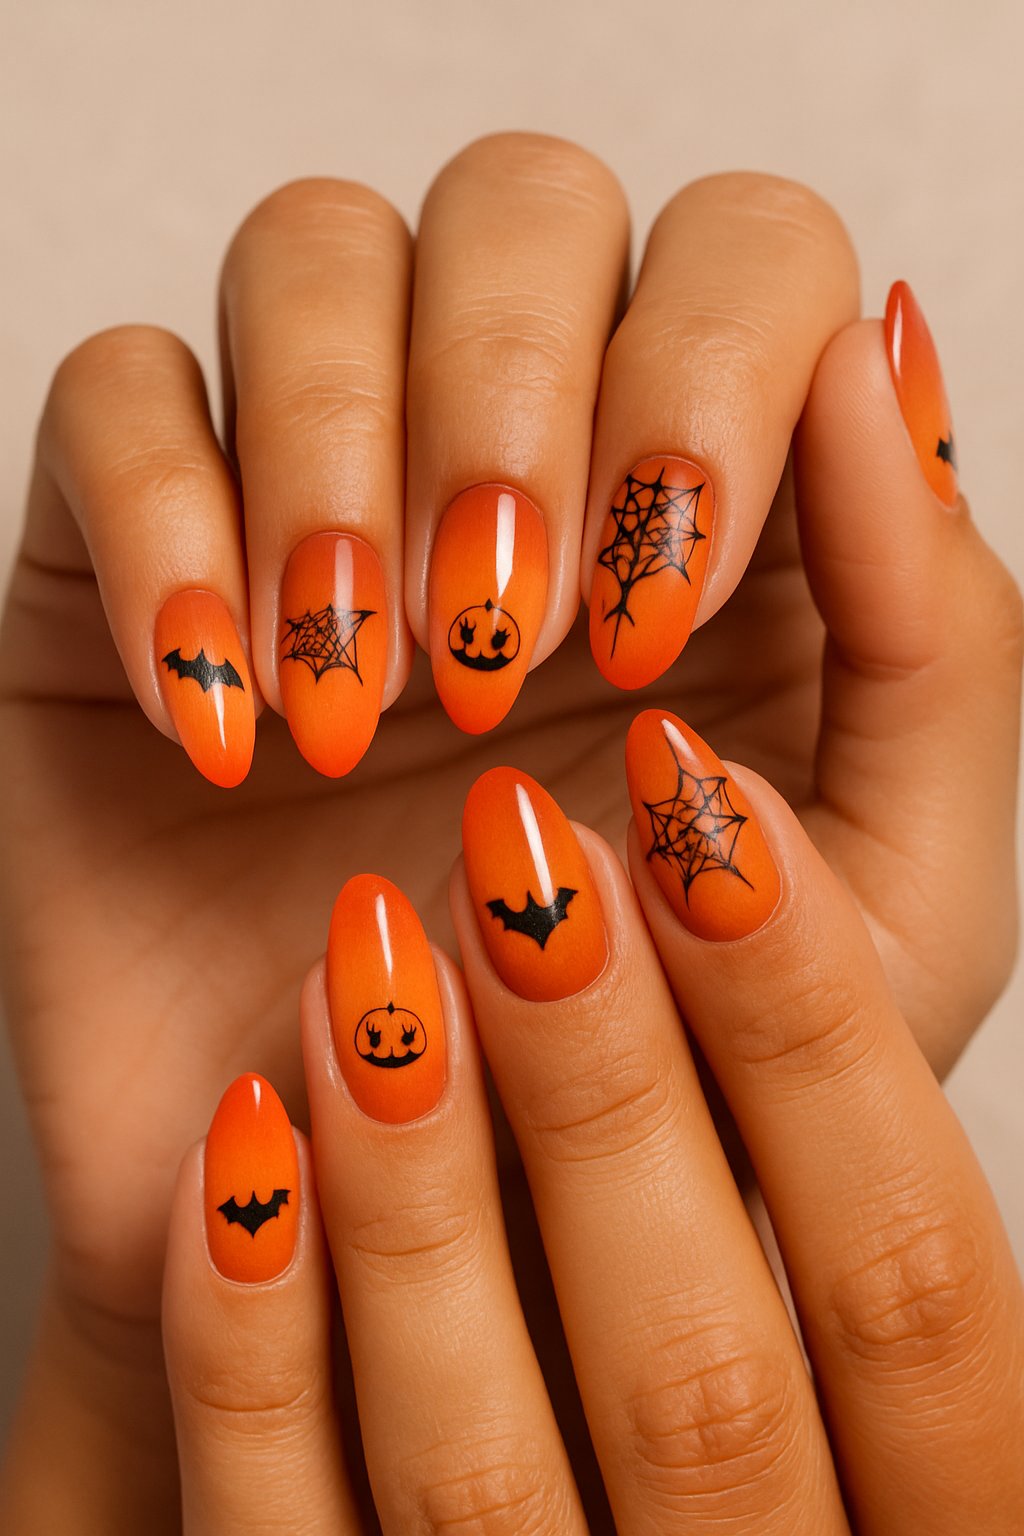
Try a smooth fade from bright orange to a lighter shade for a simple, cheerful Halloween look. This style works on any nail shape and gives off a cozy glow.
If you want, add a tiny black pumpkin or bat on your ring finger. It’s just the right amount of spooky.
Expert Tip from KidsCareIdeas: “Use a makeup sponge to blend the colors for a soft ombre effect. Work in thin layers to avoid clumps and make the fade smooth.”
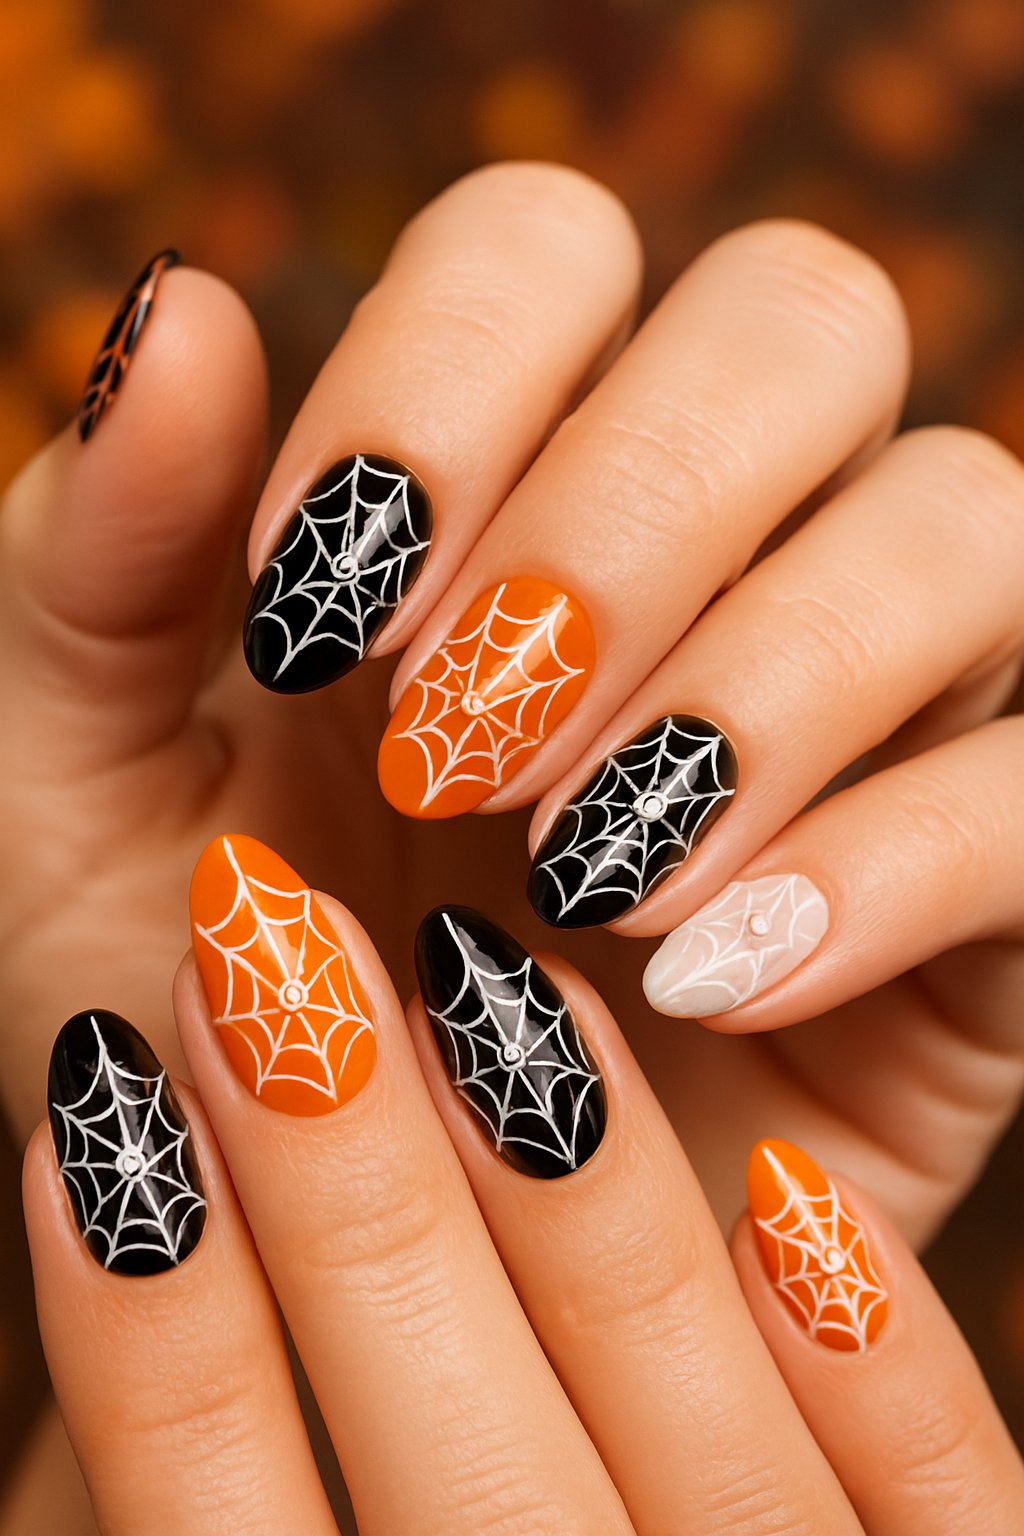
22. Spider Web French Tips
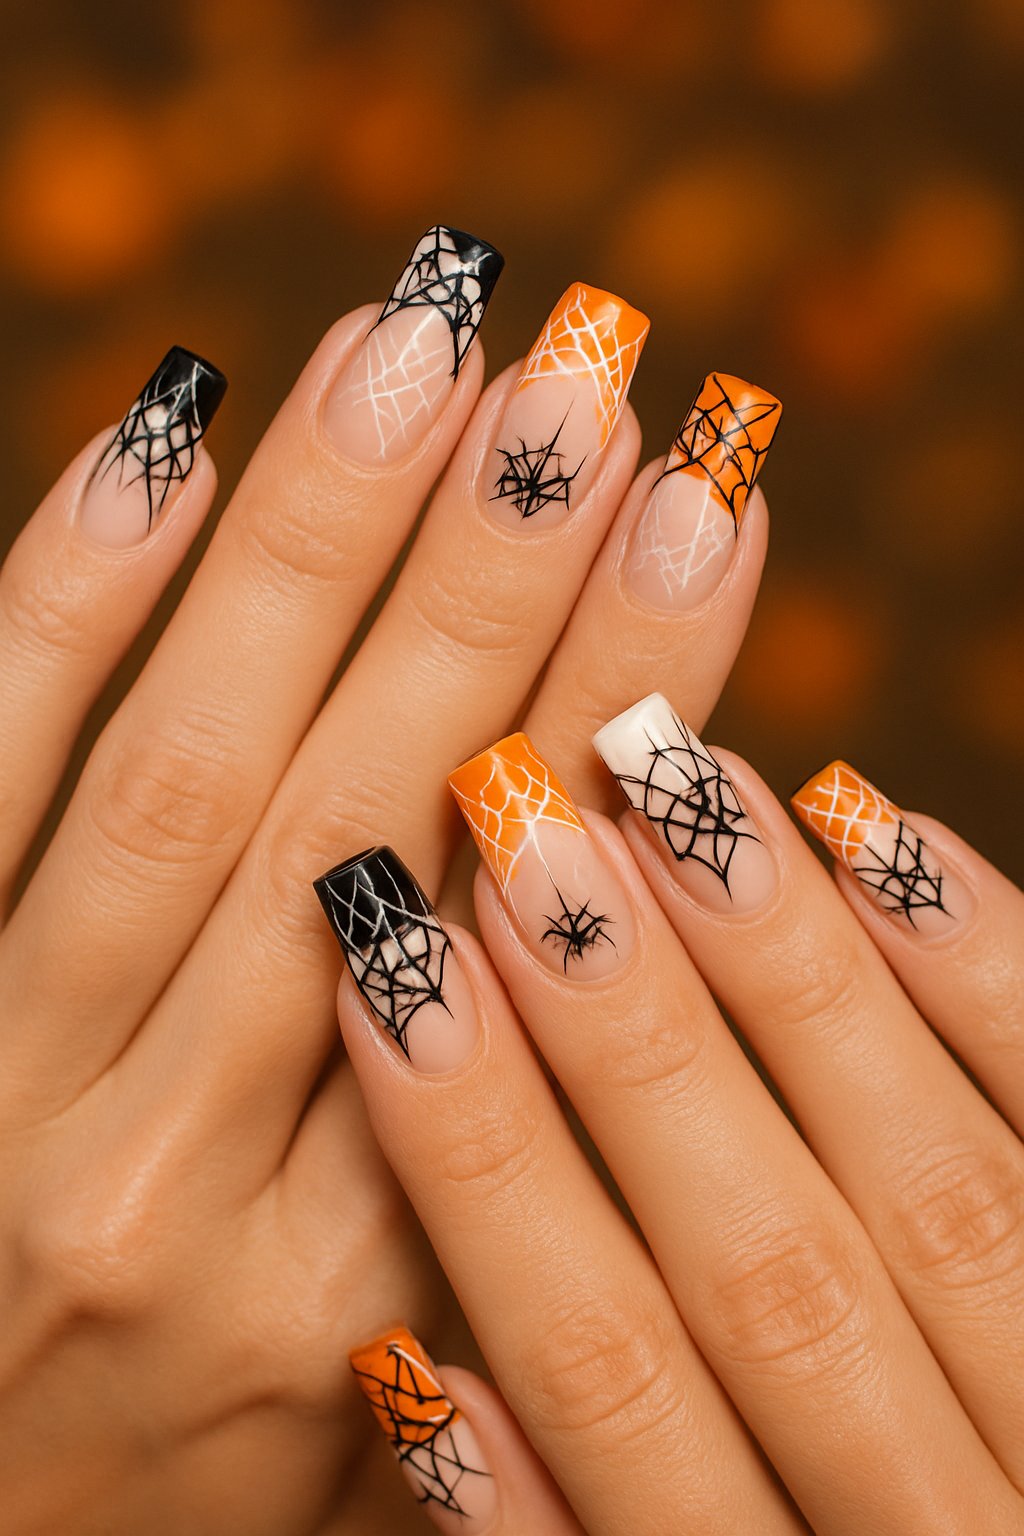
Want to give your French tips a Halloween upgrade? Paint tiny spider webs right on the edges.
White or silver polish over a dark base makes those webs really pop. This look is simple, not too scary, and works with any nail shape.
Expert Tip from KidsCareIdeas: “Use a thin brush or nail art pen for neat web lines. Seal with clear top coat to keep your design safe all day.”
23. Black Velvet Finish
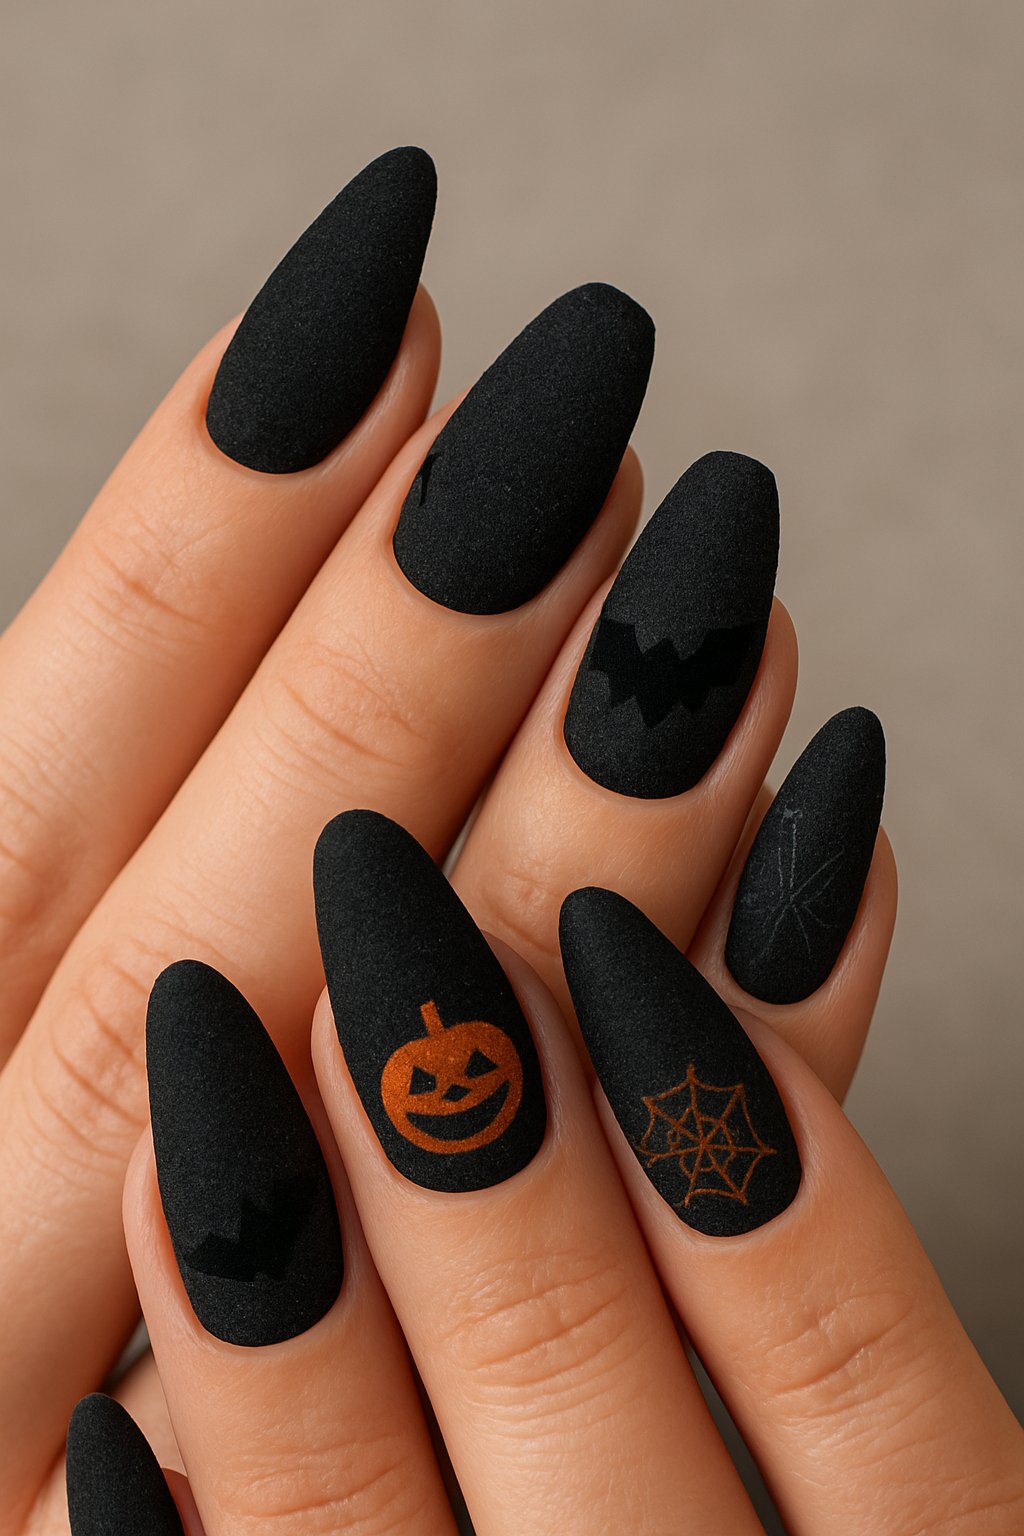
Ever wanted your nails to look as smooth as a black cat? Go for a black velvet finish—it’s got this soft, plush look that almost tricks your eyes into thinking it’s real fabric.
I always think this style nails that perfect mix of simple and a little mysterious, especially when Halloween rolls around.
You can throw on some shiny rings for extra flair, or just let the nails do the talking on their own.
Honestly, a matte top coat is your secret weapon here. It gives you that velvety look without any fuss.
Expert Tip from KidsCareIdeas: “Use a matte top coat to get the perfect velvet feel. Make sure your nails are dry before applying for the best finish.”
